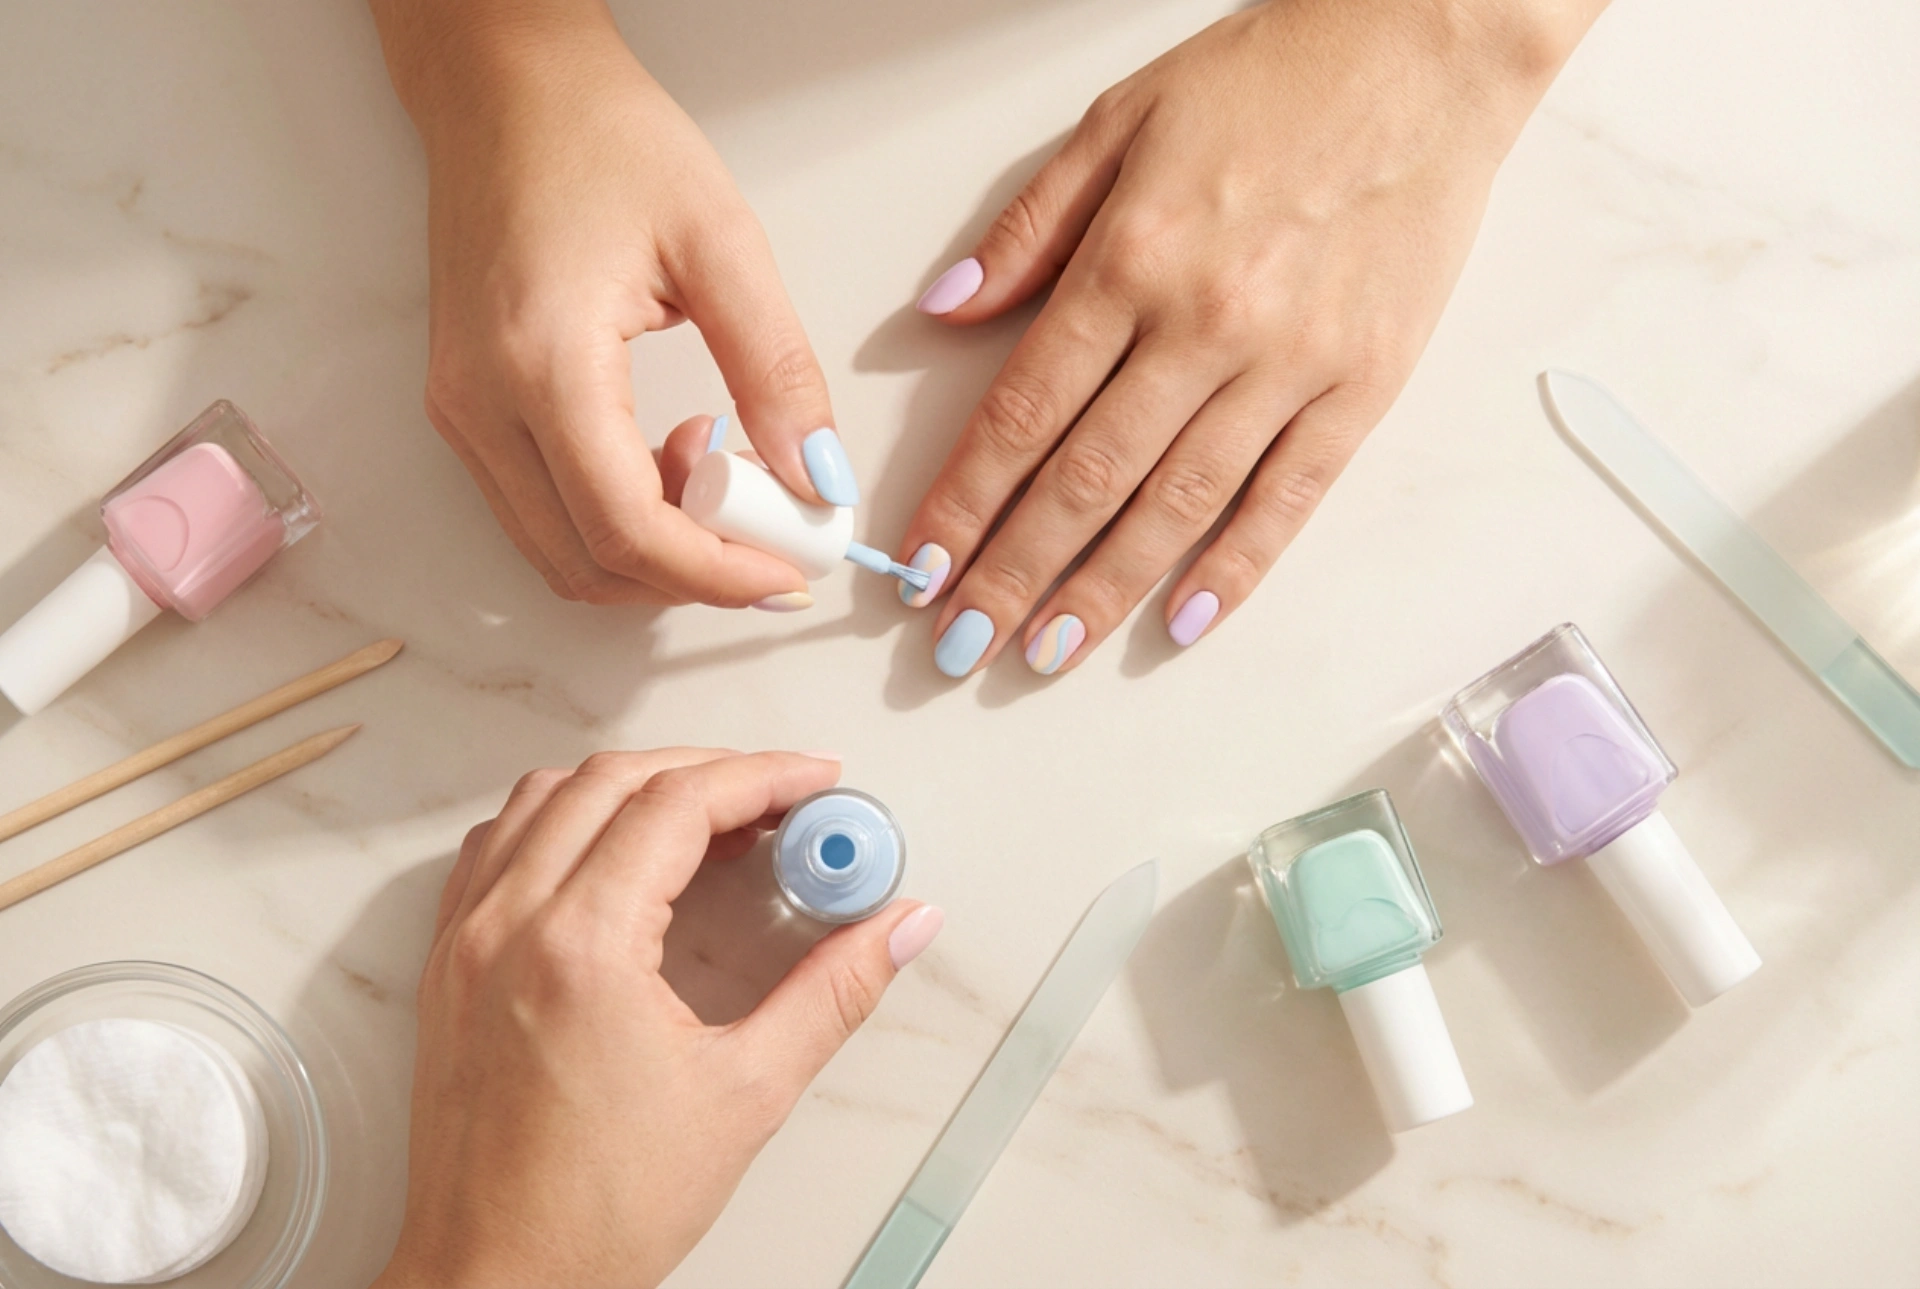


A serene, light-filled space with neatly arranged pastel bottles and simple manicuring tools creates the perfect setting for a relaxing home nail care session. Soft pastel shades, from gentle lavender to mint green and pale peach, remain a timeless choice for those seeking a fresh, modern aesthetic. Doing your own pastel manicure at home not only provides a moment of calm but also allows you to experiment with delicate, pretty designs that complement any look. Achieving a flawless, professional-looking pastel finish requires the right preparation, tools, and a little patience.
Essential Tools for Home Pastel Manicures
Before diving into the world of soft colours, it is vital to gather the necessary tools. Working with light, pastel shades can sometimes reveal nail imperfections more easily than darker hues, which makes preparation key. Ensure you have the following basic tools on a clean, flat surface:
- Nail files and buffers: Use a gentle grit file to shape the nails and a soft buffer block to smooth the surface of the nail plate before painting.
- Cuticle pusher: A wooden stick or a metallic pusher helps to gently push back cuticles, creating a clean canvas for the polish.
- Fine nail art brushes: Excellent for drawing thin lines, French tips, or geometric patterns.
- Dotting tools: Useful for creating simple floral patterns or minimalist dots on a pastel base.
- Base coat and top coat: A good base coat prevents staining and ensures smooth application, while a top coat seals the design and adds the desired finish.
Step-by-Step Pastel Nail Art Designs
Pastel shades lend themselves beautifully to delicate nail art. Here are two simple, step-by-step designs you can easily recreate at home using standard nail polishes.
The Minimalist Pastel Dot
This design is subtle, modern, and incredibly easy to achieve. It adds a touch of playfulness without being overwhelming.
- Apply a nourishing base coat and let it dry completely.
- Apply two thin layers of a soft pastel background, such as a delicate pale pink or milky white.
- Once dry, dip the tip of a dotting tool into a contrasting pastel shade like lavender or soft blue.
- Gently press the tool onto the centre of the nail near the cuticle area or at the very tip to create a single, clean dot.
- Seal with a protective top coat.
The Modern Pastel French Tip
A contemporary twist on a classic, replacing traditional white tips with cheerful pastel colours.
- Prepare the nail and apply a sheer, neutral base colour over the entire nail.
- Using a fine nail art brush, carefully paint a thin, curved line along the free edge of your nail using a pastel yellow or mint green polish.
- If you prefer a multi-coloured look, try using a different pastel shade for each finger.
- Allow the tips to dry for a few minutes before applying your top coat to avoid smudging the lines.
Achieving the Perfect Smooth Finish
One of the main challenges when working with pastel polishes is their tendency to look streaky or uneven. Because pastel pigments are mixed with white bases, they require a specific application technique. Applying the polish in very thin, even layers is the secret to a streak-free finish. Never try to get full coverage with the first coat; instead, let the first layer dry fully, and then apply a second or third thin layer to build opacity smoothly.
The final step is choosing the right finish. A high-gloss top coat will enhance the vibrant, sweet tones of pastels, giving them a juicy, fresh look. On the other hand, a matte top coat transforms pastel colours into sophisticated, velvety finishes that look exceptionally modern and elegant. For best results, always apply a cuticle oil around the nail bed after the top coat has completely dried to restore hydration and give your hands a healthy glow.




