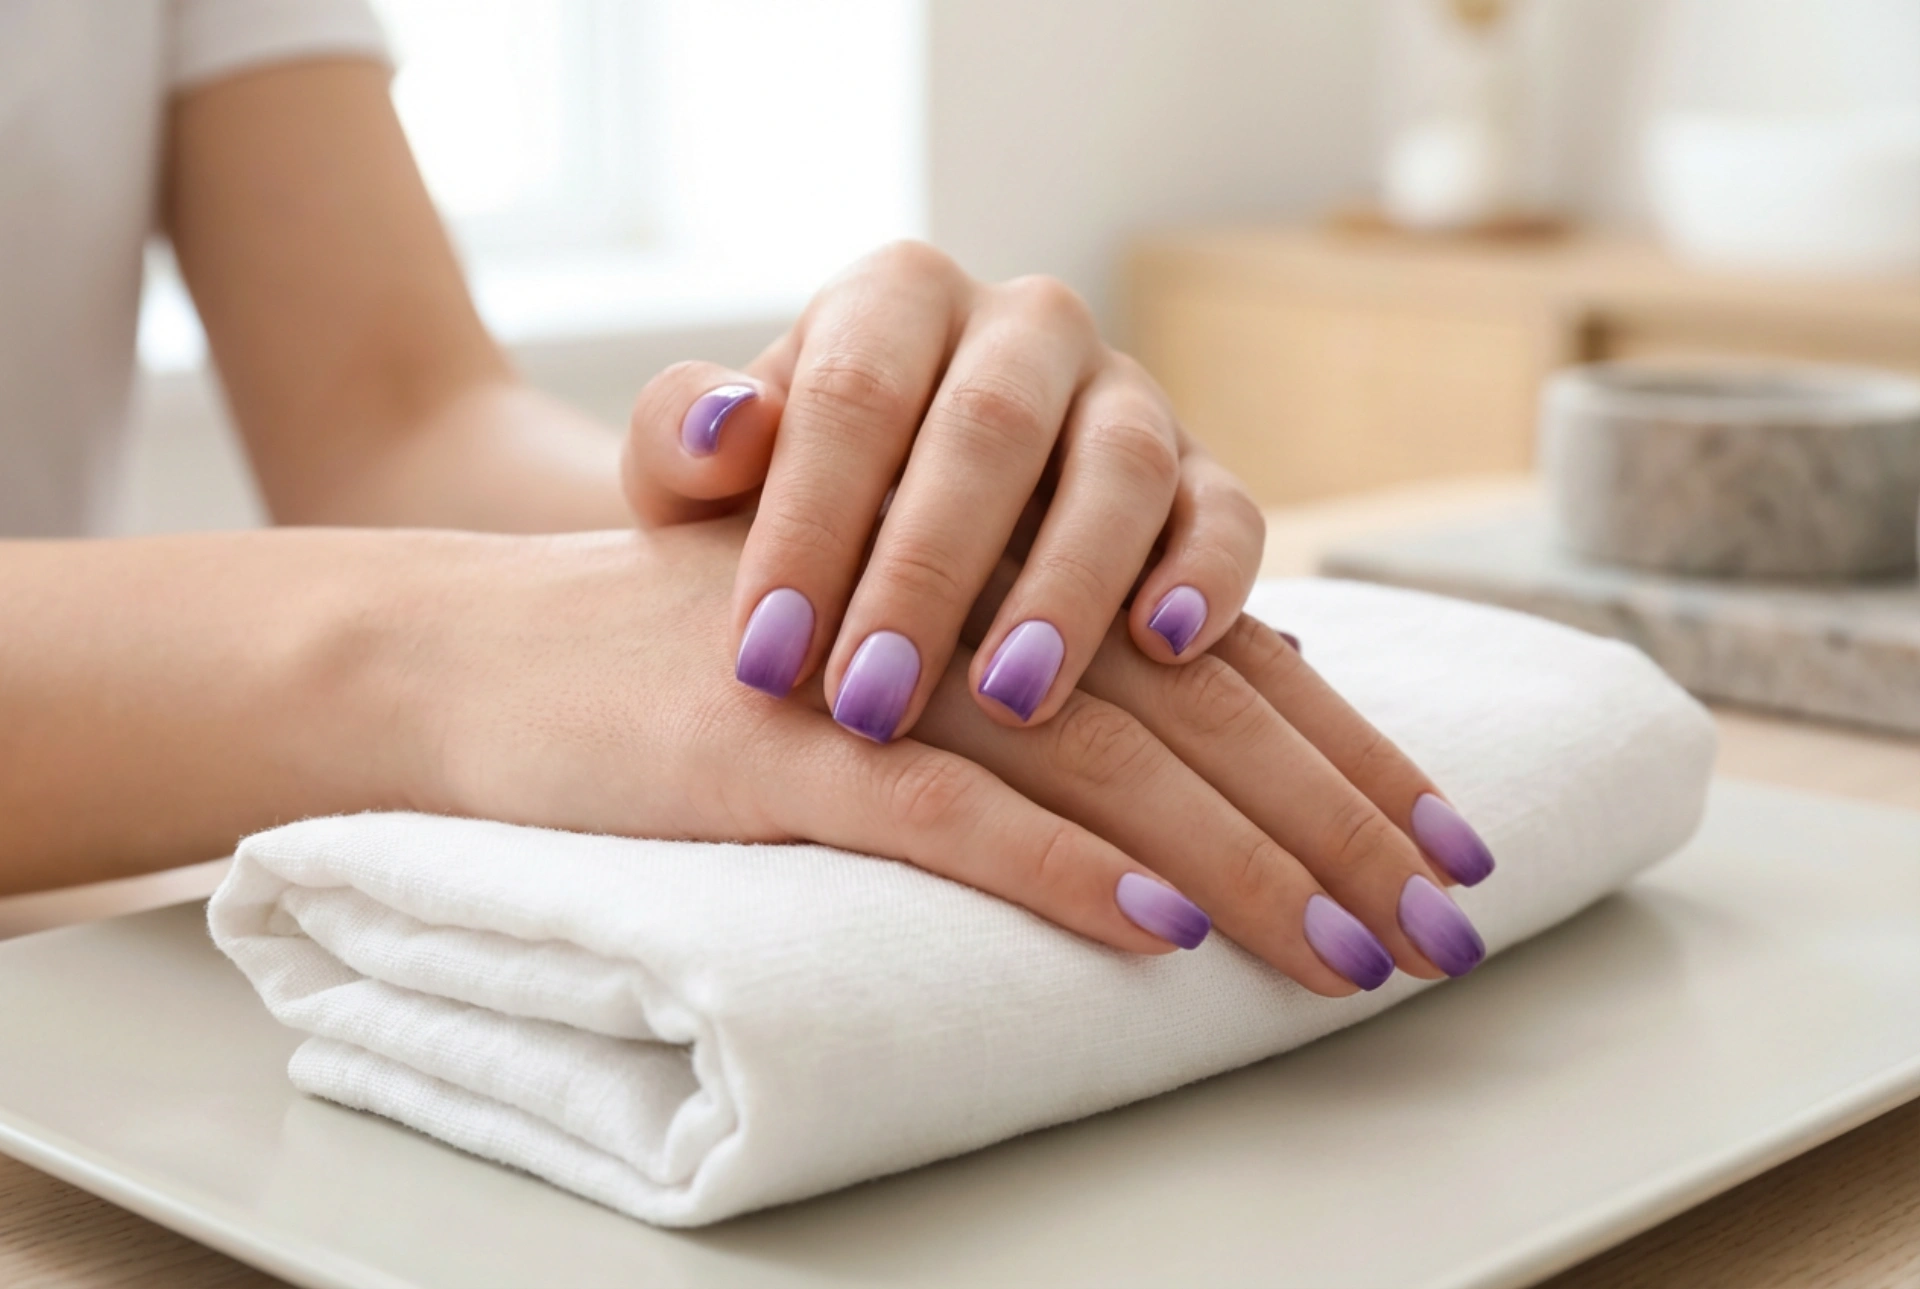


Beautifully manicured hands always leave a lasting impression, and a delicate, harmonious purple ombre on the nails is the perfect way to showcase classic elegance with a modern twist. The smooth transition from a soft, dreamy lavender to a rich, deep violet creates a striking yet sophisticated look that suits any occasion. Achieving this seamless gradient at home is easier than it looks, requiring just a few basic tools, a bit of patience, and the right technique. By focusing on preparation and the blending process, you can create a professional-looking finish that highlights the beauty of your hands.
Choosing the Perfect Purple Palette
The key to a successful ombre design lies in selecting shades that complement each other naturally. The violet spectrum is incredibly diverse, ranging from cool pastel tones to warm, berry-infused hues. To achieve a harmonious gradient, it is best to choose two or three shades that belong to the same colour family. For instance, pairing a delicate lilac with a medium plum and a deep aubergine will create a smooth, logical transition that looks elegant and cohesive.
If you prefer a softer, more subtle appearance, you can opt for a two-toned gradient using a pale lavender and a classic violet. For those who want a more dramatic effect, contrasting a very light pastel with a deep, dark grape shade can look incredibly striking. When selecting your polishes, ensure they have a similar consistency and opacity, as this makes the blending process much smoother and prevents the colours from looking patchy or uneven.
Preparing Your Nails for the Manicure
Before applying any colour, it is essential to prepare your nails properly. A clean, smooth canvas is the foundation of any long-lasting manicure. Start by shaping your nails to your preferred length and style. Rounded, oval, or almond shapes work particularly well with ombre designs, as the soft curves complement the fluid transition of the colours.
- Gently push back the cuticles using a wooden stick to create a clean nail bed.
- Smooth out the nail surface with a gentle buffing block to remove any ridges, ensuring the polish adheres perfectly.
- Wipe the nails with a gentle cleanser to remove any dust, natural oils, or residue.
- Apply a high-quality base coat to protect the natural nail plate and prevent staining from the darker purple pigments.
Taking these preparation steps seriously not only protects your nails but also ensures that the gradient transition looks flawless, with no bumps or uneven texture to disrupt the visual flow.
The Sponge Technique for a Flawless Gradient
The most accessible and effective way to achieve a seamless ombre effect at home is by using a simple makeup sponge. A fine-pored cosmetic sponge works best, as it disperses the polish evenly without leaving large air bubbles on the nail surface. To begin, apply the lightest shade of purple as your base colour over the entire nail and allow it to dry completely.
Once the base is dry, lightly dampen your makeup sponge with water and squeeze out any excess. This prevents the sponge from absorbing too much polish. Paint horizontal stripes of your chosen purple shades directly onto the edge of the sponge, slightly overlapping them to start the blending process. Gently press and tap the sponge onto the nail, moving it slightly up and down to blur the lines between the colours.
It is best to work in thin layers. Do not worry if the first coat looks sheer or uneven; applying two or three light layers, letting each one dry slightly in between, will build up a rich, beautifully blended gradient. To make clean-up easier, you can apply a protective barrier, like a rich hand cream or skin-safe tape, around the edges of your nails before you begin sponging.
Perfecting and Sealing the Design
Once you have achieved the desired intensity and transition, the final steps will bring the entire look together. The texture immediately after sponging can look slightly textured or matte, but this is easily resolved. A generous layer of a glossy top coat is the secret weapon of any ombre manicure. The top coat acts as a blending agent, melting the different purple shades together into a perfectly smooth, glass-like finish.
Apply the top coat while the ombre layers are still slightly damp, gliding the brush gently over the nail to avoid smearing the design. Be sure to seal the free edge of the nail to prevent chipping. Finally, use a small, flat brush dipped in gentle remover to clean up any excess polish from the skin and cuticles, leaving you with a crisp, professional-looking boundary.
Caring for Your Ombre Manicure
To keep your beautiful purple gradient looking fresh and vibrant, a simple daily maintenance routine is highly beneficial. Hydration is key to preserving the flexibility of the polish and keeping the skin around your nails looking soft and healthy. Apply a nourishing cuticle oil every evening and massage it gently into the surrounding skin.
Additionally, wearing protective gloves during household chores, such as washing dishes, will shield your nails from water exposure and harsh cleaning agents, preventing early wear and tear. With proper care, your harmonious purple ombre nails will remain a stunning accessory that elevates your everyday style.




