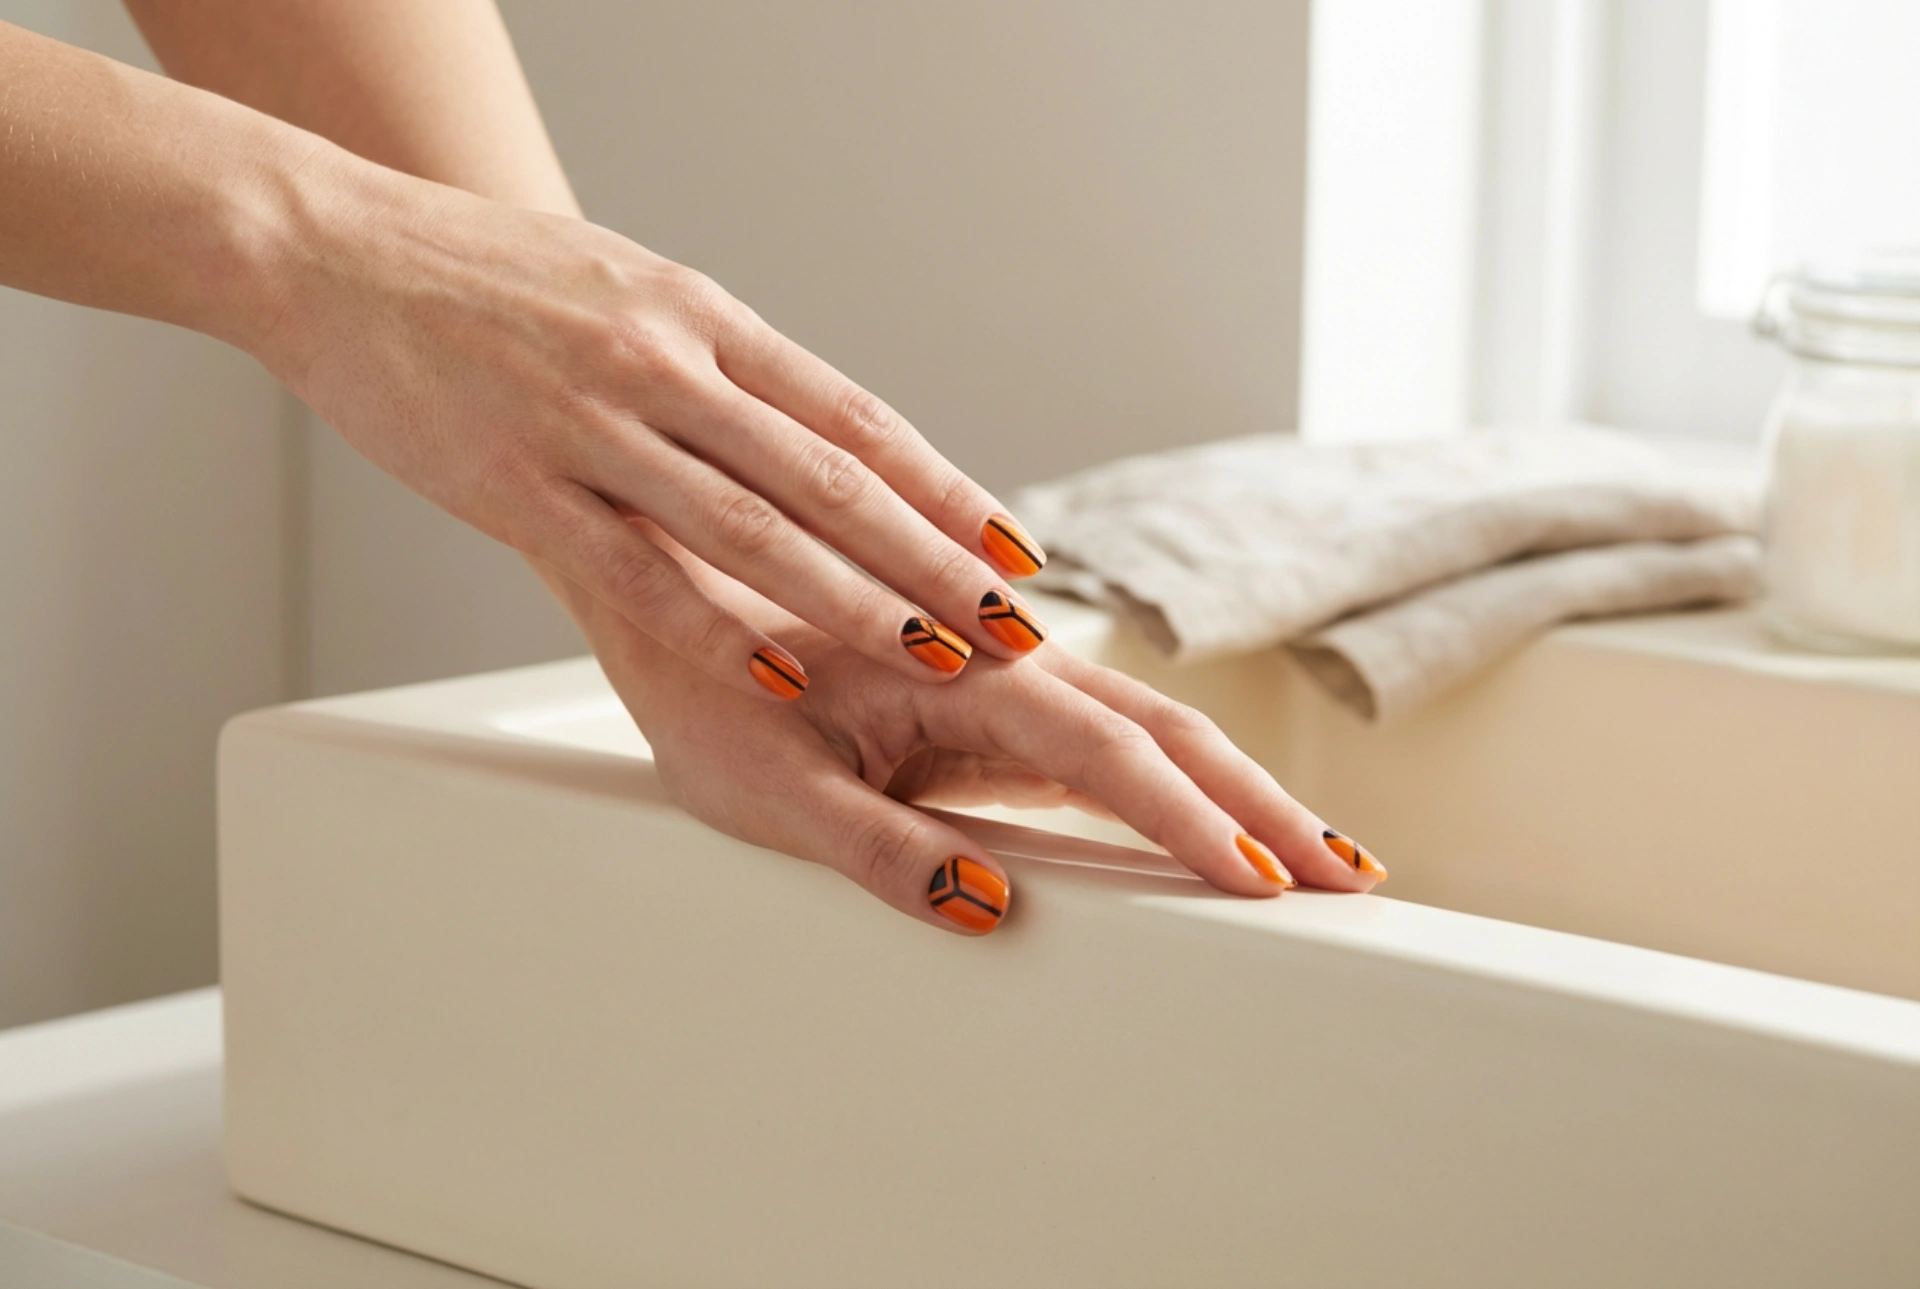


Beautifully manicured hands are a great way to showcase personal style, and the striking combination of vibrant orange and deep black offers a bold, modern statement. Drawing inspiration from elegant hands adorned with precise geometric patterns, this colour scheme creates a sophisticated contrast that is perfect for any season. Achieving these sharp lines and contrasts requires a steady hand and a few simple tools, but the result is a glossy, professional-looking finish that elevates your everyday style.
The Power of Contrast: Why Orange and Black Work Together
The combination of orange and black is often associated with specific seasonal celebrations, but when styled with geometric precision, it becomes a timeless and sophisticated choice. This dynamic duo works incredibly well due to the stark contrast between the warmth of orange and the depth of black. Orange brings energy, warmth, and vitality to the nails, while black grounds the design, adding a layer of modern elegance and definition.
When these two colours meet in a manicured design, they create an eye-catching visual tension. By using clean lines and deliberate shapes, the contrast looks intentional and artistic rather than overwhelming. Whether you opt for a bright, neon orange or a muted, burnt terracotta hue, pairing it with a rich, glossy black ensures that your nail design will make an elegant impression.
Essential Tools for Clean Geometric Nail Art
Creating sharp, precise lines at home does not require professional salon equipment. With a few basic cosmetic accessories, you can achieve clean borders and intricate patterns easily. Here are the essential tools to help you get started:
- Nail Striping Tape: This thin, adhesive tape is the secret to achieving perfectly straight lines. It acts as a stencil, allowing you to paint contrasting sections without the colours bleeding into each other.
- Fine Detail Brushes: A long, thin liner brush is invaluable for hand-painting delicate lines, filling in geometric shapes, or cleaning up edges.
- Dotting Tools: Perfect for adding small accents or mapping out the guide points of your design before drawing the final lines.
- A Quality Top Coat: A high-shine, glossy top coat is crucial for sealing the design, smoothing out any unevenness caused by layering polishes, and protecting your hard work from chipping.
Step-by-Step Guide to Creating Precise Lines
Patience is key when working with contrasting colours. To achieve a flawless finish, follow these simple steps for a beautiful home manicure:
Step 1: Prep and Base Coat
Begin by preparing your nails. Shape them gently with a file, push back your cuticles, and clean the nail plate to remove any natural oils. Apply a thin layer of protective base coat. This step is essential to prevent staining, especially when working with highly pigmented shades like orange and black.
Step 2: Apply the Background Colour
Paint your nails with your chosen base colour. If you want the orange to be the dominant shade, apply two thin coats of orange polish and let them dry completely. It is absolutely vital that this base layer is 100% dry before moving on to the next step, as any moisture will cause the striping tape to pull the polish away.
Step 3: Position the Striping Tape
Cut small pieces of nail striping tape and apply them to your nails to create the geometric shapes of your choice. Press the tape down firmly, especially at the edges of the nail plate, to ensure no wet polish can seep underneath. You can create diagonal splits, triangles, or simple vertical blocks.
Step 4: Paint the Contrasting Black
Carefully apply the black polish over the designated areas of the nail. Use a thin coat to prevent the paint from pooling at the edges of the tape. Once applied, slowly peel the tape away while the black polish is still wet. Peeling it off immediately ensures a crisp, clean line.
Step 5: Seal and Protect
Allow the entire design to dry for a few minutes, then apply a generous layer of glossy top coat. This will lock in the design, smooth out the raised edges where the two colours meet, and provide that brilliant, professional shine.
Design Variations: From Minimalist to Bold Patterns
The beauty of orange and black nail art lies in its versatility. You can adapt the style to suit your personal preference, whether you prefer a subtle accent or a dramatic geometric look.
For a minimalist approach, consider a modern take on the classic French manicure. Paint the nails with a sheer neutral base, then add a thin, curved black line at the tip, accompanied by a parallel line in a vibrant orange hue. This negative space technique looks incredibly chic and sophisticated.
If you prefer bolder designs, try asymmetrical color blocking. Divide the nail into three distinct sections using striping tape, painting one section black, one orange, and leaving the third one bare or painted in a soft nude. This creates an abstract, modern art effect on your fingertips.
Maintaining Your Geometric Manicure
Once you have completed your geometric masterpiece, you will want to keep it looking fresh and vibrant for as long as possible. Daily habits play a significant role in the longevity of your manicure.
To prevent premature chipping, always wear protective gloves when doing household chores, such as washing dishes or gardening. Hydration is also key; apply a nourishing cuticle oil daily to keep the skin around your nails soft and healthy. Finally, applying a fresh layer of top coat every two to three days will renew the glossy finish and add an extra layer of protection over your precise lines.




