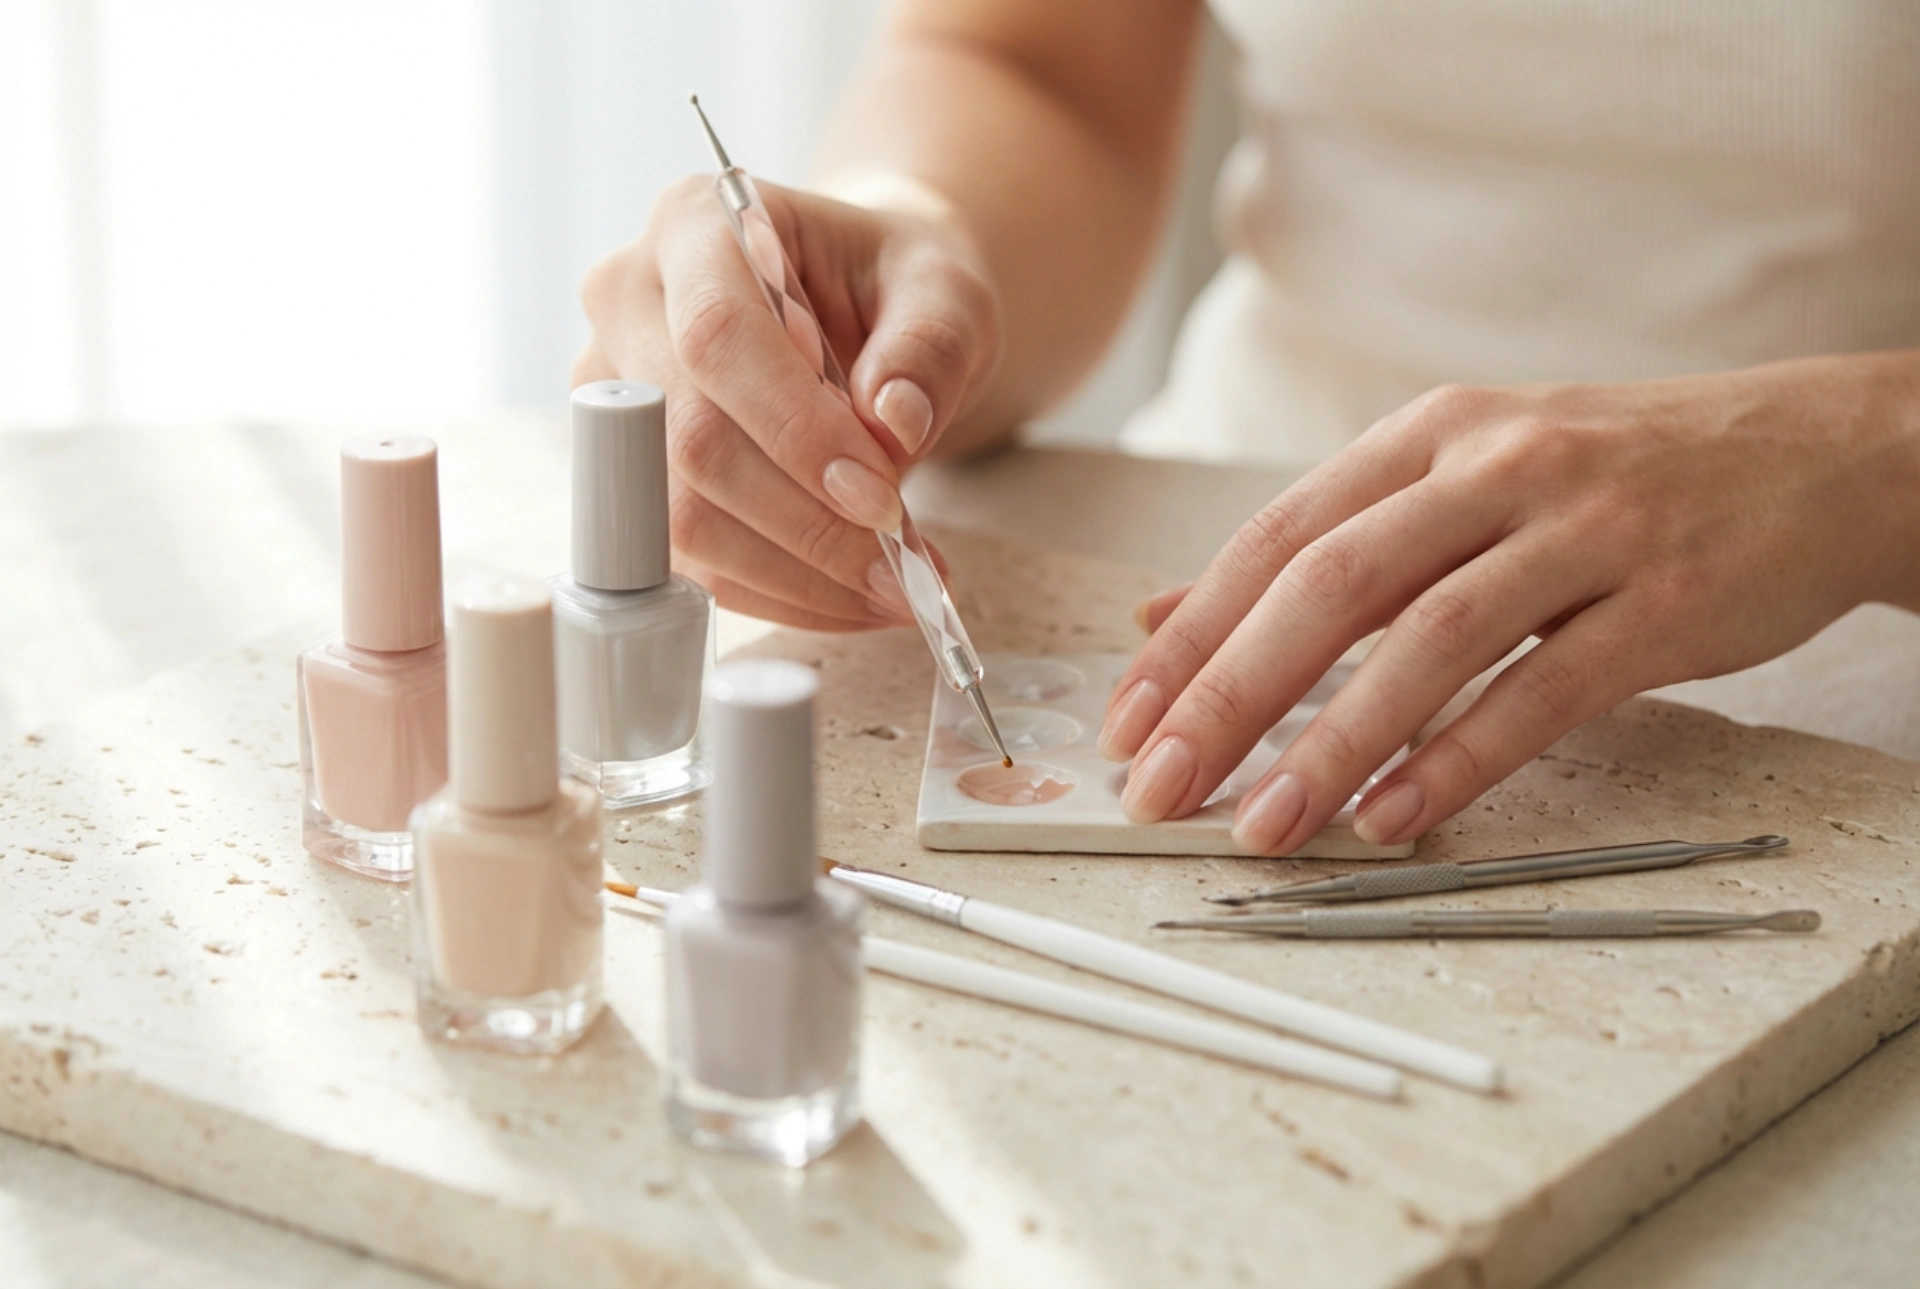


Creating beautiful, customised nails at home is a wonderful way to express your creativity and elevate your personal style. Imagine a clean, minimalist workspace bathed in soft, natural light, where simple tools like fine brushes, dotting instruments, and gentle pastel polishes are laid out neatly. Having a dedicated nail art starter kit can turn a simple home manicure into an artistic ritual. If you are beginning your journey into nail styling, you do not need a massive collection of complex salon equipment. Starting with a few well-chosen, basic tools allows you to learn the foundational techniques safely and comfortably in your own home.
Essential Tools for Your Nail Art Journey
When assembling your very first nail art kit, it is easy to feel overwhelmed by the sheer variety of accessories available. However, a minimalist approach is often the most effective. Selecting a few versatile, high-quality tools will help you develop control and precision before moving on to more complex designs.
- Dotting Tools: These double-ended styluses usually feature small metal balls of varying sizes at each end. They are incredibly versatile, allowing you to create perfect circles, flowers, hearts, and leopard-print spots with ease.
- Detailing Brushes: A set of thin nail art brushes is indispensable. Look for a fine-liner brush with short bristles for detailed work and a longer striper brush for drawing straight, clean lines.
- Striping Tape: This thin, adhesive tape is perfect for creating sharp, geometric patterns, clean borders, and negative-space designs. It serves as a helpful guide to ensure your lines remain perfectly straight.
- Cosmetic Sponges: Plain, latex-free makeup sponges are excellent for blending colours together. They are the secret behind creating soft, seamless ombre gradients and cloudy, ethereal textures on the nail surface.
Preparing the Ideal Canvas
Before applying any artistic elements, the foundation of your manicure must be carefully prepared. A smooth, clean surface ensures that your designs apply evenly and remain intact for a longer period. This preparation is entirely cosmetic and can easily be done using basic household items.
Start by gently shaping your nails with a fine-grit file and pushing back the cuticles with a wooden stick. Wipe the nail plates with a dehydrating solution or simple rubbing alcohol to remove any natural oils. Applying a high-quality, protective base coat is essential; it guards the natural nail from staining and provides a smooth, adhesive layer for your coloured polishes. Choosing classic neutral shades, such as soft pinks, warm beige, or clean whites, creates a versatile background that makes your subsequent nail art stand out beautifully.
How to Create Simple, Elegant Designs
Once your base coat and background colour have fully dried, you can begin experimenting with simple patterns. Patience and a steady hand are key to achieving a clean, professional finish.
The Classic Polka Dot Pattern
The polka dot pattern is one of the easiest and most playful designs for beginners. To create it, pour a small drop of your chosen nail polish onto a non-porous surface, such as a piece of foil or a plastic palette. Dip the tip of your dotting tool into the polish, ensuring it is lightly coated but not dripping. Gently press the tool onto the nail surface. For a modern, minimalist look, try placing a single, delicate dot near the base of each nail, or create a cascading pattern of different-sized dots starting from the tip.
Minimalist Geometric Lines
For a sleek, contemporary aesthetic, geometric lines are an excellent choice. You can achieve this by using a long striper brush or striping tape. If using a brush, lightly load the bristles with polish, rest your hand on a stable surface to prevent shaking, and draw a single diagonal or vertical line across the nail. If you prefer using tape, apply the adhesive strips to a completely dry base coat in your desired pattern, paint over the entire nail with a contrasting colour, and carefully peel the tape away while the polish is still wet to reveal crisp, clean lines underneath.
The Soft Ombre Gradient
An ombre gradient offers a beautiful, blended transition from one colour to another. Apply a light base colour and let it dry. On a small cosmetic sponge, paint two or three parallel stripes of your chosen colours, slightly overlapping them. Gently dab the sponge onto your nail several times, moving it slightly up and down to blend the edges. Do not worry about the polish that gets on the surrounding skin; this can easily be cleaned up afterward with a small brush dipped in polish remover.
Sealing and Protecting Your Art
After completing your designs, it is vital to lock them in with a protective top coat. The top coat acts as a shield, preventing chips, scratches, and fading while smoothing out any minor texture differences created by your brushes or dotting tools. A glossy top coat will give your nails a classic, glass-like shine, while a matte top coat can instantly transform your design into a modern, velvety masterpiece. Ensure you cap the free edge of your nail by running the top coat brush along the very tip to prevent premature peeling.




