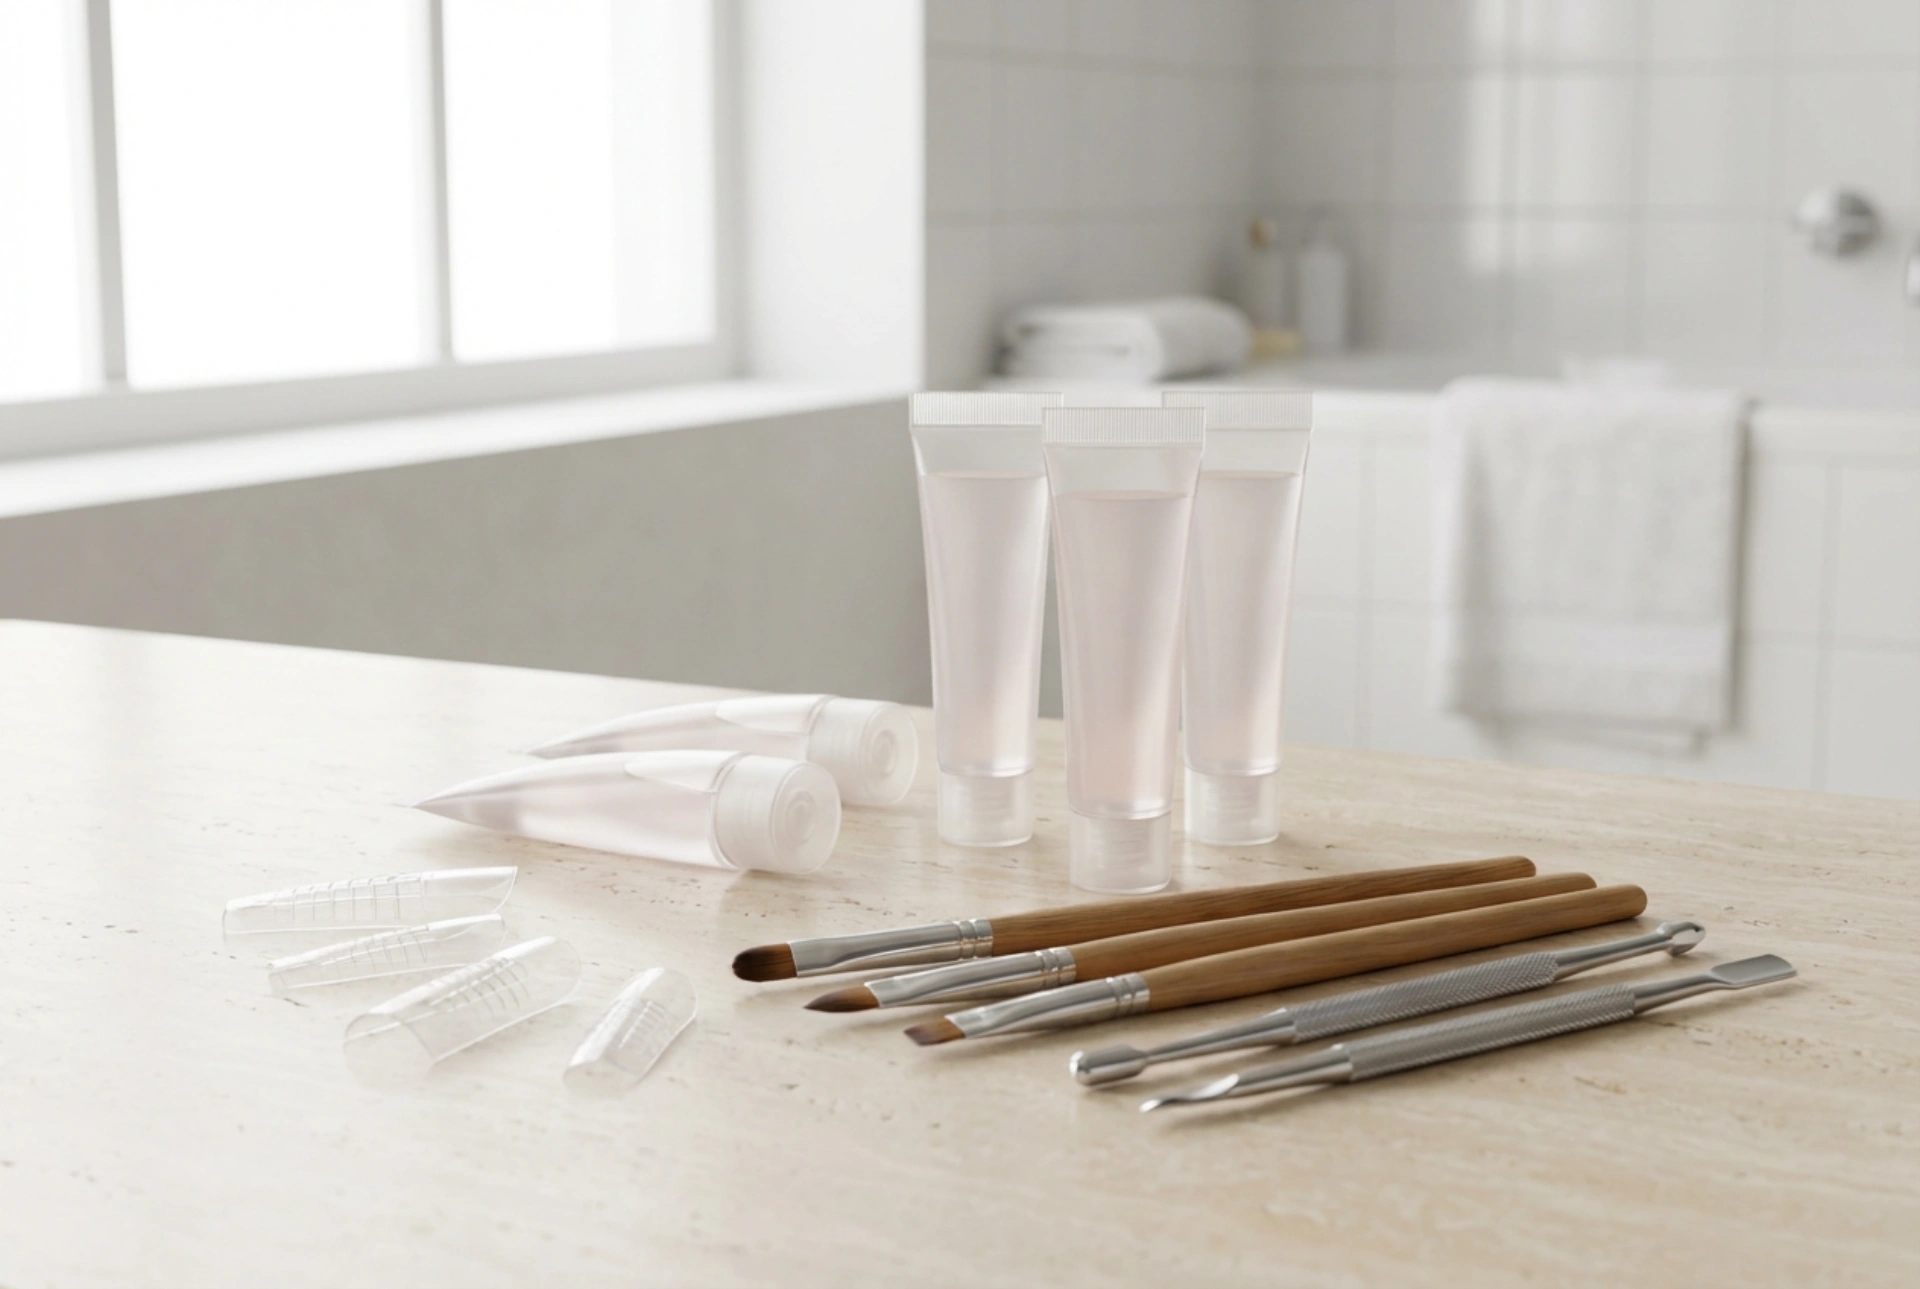


An elegant flatlay of a professional acrylic gel nail kit, with its clean tubes, dual forms, and dual-ended brushes, instantly inspires a sense of creative beauty. Over the last few years, acrylic gel—often referred to as polygel—has revolutionised the world of home manicures. Combining the best elements of traditional acrylics and classic UV gels, it offers unmatched durability alongside absolute control during application. If you have been looking for a way to achieve strong, flawless, salon-worthy nails in the comfort of your own home, understanding the components of an acrylic gel kit and mastering the correct sequence of work is the perfect place to start. This modern technique is surprisingly user-friendly once you familiarise yourself with the basic tools and steps.
Essential Products in an Acrylic Gel Starter Kit
To embark on your acrylic gel journey, you need a carefully curated selection of products. Unlike traditional systems that require precise liquid-to-powder ratios, acrylic gel comes pre-mixed in a convenient tube, allowing you to work at your own pace without worrying about the product drying before you are ready. Here are the core items you will find in a standard high-quality kit:
- Acrylic Gel Tube: The star of the show. It has a thick, putty-like consistency that does not run, making it incredibly easy to manipulate and sculpt.
- Slip Solution: A specialised fluid used to damp your brush. It temporarily reduces the stickiness of the gel, allowing your brush to glide smoothly over the product. High-percentage isopropyl alcohol is a safe and common alternative.
- Dual-Ended Brush and Spatula: A highly practical tool featuring a metal spatula on one end (for slicing and placing the gel) and a synthetic brush on the other (for patting and shaping).
- Nail Forms: These are crucial for building length. Most beginner kits feature dual forms (clear plastic templates) or traditional paper sculpting forms.
- Base Coat and Top Coat: Essential for ensuring proper adhesion to the natural nail plate and providing a glossy, protective, scratch-resistant finish.
- Nail Prep Files and Buffers: Used to shape the natural nail, gently remove the natural shine, and refine the final extension.
- LED/UV Lamp: Crucial for polymerising the gel and setting the durable structure.
Selecting the Perfect Forms: Dual Forms vs. Paper Templates
One of the most exciting aspects of working with acrylic gel is the choice of forms, which dictates the ease of your application process. The two main types of forms serve different preferences and nail shapes:
Dual Forms (Upper Forms): These are clear, flexible plastic moulds that resemble full-coverage false nails. They are marked with lines to help you gauge the length. To use them, you apply the acrylic gel directly inside the form, press it onto your natural nail, cure under the lamp, and then simply pop the plastic form off. This method is incredibly popular because it leaves the surface of the nail perfectly smooth and glossy, minimising the need for extensive filing.
Paper Sculpting Templates: These are adhesive templates wrapped under the free edge of your natural nail. You sculpt the acrylic gel directly on top of your nail and the template. While this method requires a bit more hand dexterity, it allows for a highly customised fit, which is ideal if your natural nail beds have unique curves or if you want to create highly specific shapes like stiletto or ballerina.
Step-by-Step Application Guide for Acrylic Gel
Achieving a flawless, long-lasting finish relies entirely on following the correct order of work. Skipping a single step can lead to premature lifting or breakage. Here is the systematic routine to follow:
Step 1: Preparation is Key
Begin by sanitising your hands and tools. Gently push back your cuticles and remove any non-living tissue from the nail plate. Use a fine-grit buffer to remove the natural shine from your nails, ensuring there are no smooth patches left. Wipe the nails thoroughly with a cosmetic cleanser to remove dust and excess oils.
Step 2: Base Coat Application
Apply a thin, even layer of base coat to the prepared nail plate. Be extremely careful not to touch the cuticles or side walls, as this can cause the gel to lift later. Cure the base coat under your LED/UV lamp according to the manufacturer's recommended time.
Step 3: Measuring and Sizing
If you are using dual forms, select the correct size for each nail. The form should fit comfortably from sidewall to sidewall without needing to be pressed down hard. It is always better to choose a slightly larger form than one that is too small.
Step 4: Dispensing and Shaping the Gel
Squeeze a small, pea-sized bead of acrylic gel from the tube and use the metal spatula to slice it off. Place the bead inside the dual form (or directly onto the nail if using paper templates). Dip your brush lightly into the slip solution, wiping off any excess on a lint-free wipe. Gently pat and smooth the gel inside the form, keeping the layer thinner near the cuticle area and slightly thicker in the middle (the apex) for structural strength.
Step 5: Placement and Curing
Carefully align the filled dual form with your cuticle line (leaving a tiny gap of about 1 millimetre) and gently press it down onto the nail plate at a 45-degree angle to avoid trapping air bubbles. Use your brush dipped in slip solution to clean up any excess gel that squeezes out around the edges. Turn your hand over and smooth the gel underneath the free edge. Cure under the lamp for 60 to 90 seconds.
Step 6: Finishing Touches
Once cured, gently wiggle the dual form from side to side until it pops off, revealing a beautifully smooth surface. Wipe away any sticky dispersion layer with your cleanser. Use a 180-grit file to shape the free edge and smooth out the cuticle area. Finally, apply a high-shine top coat, cure it under the lamp, and nourish your cuticles with a drop of rich nail oil.
Golden Rules for a Long-Lasting Manicure
To ensure your beautiful manicure remains intact for up to three weeks, keep these simple, safe tips in mind. Firstly, never use too much slip solution; if your brush is dripping wet, it will dilute the acrylic gel, leading to air bubbles and weak spots. Secondly, always ensure that no product touches your skin or cuticles before curing. Lastly, remember that patience is essential—taking your time during the preparation phase and the shaping phase will always yield a much more professional, refined, and durable result. With a bit of practice, this elegant technique will become a seamless part of your beauty ritual.




