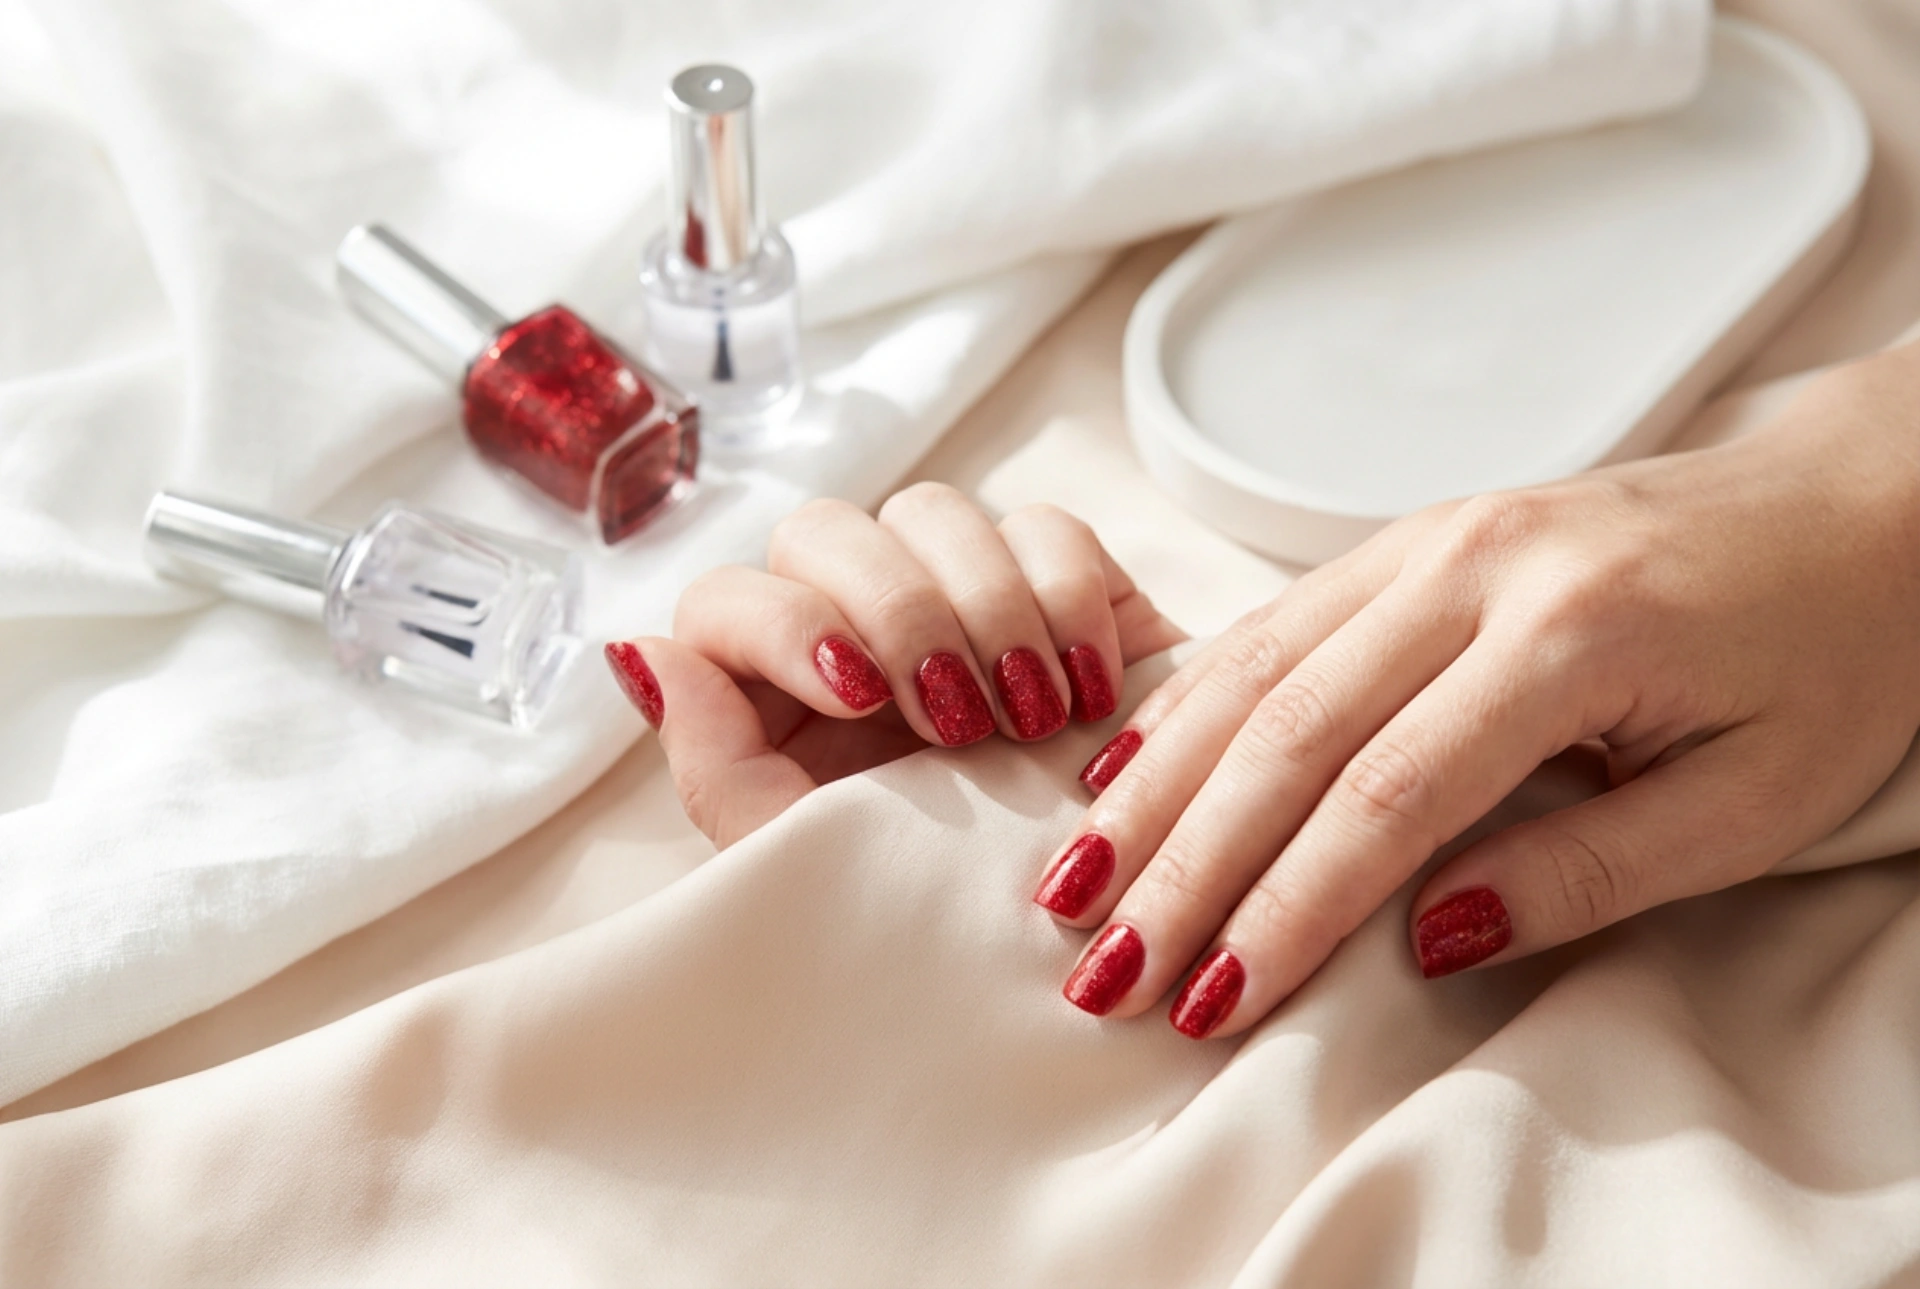


Elegant hands adorned with streak-free red glitter nails have always been a symbol of timeless sophistication, confidence, and warmth. Capturing that perfect look—where the hands look flawlessly polished, catching the natural light without a single streak—requires a blend of patience and correct technique. Glitter nail polishes are beautifully vibrant, but their textured nature can make a smooth application somewhat tricky. If not applied correctly, the glitter can clump, dry unevenly, or leave behind unsightly brush marks. Fortunately, achieving a professional, glossy, and streak-free finish at home is entirely possible with the right step-by-step approach to nail preparation, precise glitter application, and sealing.
Setting the Stage: Preparing the Nails for Glitter
Before reaching for your favourite red glitter polish, it is vital to prepare the canvas. Glitter particles have a tendency to settle into any imperfections, ridges, or uneven spots on the nail plate, which can disrupt the smooth flow of the light and create a patchy appearance.
First, ensure that your nails are shaped evenly using a gentle file. Pay close attention to the cuticles; gently push them back using a wooden stick to create a clean, elongated nail bed. Once the nails are shaped, use a soft buffing block to gently smooth out any ridges on the nail surface. This step is crucial for preventing the glitter from pooling in microscopic dips. Next, cleanse the nails thoroughly with a lint-free wipe soaked in a dehydrating solution or simple rubbing alcohol to remove any natural oils or dust. Finally, apply a thin, even layer of a high-quality base coat. The base coat not only protects the natural nail from staining—which is particularly common with intense red pigments—but also provides a smooth, slightly tacky surface that helps the glitter adhere flatly.
Master Techniques for Streak-Free Glitter Application
Applying glitter polish is very different from applying standard cream polishes. The standard stroke-and-drag method can often pull the glitter particles along, leaving patchy spots and clear streaks. To achieve an opulent, densely packed red glitter look, consider trying these highly effective application methods.
The Classic Floating Brush Technique
If you prefer applying the polish directly from the bottle, the key is to float the brush. Instead of pressing the brush firmly against the nail plate, load a moderate amount of polish onto the brush and guide it gently over the nail, barely touching the surface. This allows the suspension base to distribute the glitter evenly without the bristles dragging the particles into lines. Keep your layers incredibly thin. It is far better to apply three thin coats of polish than one thick, heavy layer that will take hours to dry and easily smudge.
The Makeup Sponge Dab Method
For an ultra-dense, opaque glitter finish without the bulk of multiple polish layers, the makeup sponge technique is a classic favourite. Start by applying a thin coat of red glitter polish to the nail and letting it dry slightly. Next, apply a small amount of the glitter polish directly onto the edge of a clean, latex-free cosmetic sponge. The sponge naturally absorbs the excess liquid polish base while leaving the concentrated glitter particles on the surface. Gently dab the sponge onto your nail. This transfers a highly concentrated, even layer of glitter without any streak-filled liquid. It creates a stunning, velvet-like glitter texture that sits perfectly flat.
Achieving a Glass-Like Finish with the Top Coat
A glitter manicure is never truly complete without the magic of a top coat. Glitter particles naturally dry with a slightly rough, textured feel that can catch on fabrics and look dull in the light. The top coat acts as a leveler, filling in the microscopic gaps between the glitters to create a smooth, reflective shield.
To achieve that coveted glass-like finish, you may need to apply two layers of top coat. Apply the first layer slightly thicker than usual, allowing it to sink into the crevices of the glitter texture. Let it dry for a few minutes, then apply a second, thinner layer to seal the manicure completely and provide a high-shine, glossy barrier. Always remember to cap the free edge of your nails by running the brush along the very tip. This seals the polish and prevents lifting and chipping, ensuring your beautiful red manicure remains flawless for days.
Post-Manicure Maintenance for Lasting Brilliance
Once your nails are completely dry, keeping them looking fresh and vibrant requires just a little daily care. The natural oils in your skin and nails can dry out, which eventually leads to the top coat losing its lustre. To preserve your manicure, follow these simple habits:
- Apply a drop of nourishing cuticle oil to each nail bed daily to maintain hydration and promote healthy-looking skin around the nails.
- Protect your hands by wearing gloves during daily household tasks, such as washing dishes or using cleaning agents, which can dull the glossy finish.
- If you notice the shine starting to fade after a few days, simply apply a fresh, thin layer of clear top coat to instantly revive the light-reflecting properties of the red glitter.
With these simple home care practices, your stunning red glitter nails will remain as flawless, bright, and streak-free as the day you painted them.




