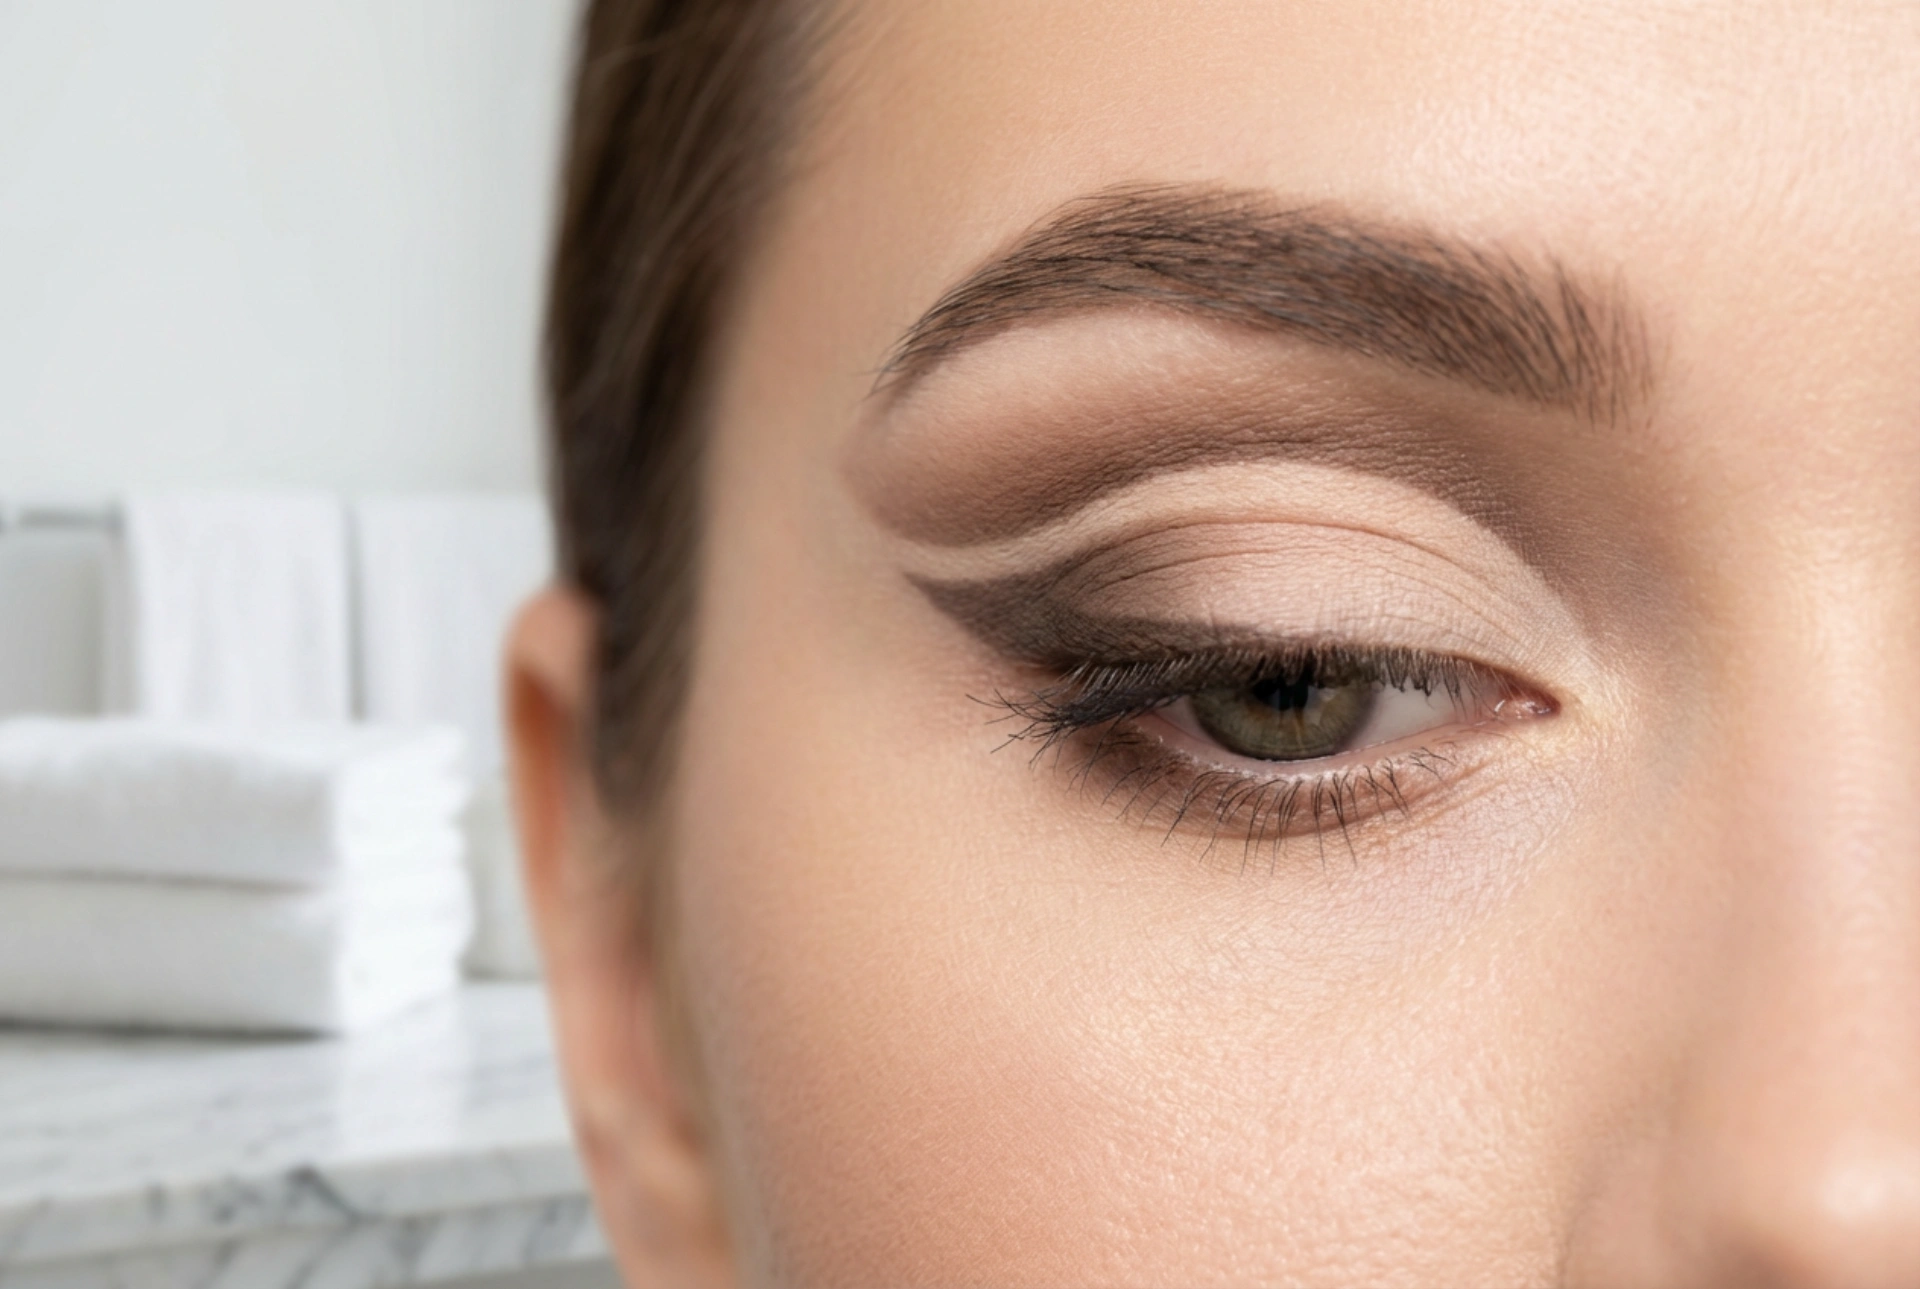


A meticulously applied cut crease is one of the most sophisticated techniques in modern eye makeup, offering an elegant aesthetic that enhances the natural depth of the eyelid. By defining the crease line with sharp contrast and beautifully blended neutral eyeshadows, this technique creates a striking, modern look that elevates any beauty routine. Achieving a flawless finish requires a balance of preparation, precise application, and the right blending methods to ensure a clean, professional result.
Preparing the Eyelid for a Flawless Canvas
To achieve a sharp, long-lasting cut crease, proper preparation is essential. Any natural oils or moisture on the eyelid can cause eyeshadows to smudge or transfer, ruining the defined line that characterises this style. Begin by thoroughly cleansing the eye area. Next, apply a thin layer of eye primer or a lightweight, matte concealer across the entire lid, extending up to the brow bone. This step is crucial because it neutralises any discolouration and creates a uniform base that allows the eyeshadow pigments to appear more vibrant.
Once applied, lightly dust a translucent setting powder or a neutral, skin-toned eyeshadow over the area to set the base. A dry, smooth surface ensures that blending brushes glide effortlessly, preventing patchy spots when you begin layering your transition colours.
Choosing the Essential Tools and Shadow Textures
The secret to a perfect cut crease lies in the tools you use. Unlike standard smoky eyes that rely on broad, diffused blending, this technique demands extreme precision. You will need a few specific brushes: a small, tapered blending brush for mapping out the crease, a flat, firm synthetic brush for cutting the crease, and a small detail brush for refining edges.
When it comes to eyeshadow textures, matte formulas are your best friend for the transition and crease colours. Matte shades absorb light, creating the illusion of a deeper, more defined socket. For the mobile lid, you can choose between a contrasting matte shade for a modern, structured look, or a soft shimmer to reflect the light and draw attention to the clean cut line.
The Step-by-Step Cut Crease Technique
Creating the cut crease involves several deliberate steps. First, map out the transition. Using a light-to-medium transition shade and a fluffy brush, gently sweep the colour just above your natural crease line, using back-and-forth windscreen-wiper motions. Next, define the crease. Switch to a smaller, denser brush and a darker shade. Trace along your natural socket line, or slightly above it if you have hooded eyes, to create the illusion of a higher crease. Blend this darker shade upwards into the transition colour, keeping the lower edge relatively sharp.
Now, it is time for the signature "cut". Dip a flat synthetic brush into a small amount of eye base or concealer. Carefully trace a clean line along your eyelid, carving out the shape beneath the crease. Start from the inner corner and follow the curve outward. Once the crease is cut, gently pat your lid shade onto the freshly carved-out area to set it and make the colour pop.
Perfecting the Finish and Symmetry
Once the crease is defined and the lid colour is applied, the final details make all the difference. To prevent the outer corner from looking disjointed, blend a slightly darker shadow into the outer corner of the eye, connecting the cut crease to the outer lash line in a soft gradient. This creates a cohesive, professional finish. Ensure that the line separating the light lid and the darker crease remains sharp and clean. If any shadow has migrated, a tiny amount of corrector on a clean, angled brush can easily tidy up the edges. Finish the look with a touch of a neutral, matte highlight shade directly under the brow bone to lift the eye and add structure.
Tips for Symmetry and Daily Wear
Achieving perfect symmetry on both eyes can be challenging, but a few simple habits can help. Always work on both eyes simultaneously, completing each step on the left and right eye before moving to the next. This allows you to adjust the height and angle of the crease lines while the product is still workable. Additionally, look straight ahead into a mirror with relaxed eyes when mapping the crease; this ensures the line remains visible and properly positioned when your eyes are open. By mastering these foundational steps and practising patience, you can create a stunning cut crease that stays crisp, elegant, and perfectly defined throughout the day.





