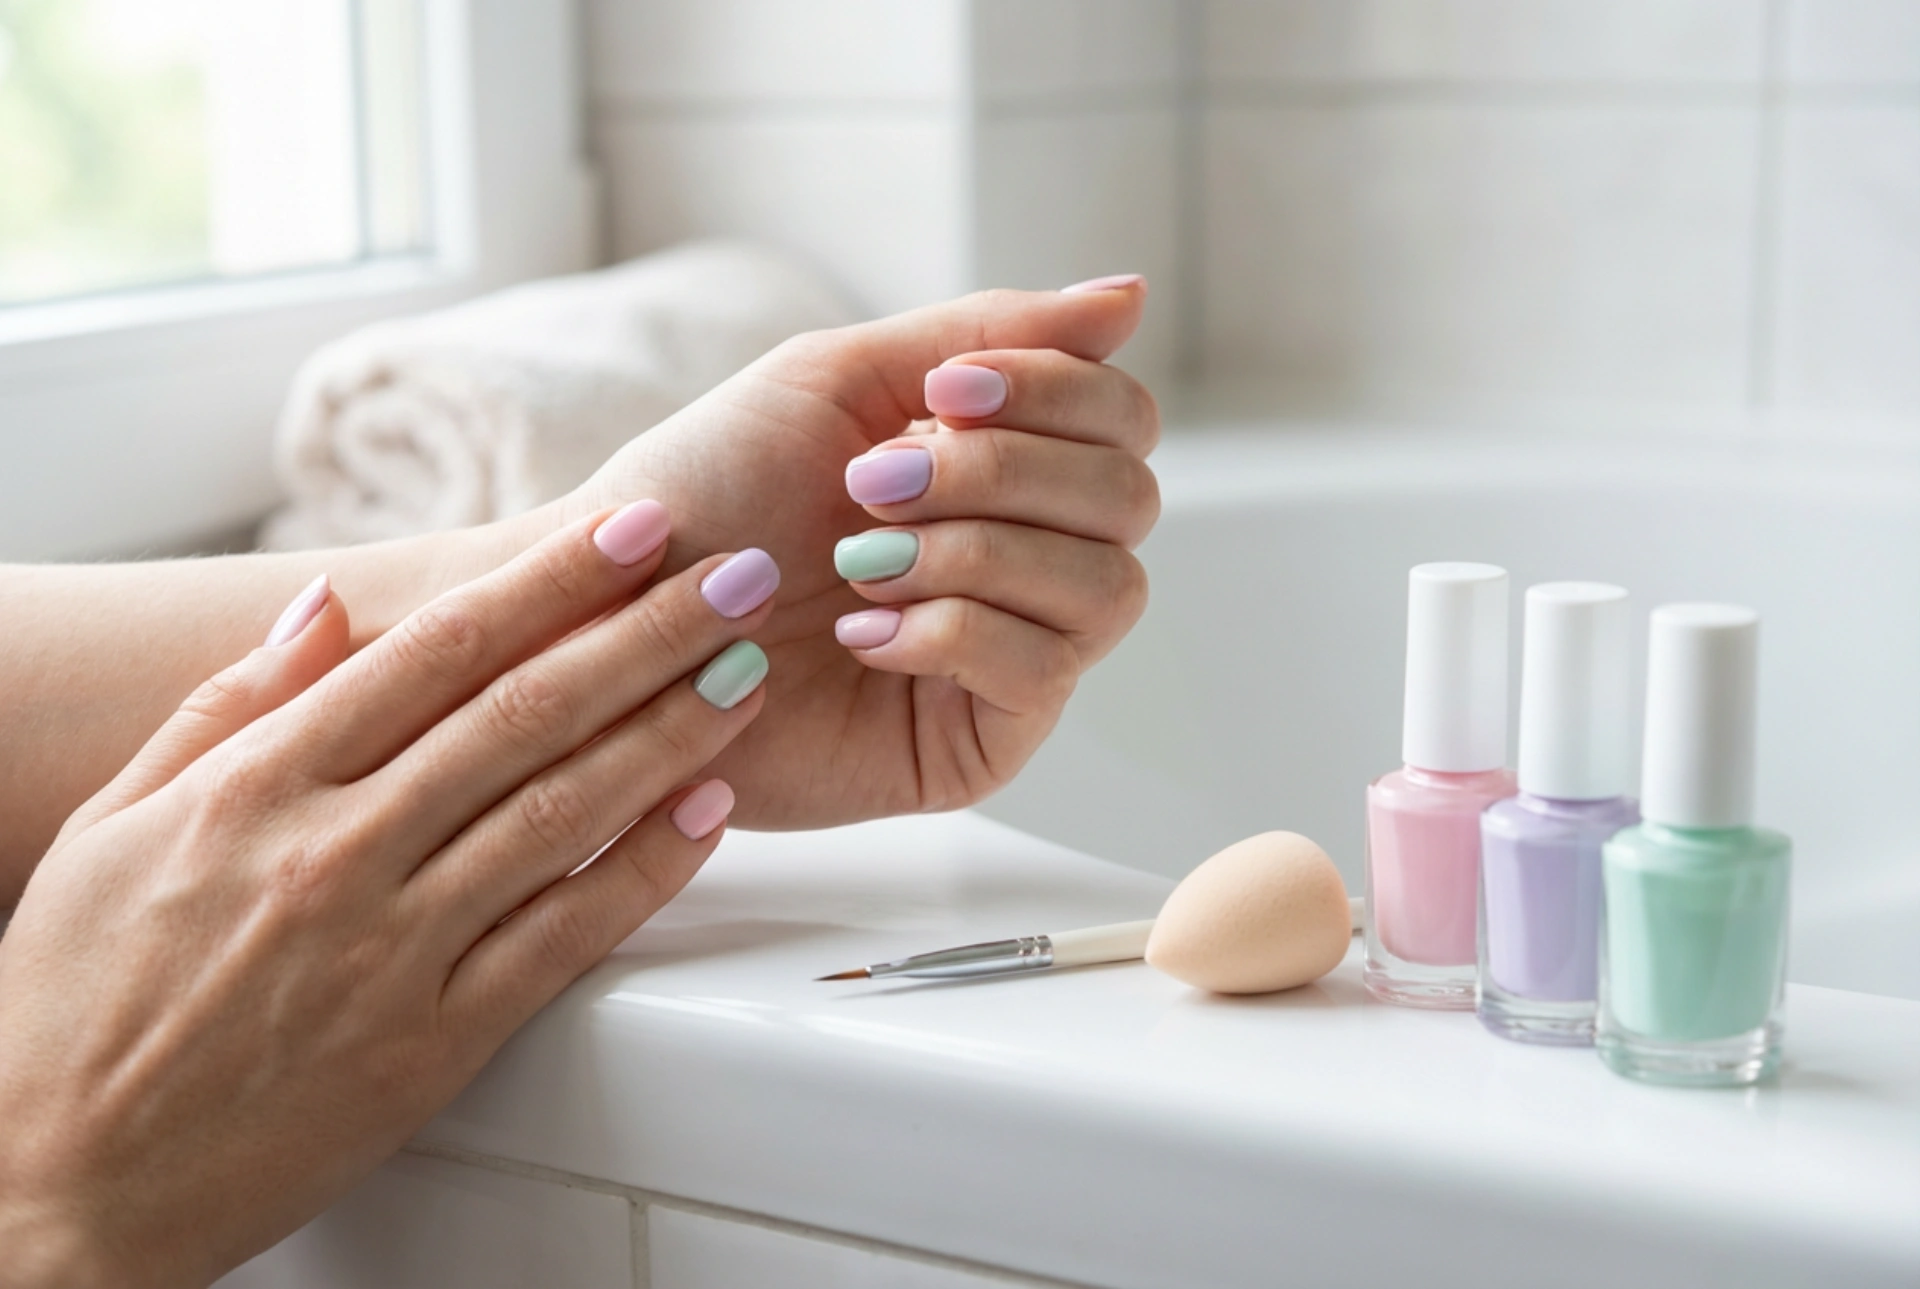


Beautifully manicured hands featuring soft, delicate pastel ombre nails always convey a sense of elegance and modern style. The seamless blend of two or more harmonising shades creates a sophisticated gradient that looks professional yet remains highly accessible for beginners. With just a few simple tools, such as a makeup sponge, a fine cleanup brush, and your favourite pastel nail polishes arranged on a clean workspace, you can easily replicate this popular nail art trend at home under natural light.
The Essential Tools for DIY Ombre Nails
Before you begin your manicure journey, it is essential to gather the correct tools to ensure a smooth application. Having everything prepared beforehand prevents smudges and allows you to work efficiently before the polish begins to dry. Here is a list of the basic items you will need for a successful home ombre manicure:
- Base and Top Coats: A high-quality base coat protects your natural nails from staining and provides a smooth surface. A glossy top coat is crucial, as it is the key ingredient that physically blends the transition between your selected colours.
- Nail Polishes: Choose at least two shades that complement each other well. For beginners, pastel hues like soft pink, lavender, light peach, or pale blue are highly recommended because they blend together naturally and forgive minor imperfections.
- A Blending Sponge: A standard makeup wedge sponge or a dedicated latex nail sponge works best. The fine texture of these sponges helps distribute the polish evenly without leaving large air bubbles on the nail plate.
- Cuticle Protection: Liquid tape or a simple barrier cream can be applied around the skin of your nails to make the cleanup process much easier.
- Fine Cleanup Brush and Polish Remover: A small, flat synthetic brush dipped in polish remover is indispensable for cleaning up the edges and achieving crisp, professional lines around the cuticle area.
Selecting Harmonious Colours for a Flawless Gradient
The secret to a stunning ombre effect lies in colour selection. When starting out, choosing shades that sit close to each other on the colour wheel will yield the most seamless results. For example, transitioning from a soft blush pink to a delicate lavender creates a romantic and subtle look. Alternatively, a classic French ombre, transitioning from a soft nude base to a clean white tip, offers a timeless appeal that suits any occasion.
If you prefer a more vibrant look, you can experiment with contrasting shades, but keep in mind that they require more blending effort. To prevent a muddy appearance in the middle of the transition, you can add a third transitional shade on the sponge between the two contrasting colours. Always test your colour combinations on a piece of paper or plastic wrap beforehand to see how the shades interact when blended together.
Step-by-Step Guide to the Sponge Ombre Technique
Mastering the ombre technique requires patience and a gentle touch. Follow these steps to achieve a smooth gradient at home:
Step 1: Prep and Base Application
Start by shaping your nails, gently pushing back the cuticles, and applying a thin layer of base coat. Once dry, apply one or two thin layers of your lightest chosen shade as the base colour. This ensures that the gradient colours applied on top appear vibrant and saturated.
Step 2: Protect the Surrounding Skin
Apply your skin barrier or liquid tape around the edges of the nail. This step is highly recommended for beginners, as dabbing a sponge can be quite messy and spread polish onto the surrounding skin.
Step 3: Prepare the Sponge
Lightly dampen your sponge with water and squeeze out any excess liquid. A slightly damp sponge prevents the nail polish from absorbing too deeply into the material, allowing more product to transfer onto your nails. Paint horizontal lines of your chosen colours directly onto the edge of the sponge, ensuring the colours slightly overlap to start the blending process.
Step 4: Dab and Blend
Gently press the sponge onto your nail, moving it slightly up and down to blur the line where the colours meet. Do not press too hard, as this can tear the sponge or lift the wet base polish. Apply a thin layer, let it dry for a minute, and then repeat the process for a second or third layer to build up the desired opacity.
Step 5: Lock It in with Top Coat
While the final layer of your gradient is still slightly wet, apply a generous layer of clear top coat. Gently glide the brush over the nail without applying too much pressure. The top coat acts as a blending agent, smoothing out any texture left by the sponge and merging the colours into a seamless gradient. Remove the skin barrier and use your fine brush dipped in remover to clean up the edges.
Common Mistakes to Avoid
Even with the right tools, beginners often encounter a few common hurdles. Knowing how to troubleshoot these issues can save your manicure:
- Textured or Bubbly Finish: This usually happens when the sponge is too dry or if you dab too aggressively. Always dampen the sponge first and use light, bouncing motions.
- Lifting the Base Colour: If you do not let your base colour dry completely before sponging, the wet polish on the sponge can pull the base layer off the nail. Ensure the base is touch-dry.
- Harsh Lines: If you see a distinct line between the colours, make sure you overlap them on the sponge and bounce the sponge slightly up and down during application to diffuse the border.
Maintaining Your Ombre Manicure
To keep your ombre nails looking fresh and beautiful, daily maintenance is key. Apply a hydrating cuticle oil every evening to nourish the skin around your nails and prevent peeling. Reapplying a thin layer of top coat every few days will protect the gradient from chipping and maintain that brilliant, glossy finish. With practice, this simple yet effective nail art technique will become a staple in your home beauty routine.




