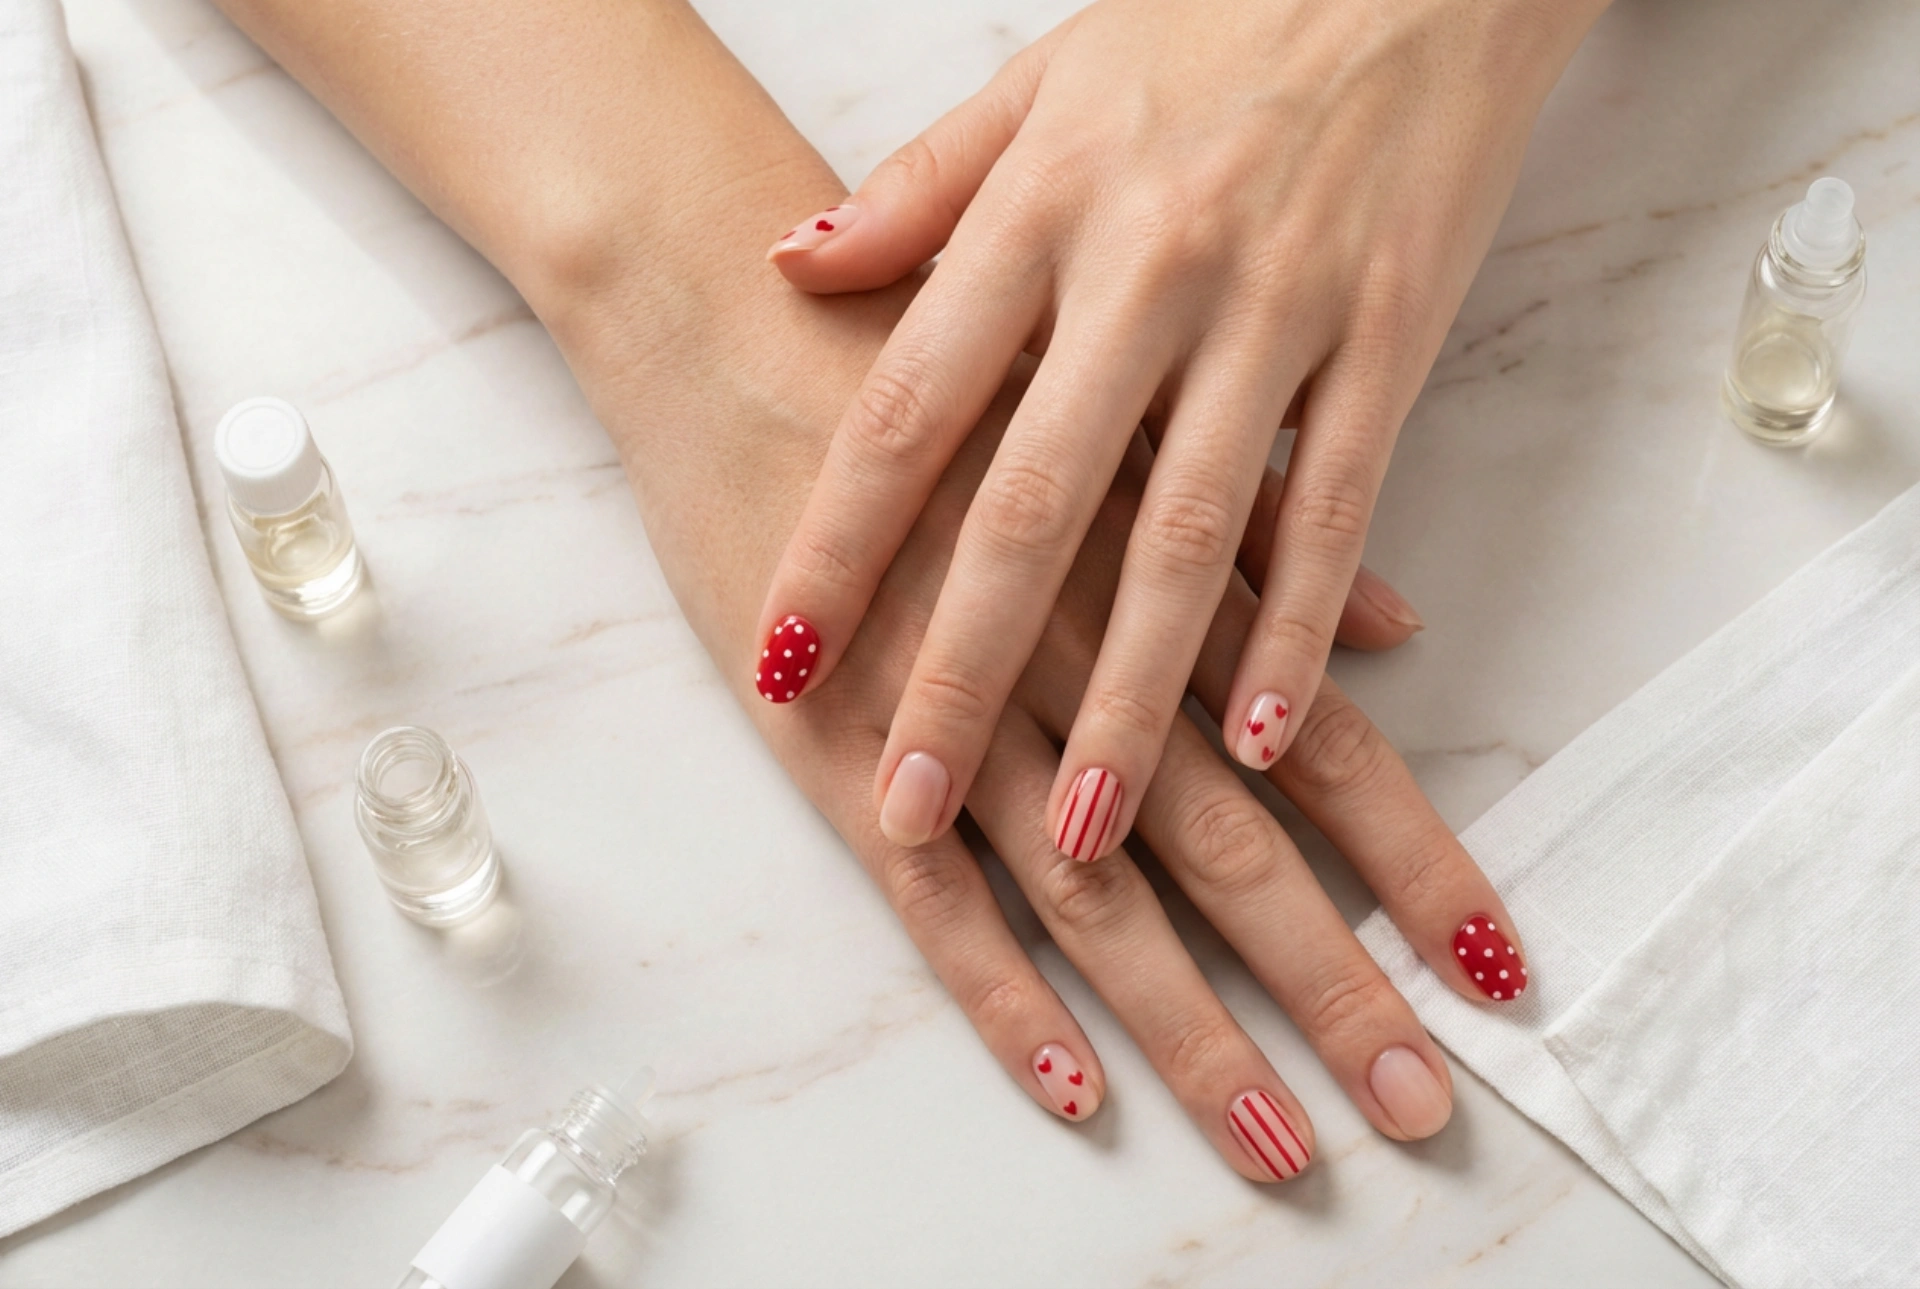


Red nails have long been a symbol of timeless elegance and confidence. Whether you are prepping for a special occasion or simply want to elevate your everyday look, a classic red manicure never fails to make a statement. For beginners, the prospect of DIY nail art can sometimes feel daunting. However, you do not need professional skills to create beautiful, eye-catching patterns. With a few basic tools and a little patience, you can easily transform a simple red base into a modern masterpiece using delicate white dots, thin minimalist stripes, and tiny heart accents.
Why Red is the Perfect Canvas for Nail Art
Red is incredibly versatile, spanning shades from bright poppy red to deep, rich burgundy. Using red as your primary colour provides a vibrant, high-contrast background that makes simple designs stand out beautifully. White, gold, silver, and black accents look exceptionally striking against red polish. By keeping the designs minimalist, you ensure the manicure remains sophisticated and wearable for any occasion, from casual days out to formal evenings.
Delicate Dots: The Easiest Starting Point
If you are new to nail art, dots are the perfect place to start. They require minimal precision and can be created using everyday household items if you do not own professional equipment. To create delicate white dots on your red nails, follow these simple steps:
- Prepare your base: Apply two thin coats of your favourite red polish and let it dry completely.
- Choose your tool: A dedicated nail dotting tool is ideal, but the round end of a bobby pin, a toothpick, or even an old ballpoint pen works wonderfully.
- Apply the pattern: Depose a small drop of white polish onto a piece of foil. Dip the tip of your tool lightly into the polish, then gently tap it onto your nail.
- Vary the placement: You can create a simple line of dots along the cuticle, a single accent dot at the centre of each nail, or a playful scattered pattern.
Minimalist Stripes for a Modern Look
Stripes offer a clean, geometric aesthetic that looks incredibly chic on red nails. They can make your nails appear longer and more elegant. To achieve clean, thin stripes at home, you can try these practical techniques:
- Use striping tape: This is the easiest method for beginners. Place thin strips of tape onto your dry red nails to guide your lines. Paint over them with a contrasting colour, then peel the tape away immediately while the polish is still wet.
- Try a fine detail brush: If you prefer freehand work, use a very thin nail art brush. Keep your hand steady by resting your elbow on a flat, stable surface.
- Experiment with direction: Vertical stripes down the centre of the nail create an elongated effect, while diagonal stripes offer a contemporary, artistic vibe.
How to Paint Tiny Heart Accents
Adding a tiny heart to your manicure introduces a romantic and playful element without being overly complicated. You do not need to draw a heart freehand; instead, you can construct it using simple dots. Follow these simple steps for a perfect result:
- Place two dots of your accent colour (such as white or pink) side by side on your nail, leaving a tiny gap between them.
- Using a toothpick or a fine brush, drag the polish from the bottom of each dot downwards so they meet at a central point, forming a neat V-shape.
- Fill in any empty space in the middle to complete the heart shape.
- A single heart on an accent finger, like the ring finger, keeps the look subtle and sophisticated.
Essential Tips for a Flawless Finish
To ensure your DIY nail art looks professional and lasts as long as possible, keep these simple home manicure tips in mind. Always start with a clear base coat to protect your natural nails from staining and to create a smooth surface for your red polish. Apply thin layers rather than one thick coat, as thin layers dry much faster and are far less likely to smudge. Finally, seal your design with a high-quality, clear top coat once your art is completely dry. This steps seals the edges, prevents chipping, and adds a beautiful, glossy shine that brings the whole design together.




