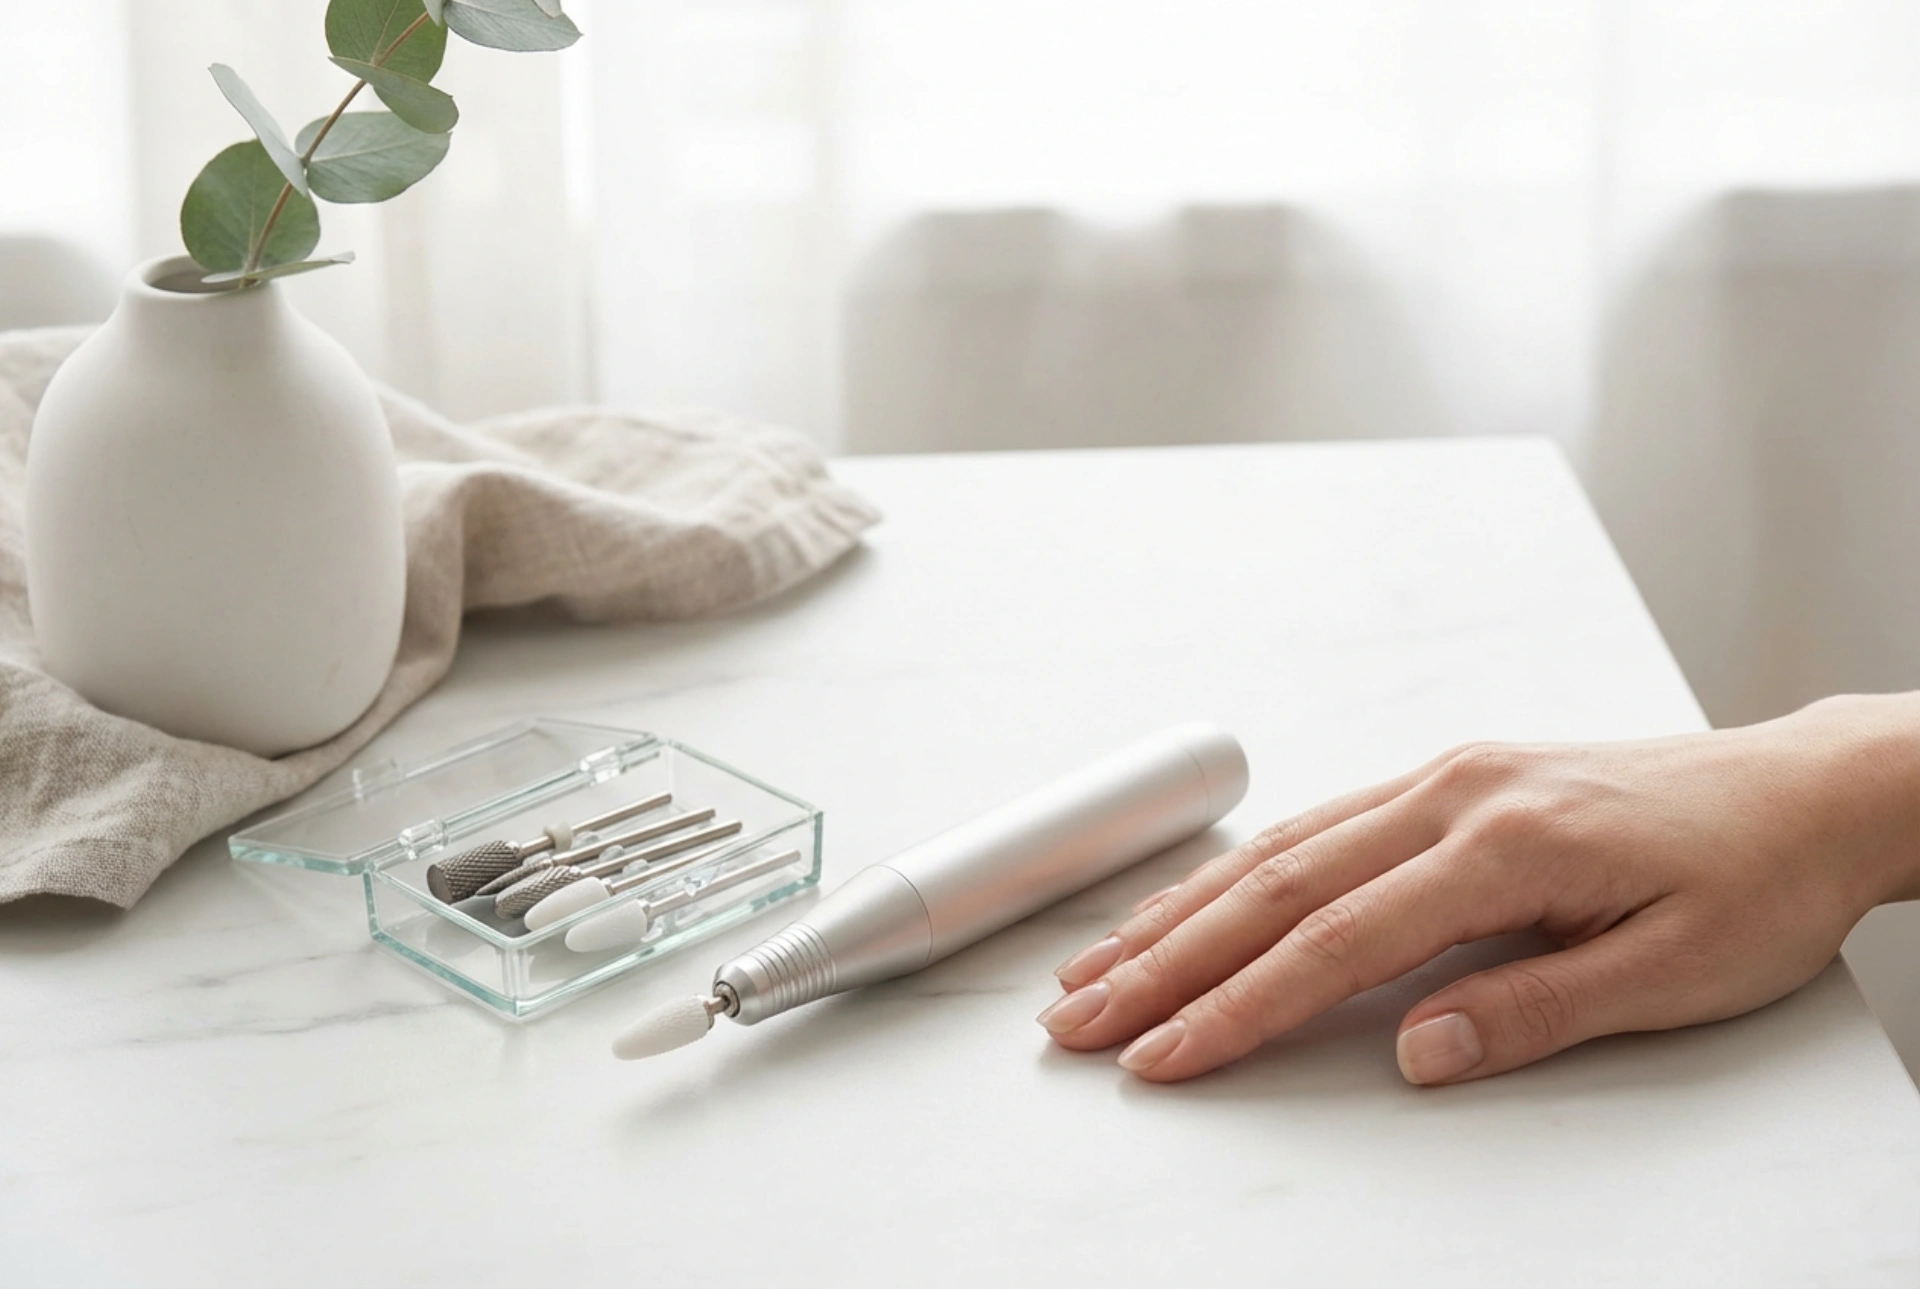


Imagine a pristine minimalist workspace where a sleek, professional nail drill and a collection of pristine drill bits are neatly arranged on a clean white surface. This serene setting represents the ultimate starting point for meticulous nail care. Using a high-quality electric nail file, commonly known as a nail drill, can revolutionise your manicure routine. It allows for precise cuticle work, efficient removal of old product, and perfect shaping of the nail plate. However, selecting the right device and mastering its safe application are essential steps to ensure the health and natural beauty of your nails.
Key Specifications of a High-Performance Nail Drill
When looking for a reliable and powerful nail drill, several technical aspects require careful consideration. The device must offer sufficient power and speed control to handle different tasks without stalling or overheating.
Rotational Speed and Torque
The rotational speed, measured in revolutions per minute (RPM), is a crucial indicator of a nail drill's capability. For safe home and professional cosmetic use, a device reaching up to 30,000 RPM is highly recommended. However, speed alone is not enough; high torque (the turning power of the motor) ensures that the drill maintains its speed even when encountering resistance on the nail surface. A high-torque motor allows you to work smoothly at lower speeds, which is significantly safer for the natural nail plate.
Vibration and Ergonomics
A quality handpiece should be lightweight, balanced, and free from excessive vibration. Low vibration is vital for precise control, preventing hand fatigue during extended sessions, and avoiding accidental slips that could damage the delicate cuticle area. Look for a twist-lock system that allows for quick and secure bit changes.
Choosing the Right Drill Bits for Safe Nail Preparation
The magic of a nail drill lies in its interchangeable attachments. Having a variety of pristine drill bits allows you to customise your routine for different parts of the nail care process.
Material Selection: Carbide vs. Diamond
- Diamond Bits: These are ideal for working on the skin, lifting the cuticles, and smoothing the lateral nail folds. Their fine abrasive coating ensures gentle exfoliation without causing discomfort.
- Carbide and Ceramic Bits: Known for their durability, these bits are designed for removing gel, acrylic, or hybrid polish. They act like tiny cutters, shaving off the old product smoothly without generating excessive heat.
Essential Bit Shapes
Different shapes serve specific purposes. A flame-shaped diamond bit is perfect for cleaning the pocket under the cuticle. A cylinder or cone-shaped bit works beautifully for shortening the nails and smoothing out the surface of remaining base coats. Beginners should always start with gentler, medium-grit attachments to build confidence and technique.
Step-by-Step Guide to Safe Nail Plate Preparation
Using a nail drill requires patience, a steady hand, and proper technique. Follow these essential steps to ensure a safe and beautiful result.
Preparing the Cuticle Area
Begin by gently pushing back the cuticles with a wooden stick. Using a fine diamond flame bit at a low speed (around 5,000 to 7,000 RPM), hold the handpiece flat against the nail plate, parallel to the surface. Gently guide the bit along the cuticle line from the centre to the sides, removing dead skin cells without applying downward pressure.
Matting the Natural Nail
To ensure proper adhesion of subsequent products, the natural nail plate needs to be gently matted. Use a very fine sanding band or a soft silicone buffer at a minimal speed. Move the buffer in one direction, following the natural growth of the nail. Avoid holding the drill in one spot for more than a second to prevent friction heat.
Safety Rules and Best Practices for Beginners
To maintain the health of your natural nails, certain safety principles must never be compromised.
- Never apply downward pressure: Let the rotation of the machine do the work. Pressing down can thin the nail plate and cause painful friction burns.
- Keep the handpiece moving: Constant movement prevents heat buildup and ensures an even surface.
- Choose the correct direction of rotation: Switch between forward (F) and reverse (R) directions depending on which side of the nail you are working on, ensuring the bit always spins away from the skin.
- Maintain clean equipment: Always clean and sanitise your drill bits after every use to ensure hygienic preparation.




