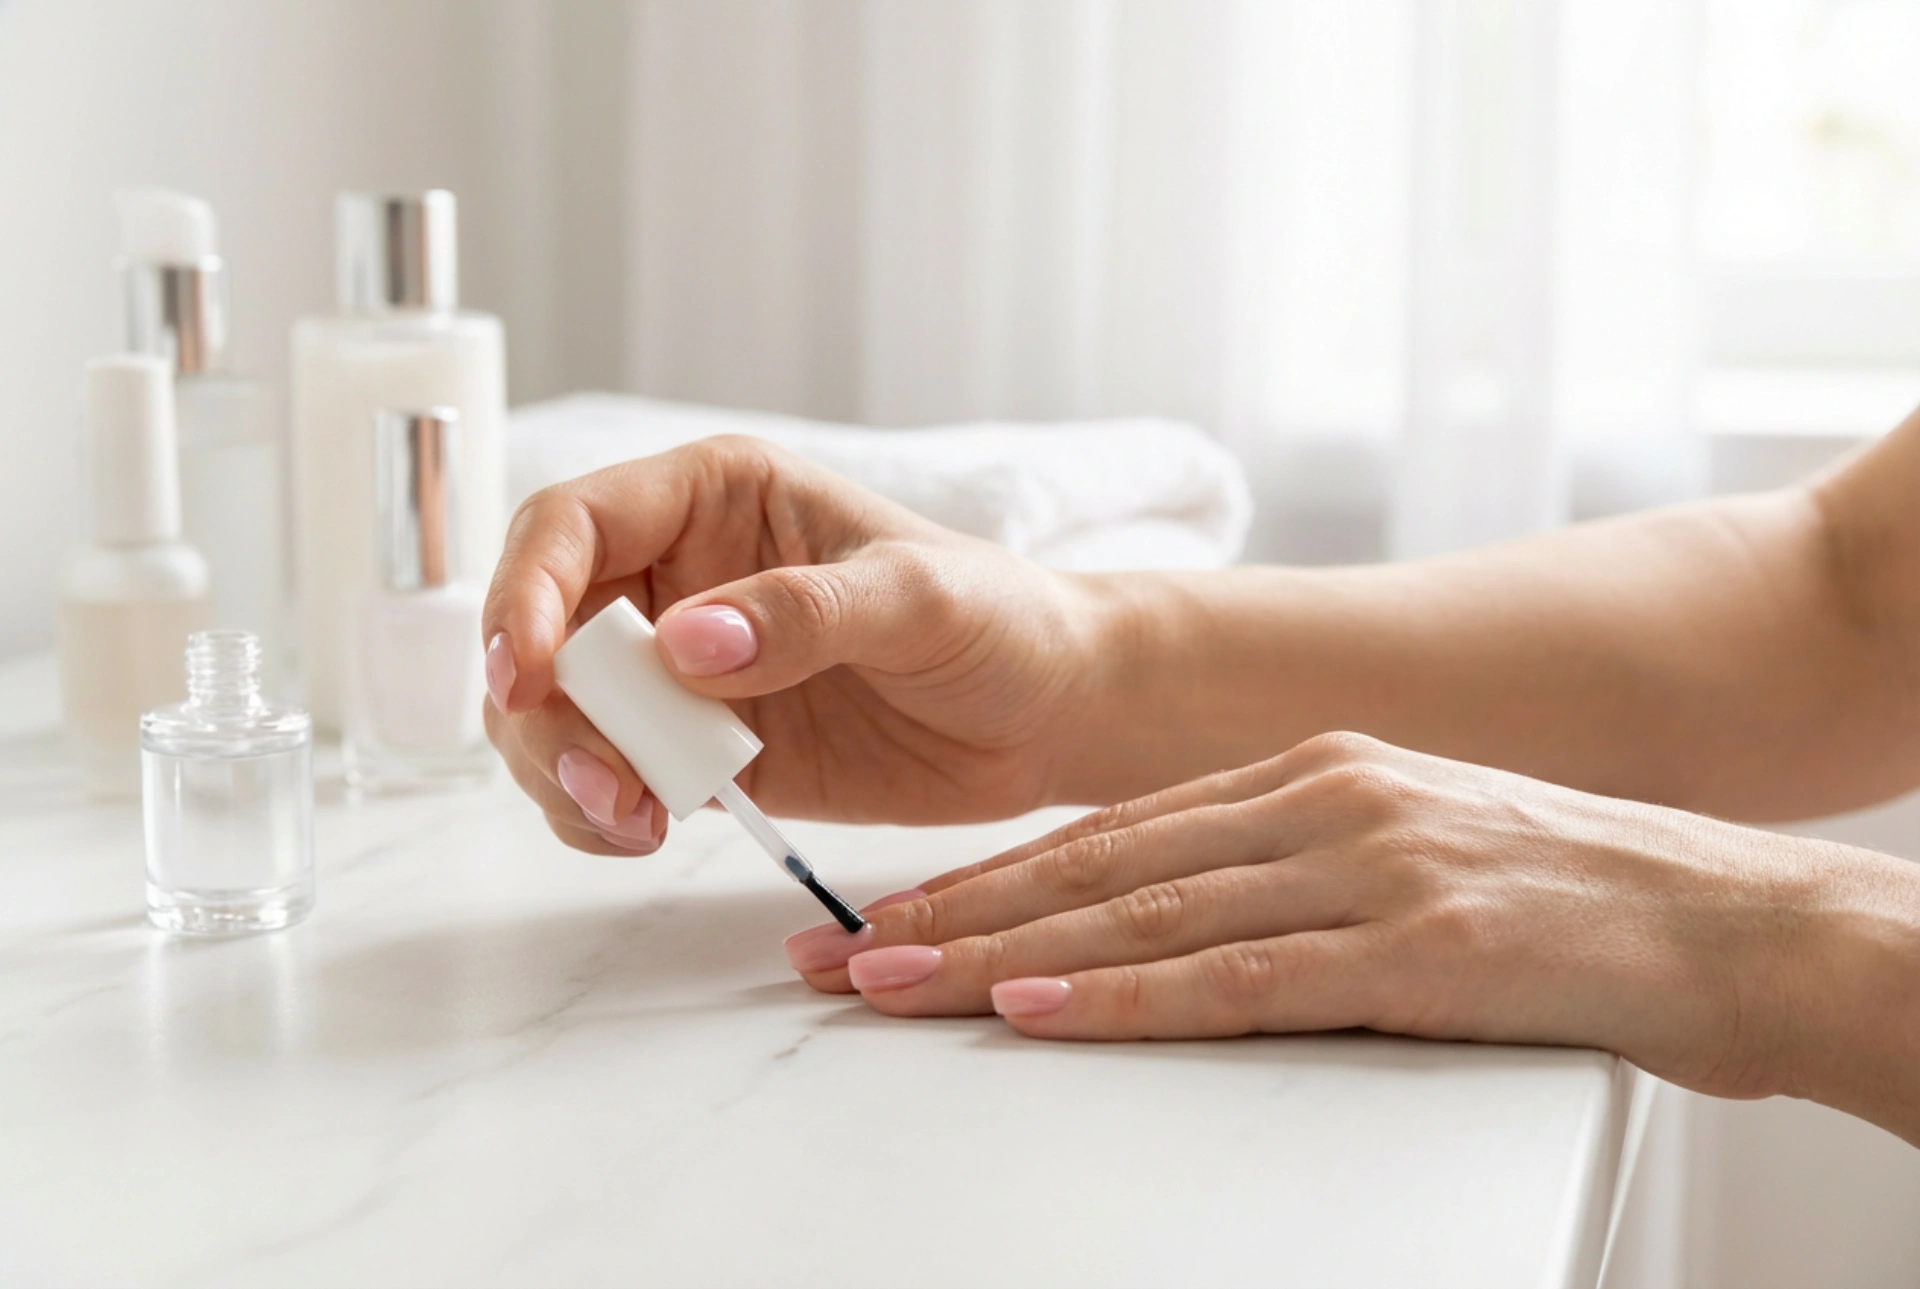


Achieving a salon-quality manicure in the comfort of your own home has never been easier, especially with the rise of advanced gel-effect nail polishes. Imagine sitting in a bright, airy room with natural light streaming in, carefully applying a high-gloss top coat that instantly transforms your nails into a sleek, mirror-like masterpiece. This elevated home manicure experience is not just about aesthetics; it is a ritual of self-care that delivers long-lasting results. With the right techniques and products, you can enjoy the strength, shine, and durability of a professional finish without leaving your living room.
The Evolution of the Home Manicure: Why Gel-Effect Matters
Traditional nail polishes, while easy to apply, often lack the longevity and high-shine finish that many desire. Within a few days, chips and wear along the edges can diminish the overall look. This is where gel-effect formulations come into play. Designed to mimic the plump, glossy appearance of salon gel treatments, these modern polishes offer a middle ground for beauty enthusiasts. They provide the depth of color and robust protection of a gel manicure but are formulated for easy application and removal at home.
One of the primary benefits of using gel-effect systems at home is their accessibility. Many of these formulations do not require special curing lamps, relying instead on natural light to cure and harden the top coat over time. This reduces the need for complex equipment while still delivering a finish that resists daily wear and tear. For those who prefer classic gel systems with compact home lamps, the process remains straightforward, provided the correct steps are followed to protect the natural nail.
Preparing the Canvas: The Foundation of a Lasting Manicure
The secret to any long-lasting manicure lies in the preparation of the nail plate. Applying polish to a surface that has residual oils, dust, or moisture will inevitably lead to premature lifting and peeling. To ensure your gel-effect polish adheres perfectly, follow these essential preparation steps:
- Gently Shape the Nails: Use a fine-grit nail file to shape your nails into your desired look, whether it is classic oval, modern squoval, or sleek almond. Always file in one direction to prevent splitting.
- Cleanse the Nail Plate: Use a gentle, oil-free cleanser or a specialized prep solution to wipe away any dust and natural oils. This step is crucial for creating a clean surface that the polish can grip effectively.
- Push Back the Cuticles: Carefully push back your cuticles using a wooden stick or a silicone pusher. This opens up the nail bed and prevents the polish from flooding the skin, which is a common cause of peeling.
Step-by-Step Application for a Flawless Finish
Once your nails are prepped, the application process can begin. Patience and precision are your best tools when working with gel-effect polishes. Applying thin, even layers is far more effective than attempting to cover the nail in one thick coat, as thick layers are prone to bubbling and uneven drying.
1. The Crucial Base Coat
Always start with a dedicated base coat. This protective layer acts as a barrier between your natural nail and the colored polish, preventing staining and helping the subsequent layers adhere smoothly. Let the base coat dry completely or cure it according to the specific instructions of your home system.
2. Applying the Color in Thin Layers
Select your favorite shade and apply the first coat in three smooth strokes: one down the center and one on each side. It is highly beneficial to "cap the free edge" of the nail by running the brush lightly along the very tip. This seals the edge and prevents chipping. Allow the first layer to dry before applying a second coat to achieve full opacity and depth of color.
Sealing the Shine: The Power of the Top Coat
The defining characteristic of a gel-effect manicure is its incredible, glass-like shine. This is achieved through the application of a high-quality, high-gloss top coat. The top coat acts as a protective shield, absorbing the impact of daily activities and preserving the vibrant color underneath.
When applying your top coat, ensure you cover the entire colored area and cap the free edge once again. This step is vital for locking in the polish and preventing moisture from getting underneath. If you are using an air-dry gel-effect system, allow the top coat to dry in natural light, which often triggers the hardening process. For traditional home gel systems, cure under your compact lamp for the recommended duration. The result is a smooth, reflective surface that enhances the beauty of your hands.
Safe Removal and Aftercare for Healthy Nails
To maintain the health of your natural nails, the removal process must be handled with care. Peeling or scraping off gel-effect polish can strip away the top layers of your nail, leading to weakness and thinning. Instead, use a gentle, acetone-based remover to dissolve the polish safely.
After removal, dedicate time to nourishing your nails and cuticles. Apply a rich cuticle oil containing natural plant extracts and massage it into the skin around your nails. Follow up with a hydrating hand cream to restore moisture. Keeping your hands hydrated not only keeps your skin soft but also ensures your nails remain flexible and strong, ready for your next beautiful home manicure session.




