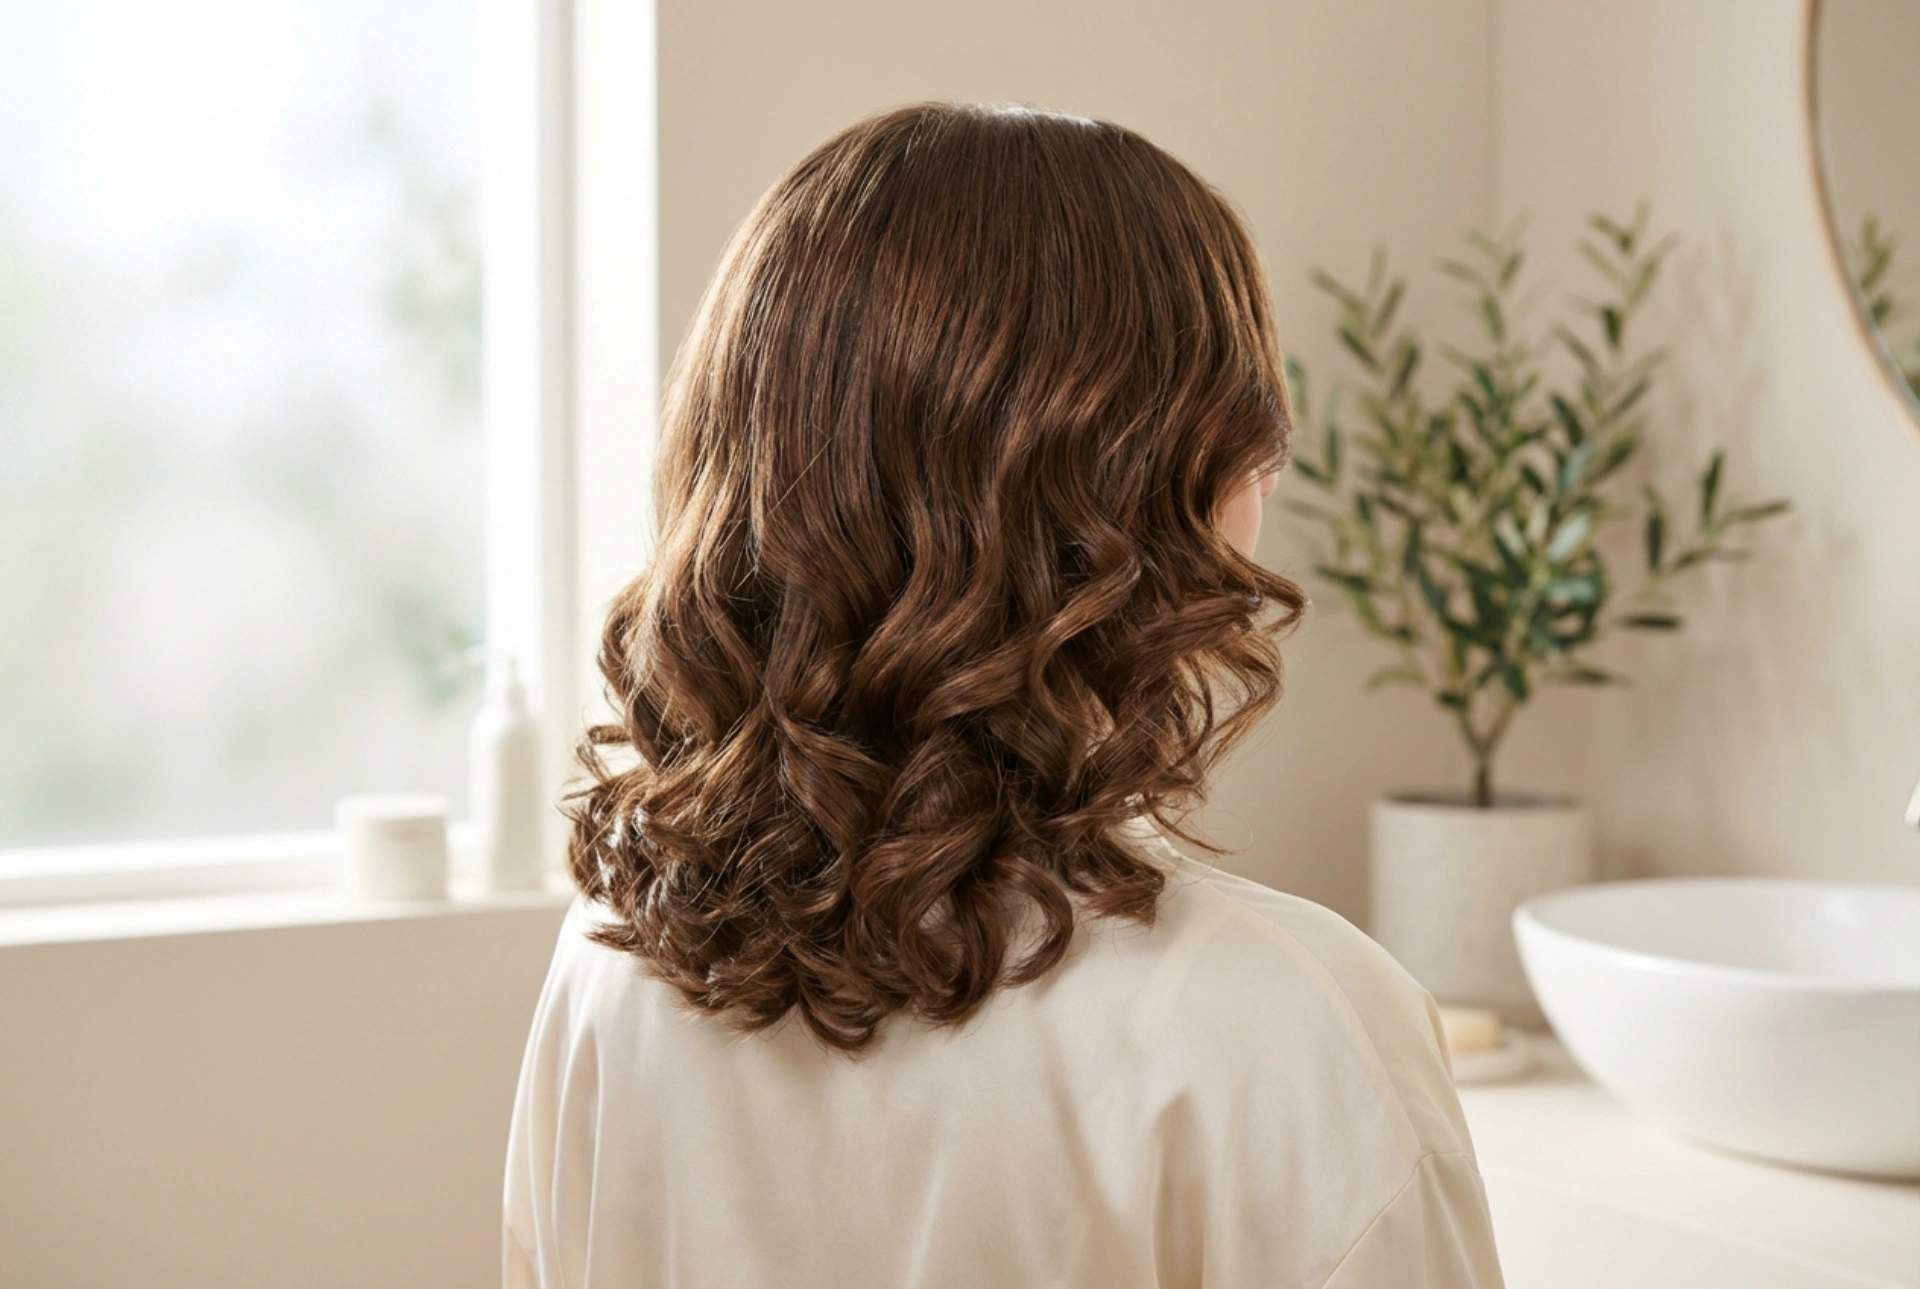


A wedding or formal celebration is the perfect occasion to showcase a sophisticated, bouncy hairstyle that radiates elegance. For those with shoulder-length hair, finding the ideal balance between volume, definition, and durability can sometimes feel like a challenge. Midi-length hair has a natural tendency to lose its shape faster than shorter cuts, yet it lacks the weight that keeps longer locks stretched out. Capturing that picture-perfect look—where impeccably styled, bouncy curls reflect the soft natural light and convey a sophisticated texture—requires more than just a quick run-through with a curling iron. It demands a structured, step-by-step approach focused on longevity. By focusing on proper hair prep, selecting the right tools, and utilising professional setting methods, you can achieve a stunning, long-lasting style from the comfort of your own home.
The Essential Foundation: Preparing the Hair
The secret to curls that endure hours of dancing and socialising lies in how the hair is washed and dried before any heat is applied. Heavy, moisture-rich products can weigh down shoulder-length hair, causing curls to drop prematurely. To prevent this, start with a clarifying or volumising shampoo to remove any product build-up. Follow with a lightweight conditioner, applying it only from the mid-lengths to the ends, keeping the roots completely free of heavy oils.
Once washed, apply a volumising mousse or a styling primer to damp hair. This step is crucial as it provides the necessary grip and texture for the curls to hold onto. Gently rough-dry your hair with a hair dryer, directing the air upwards at the roots to encourage maximum lift. Ensure the hair is completely dry before moving on; styling even slightly damp hair with hot tools not only damages the hair shaft but also instantly ruins the structural integrity of the curls.
Choosing the Right Tools and Heat Protection
To achieve defined, bouncy curls on shoulder-length hair, the size of your curling wand or tong is critical. A medium-barrel iron, approximately 25mm in diameter, is generally considered the gold standard for this length. A barrel that is too large will create loose waves that fall out quickly, while a barrel that is too small may result in tight spirals rather than elegant, bouncy waves.
Before any heated tool touches your hair, applying a premium heat-protectant spray is non-negotiable. This creates an invisible barrier that shields the hair cuticle from heat damage while helping to lock in shine. Work the product evenly through the hair, and comb it through to ensure every strand is protected. Adjust your styling tool to a moderate temperature; excessively high heat can dry out the hair and make it brittle, while too low a temperature will fail to set the curl shape effectively.
The Step-by-Step Curling Process
To ensure a uniform and voluminous result, divide your hair into manageable sections. Start by parting your hair horizontally from ear to ear, securing the top section away. Working in smaller subsections of about two to three centimetres wide allows the heat to penetrate evenly, resulting in a more defined and durable shape.
- The angle matters: Hold the curling wand vertically for a softer, more modern wave, or horizontally if you desire maximum volume at the roots.
- Directing the curls: Always wind the hair away from your face. This opens up your features and creates a more flattering, sophisticated frame. For a more natural and multidimensional look, you can alternate the direction of the curls as you move towards the back of your head.
- Leave the ends: Leaving the last centimetre of your hair uncurled gives a chic, contemporary finish that prevents shoulder-length styles from looking too round or old-fashioned.
The Golden Rule: Cooling and Setting
Perhaps the most overlooked step in achieving long-lasting curls is the cooling process. When hair is heated, its hydrogen bonds are temporarily broken, allowing it to take on a new shape. If you let the warm curl drop immediately, gravity will stretch it out before the bonds have a chance to reform, leading to a flat hairstyle within hours.
As you release each curl from the iron, gently catch it in your palm. Roll the curl back up to your scalp and secure it in place using a lightweight double-prong clip or a bobby pin. Allow the pinned curls to sit undisturbed until they are completely cool to the touch. This simple technique locks the shape into place, ensuring your styling efforts last throughout the entire wedding event. Once the hair has cooled down completely, gently remove the clips and let the curls bounce down naturally.
Finishing Touches for Soft, Touchable Hold
After releasing the pinned curls, resist the urge to immediately brush them out with a fine comb. Instead, use your fingers or a wide-tooth comb to gently break up the curls, blending them into a seamless, voluminous wave. This maintains the elegant structure while softening the overall texture, making it look natural and touchable.
To lock in the style without creating a stiff or crunchy texture, mist a flexible-hold hairspray over the entire head from a distance of about thirty centimetres. This ensures an even, lightweight distribution. For added volume and texture, you can lift sections of the hair and apply a light dusting of texturising powder or dry styling spray at the roots. These final steps provide that polished, bouncy finish that catches the natural light beautifully, keeping your hairstyle pristine from the ceremony to the very end of the celebrations.





