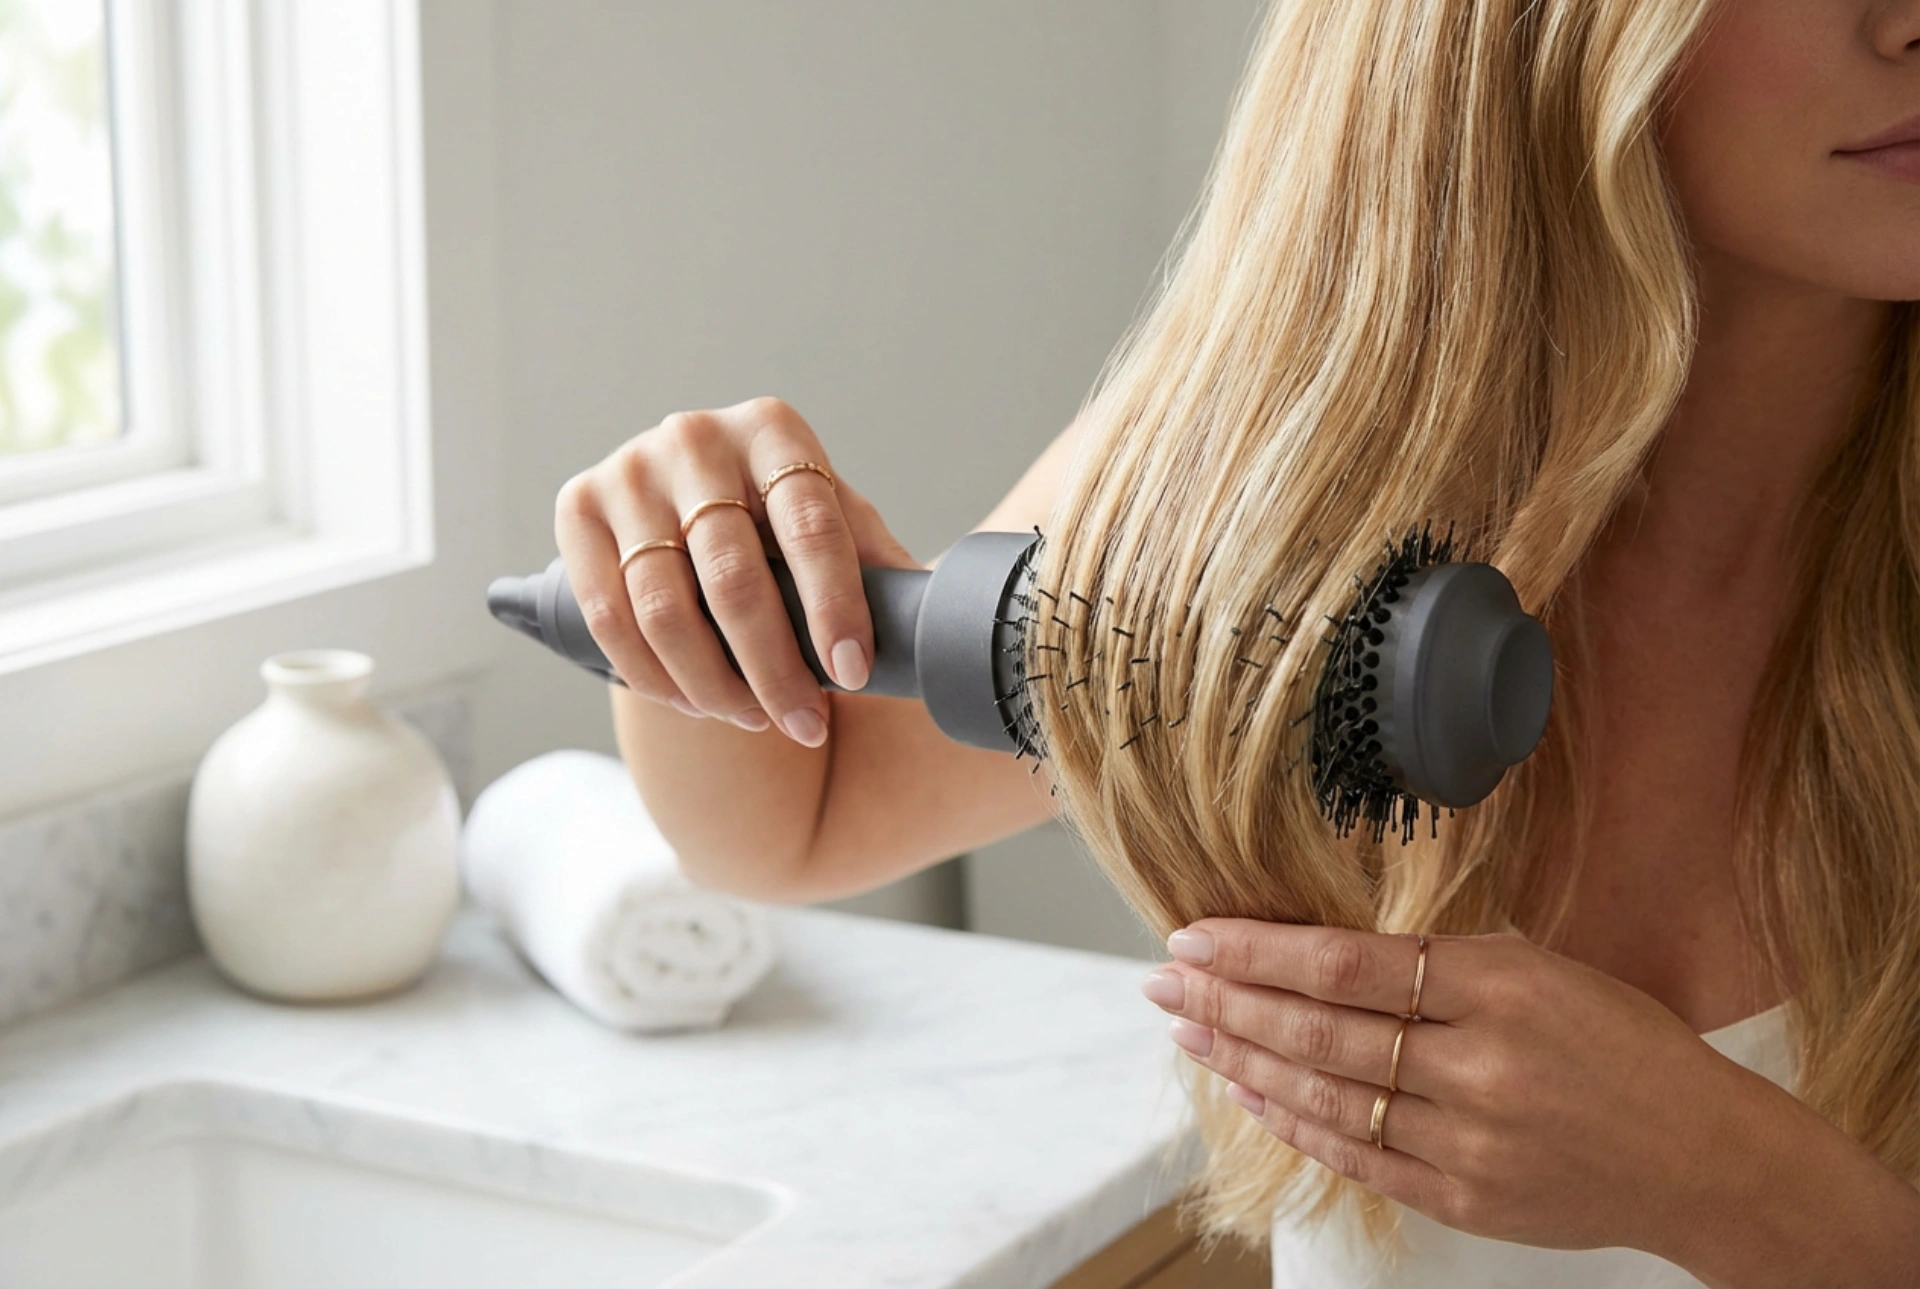


Achieving a salon-standard blow-dry at home has traditionally required a fair amount of coordination, involving a powerful hair dryer in one hand and a round brush in the other. For many, this two-handed technique can be cumbersome and difficult to master, often resulting in uneven styling or tired arms. Fortunately, the hair dryer brush—often referred to as a hot air styler—has revolutionised home hair care by combining these two essential tools into a single, highly efficient device. By gently styling soft, voluminous hair while simultaneously drying it, this beauty tool delivers a smooth, frizz-free finish with minimal effort, transforming your daily grooming routine in the comfort of your own bathroom.
The Mechanics Behind the Hot Air Styler
At its core, a hair dryer brush functions by channeling warm air through a perforated barrel wrapped in bristles. Unlike a standard curling tong or flat iron, which relies solely on direct contact with hot metal plates, this device uses a controlled flow of heated air to dry the hair as you shape it. This combination is particularly beneficial for creating natural-looking volume and movement. As you glide the brush through your locks, the bristles create tension, gently smoothing the hair cuticle to reflect light and enhance natural shine.
Most modern hot air stylers offer various heat and speed settings, allowing you to customise the experience according to your hair type. Finer hair, which is more susceptible to heat damage, can be styled beautifully using lower temperatures, while thicker or coarser textures can benefit from higher heat levels to ensure a lasting shape. This versatility makes the tool an excellent investment for anyone looking to simplify their styling ritual without compromising on the health of their hair.
The Key Benefits of Choosing a Hair Dryer Brush
Switching from a traditional hair dryer and separate brush setup to an integrated hot air styler offers several distinct advantages for your hair care regimen:
- Time Efficiency: By combining the drying and styling phases into a single step, you can significantly reduce the amount of time spent preparing in the morning. This is especially helpful for busy individuals who want to look polished without dedicating hours to their hair.
- Ease of Use: Operating a single lightweight device is far easier on the wrists and shoulders than trying to manipulate a heavy dryer and a separate round brush simultaneously. This makes achieving a professional-looking blowout accessible to everyone, regardless of styling experience.
- Natural Volume and Lift: Because the brush allows you to get close to the roots, it is incredibly effective at lifting the hair from the scalp. This creates a bouncy, full-bodied look that is difficult to replicate with a flat iron.
- Gentler on Hair: By distributing heat evenly through air circulation rather than direct contact with extremely hot plates, a hair dryer brush can help minimise the risk of heat-induced brittleness and breakage over time.
Step-by-Step Guide to a Flawless Home Blow-Dry
To get the most out of your hot air styler and ensure a smooth, long-lasting finish, it is important to follow a structured approach. Proper preparation and technique can make all the difference in achieving that coveted bouncy look.
1. Preparation and Pre-Drying
It is a common misconception that you should use a hair dryer brush on soaking wet hair. For the best results and to protect your hair from unnecessary tension, always towel-dry your hair first. Use a microfibre towel to gently squeeze out excess moisture without rubbing, which can cause frizz. Ideally, your hair should be roughly seventy to eighty per cent dry before you introduce the hot air styler. Apply a lightweight heat protectant spray or cream evenly through your strands to shield them from heat styling.
2. Sectioning for Precision
Trying to style too much hair at once will only lead to frustration and damp patches. Divide your hair into manageable sections using clips. Start at the bottom of your head, near the nape of your neck, and work your way up to the crown. Keep each section roughly the same width as the brush barrel to ensure even heat distribution and maximum control.
3. The Styling Technique
Place the brush under the selected section of hair, close to the roots. Slowly glide the brush downwards towards the ends, rotating the barrel slightly as you go to create tension and smooth the cuticle. To achieve extra volume at the crown, lift the hair upwards and outwards from the scalp while styling. If you prefer a subtle curl or flick at the ends, simply pause at the tips and roll the brush inwards or outwards, holding it in place for a few seconds before releasing.
4. Setting the Style
Once a section is completely dry and styled, finish it with a blast of cool air if your device has a cool-shot function. This sudden drop in temperature helps to set the shape and lock in shine. After completing your entire head, you can apply a tiny drop of nourishing hair oil or serum to the mid-lengths and ends to tame any flyaways and add a final touch of lustre.
Maintenance Tips for Longevity and Performance
To keep your hot air styler performing at its best, regular maintenance is essential. Over time, hair, dust, and styling products can build up in the bristles and block the air intake filter, which can cause the device to overheat or lose power. Ensure the device is unplugged and fully cooled before cleaning. Gently remove any trapped hair from the bristles using your fingers or a comb. Wipe the barrel with a damp cloth to remove styling residue, and regularly check the air filter at the base of the handle to ensure it is free from dust and lint. Proper care will ensure your tool provides consistent, beautiful results for a long time to come.





