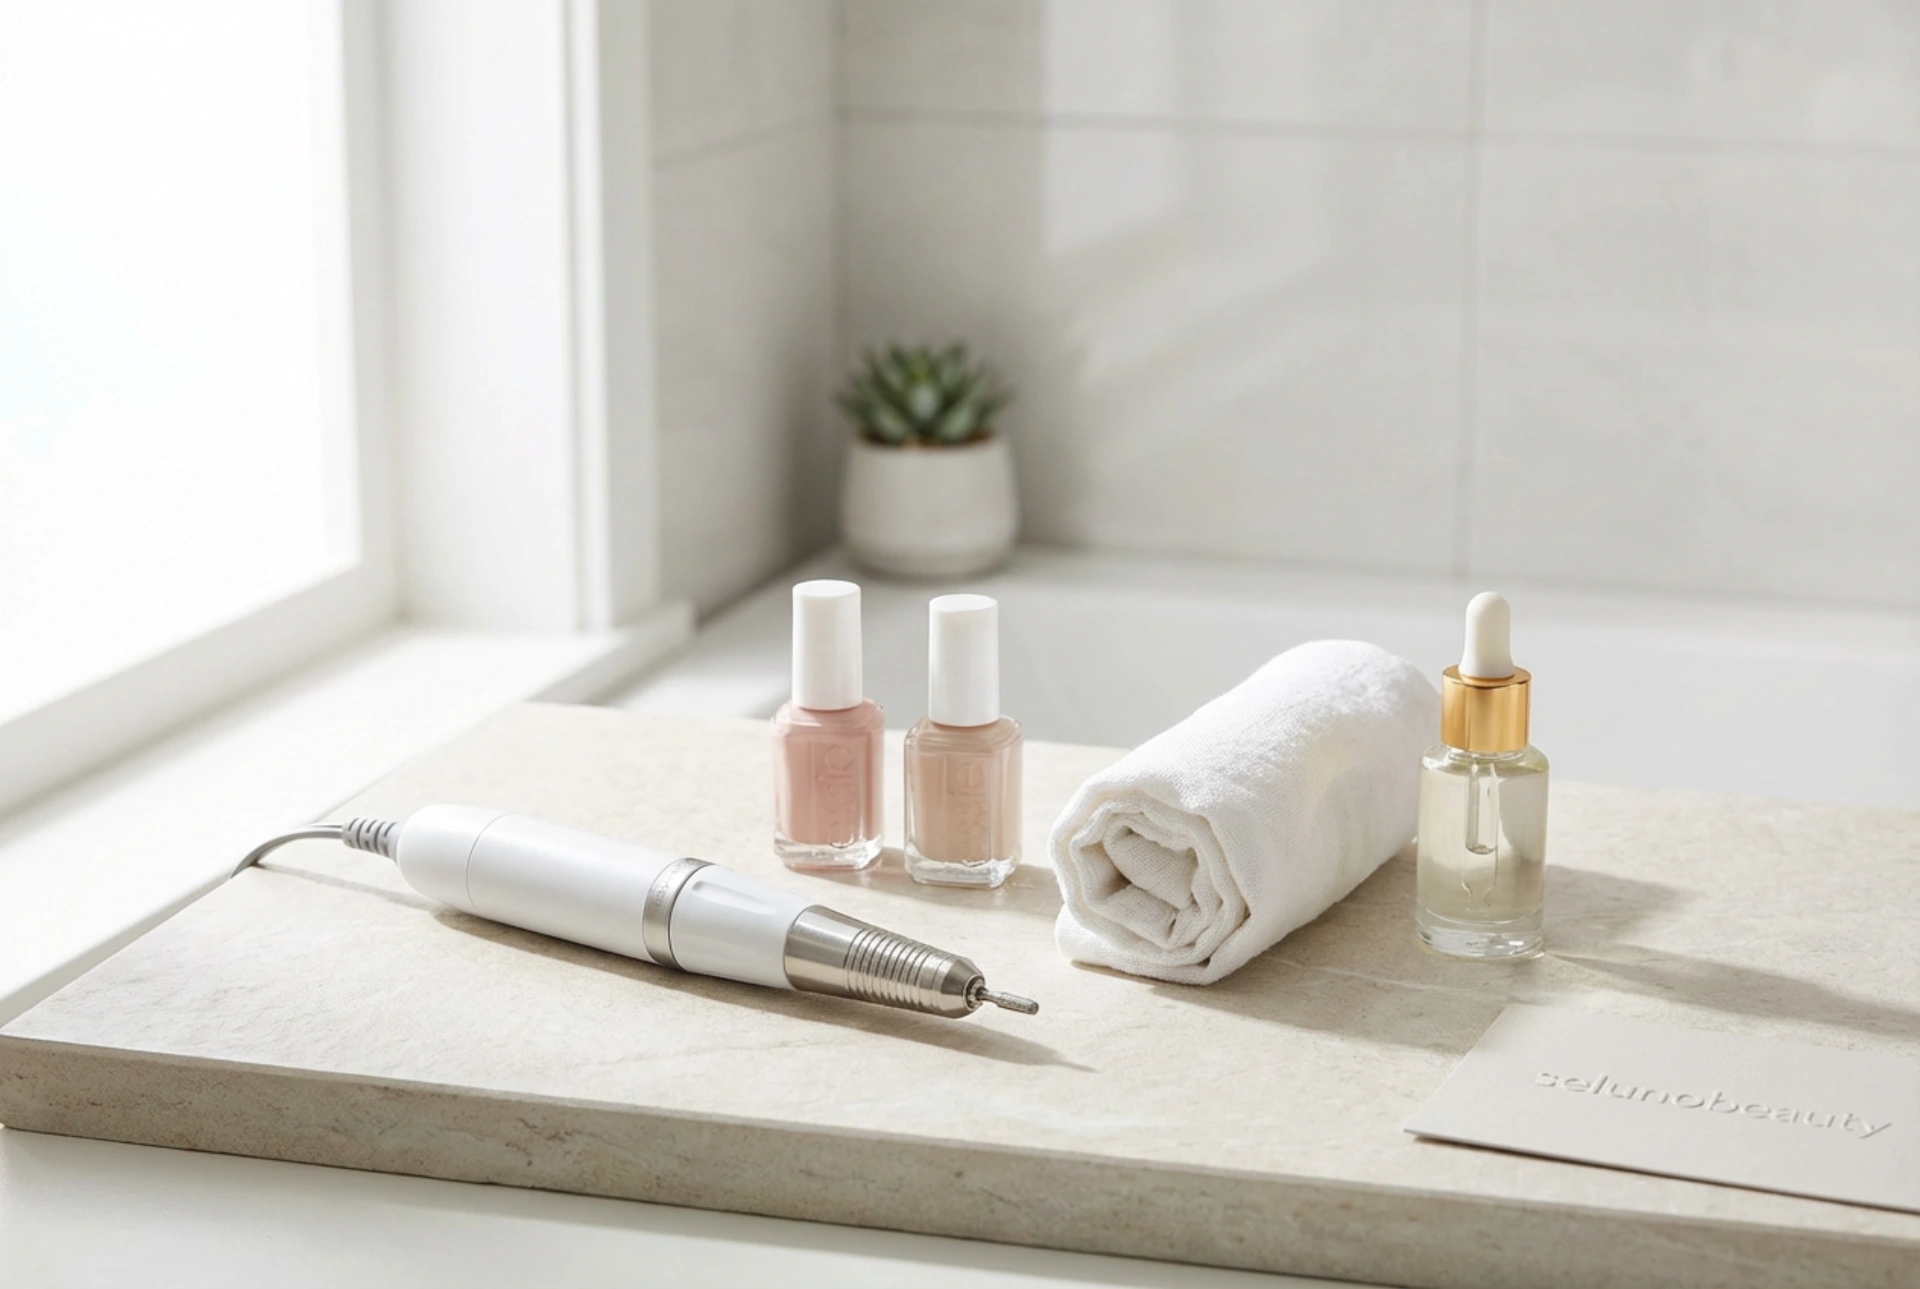


Creating a professional-looking manicure at home has never been more accessible, especially with the introduction of modern electric nail drills to domestic beauty routines. A clean, minimalist flatlay featuring a sleek electric nail file, soft-hued polishes, and nourishing cuticle oil represents the perfect modern workspace for hand care. Investing in a comprehensive nail starter kit equipped with an electric drill allows you to achieve smooth cuticles and perfectly shaped nails from the comfort of your own home. However, transitioning from manual files to an electric device requires some basic knowledge to ensure the process remains safe, gentle, and highly effective.
Selecting the Perfect Home Nail Drill Kit
When searching for your first electric nail file kit, it is important to focus on user-friendly features that guarantee safety and ease of use. You do not need professional, high-powered salon machinery to achieve excellent results; instead, look for a balanced, domestic-grade device. A good home nail drill should offer adjustable speed settings, typically ranging from 0 to 20,000 RPM (rotations per minute), which provides enough versatility for both natural nail prep and the removal of hybrid products.
- Adjustable Speed Control: The ability to easily increase or decrease the speed is crucial for beginners who need to start slowly while learning the correct technique.
- Rotational Direction: Ensure the device has a switch to change the direction of rotation (clockwise and anti-clockwise), making it easy to work with both the left and right hand.
- Ergonomic Handpiece: A lightweight, low-vibration handpiece prevents wrist fatigue and allows for precise movements.
Essential Drill Bits and Their Purposes
A standard starter kit usually includes a variety of drill bits, each designed for a specific stage of the manicure. Understanding the role of each attachment is key to avoiding damage to the natural nail plate. For beginners, a simple set of basic bits is more than enough to cover all essential steps.
Ceramic and Carbide Bits
These bits are highly efficient and are primarily used for removing gel, acrylic, or hybrid polish. Ceramic bits are particularly popular for home use because they do not conduct heat as quickly as metal bits, reducing the risk of an uncomfortable burning sensation on the nail plate.
Diamond and Stone Bits
Characterised by a finer texture, diamond bits are excellent for precise cuticle work. They help to gently lift and clean the dry skin around the nail wall without causing irritation. Small flame-shaped or ball-shaped diamond bits are ideal for smoothing the delicate skin around the nails.
Polishing and Buffing Bits
Usually made of felt or silicone, these soft attachments are used at the very end of the manicure process. They gently smooth the natural nail plate and buff cuticle oil into the skin, leaving a healthy, natural shine.
A Step-by-Step Guide to Using an Electric Nail Drill Safely
Working with an electric nail file requires patience, a steady hand, and a methodical approach. Following a structured routine will help you achieve clean, aesthetic results while maintaining the health of your natural nails.
- Preparation: Begin by thoroughly washing and drying your hands. Ensure your workspace is clean, well-lit, and that you have all your tools, including a soft hand towel and cuticle oil, close at hand.
- Removing Old Polish: Attach a medium-grit ceramic bit and set the speed to a moderate level. Hold the handpiece parallel to the nail and move it in gentle, continuous strokes. Never press down or hold the bit in one spot, as this can generate heat.
- Cuticle Refinement: Switch to a fine diamond bit. Lower the speed significantly. Gently guide the bit along the cuticle line to remove dry skin, working in the opposite direction to the rotation of the drill.
- Shaping and Smoothing: Use a classic paper mandrel or a gentle buffing attachment to smooth out any unevenness on the nail surface and refine the shape of the free edge.
- Nourishment: Finish the routine by washing away any dust, then apply a generous drop of nourishing cuticle oil and hand cream to restore moisture and shine to the skin.
Important Safety Rules for Beginners
The most important rule when using an electric nail drill is to prioritise the health of your natural nails. Always start on the lowest speed setting to get a feel for the device's movement. Keep the handpiece in constant motion; stopping in one place can quickly wear down the nail plate or cause discomfort. Additionally, keep your tools clean by wiping them with a gentle sanitising solution after every use. With practice and a gentle touch, an electric nail drill will become an indispensable tool in your weekly self-care ritual.




