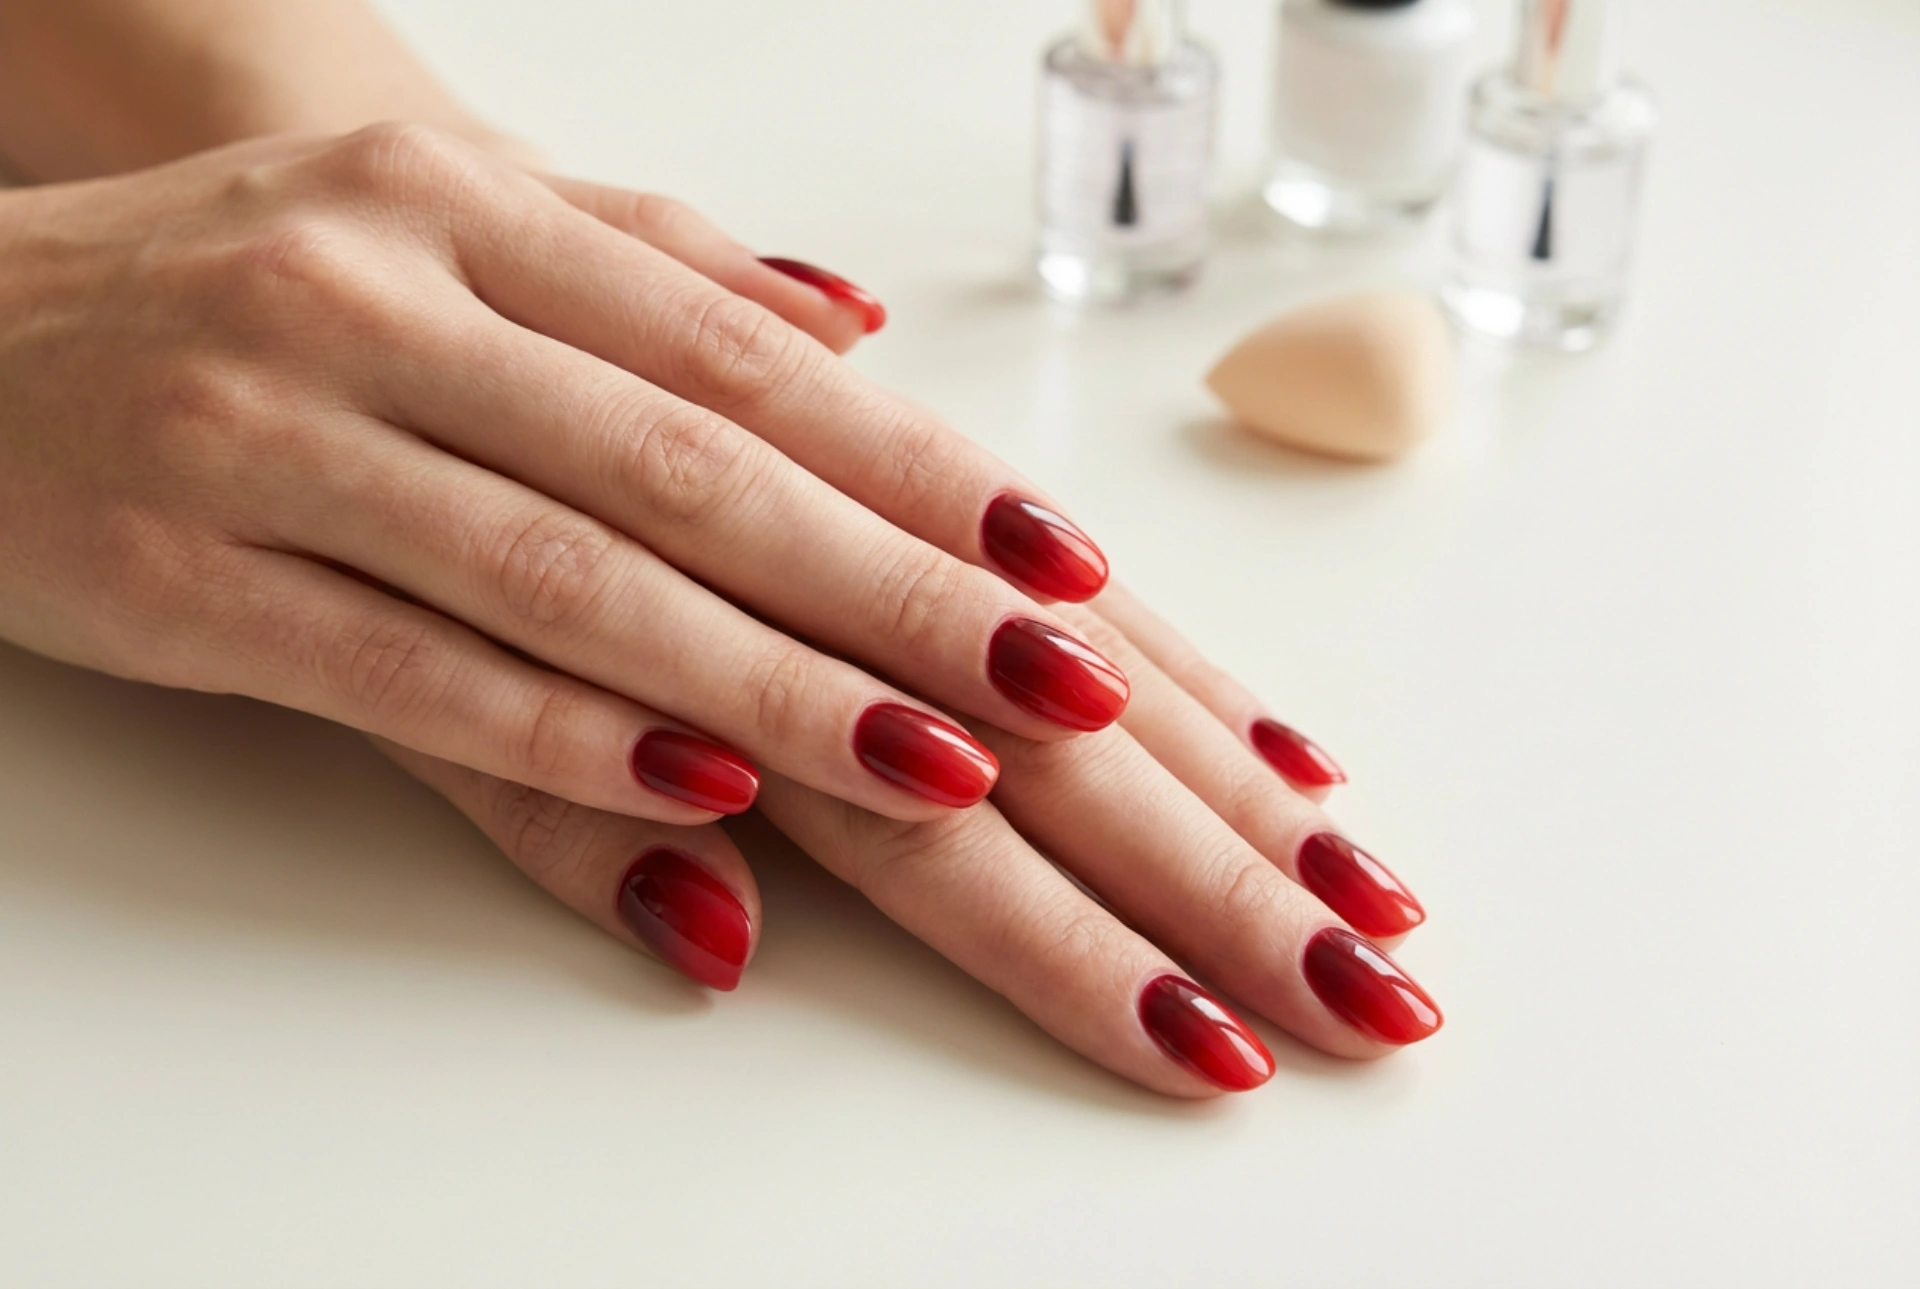


Beautifully manicured hands have always been a symbol of classic elegance, and nothing commands attention quite like a rich red manicure. However, if you are looking to elevate this timeless choice, a seamless red ombre design offers a sophisticated, modern twist. Transitioning from a deep, luxurious crimson at the nail base to a vibrant, fiery scarlet at the tips, this gradient style adds depth and dimension to your look. Recreating this glossy style at home does not require complex techniques; with a simple beauty sponge, a selection of harmonious red polishes, and a reliable protective top coat, you can achieve a flawless gradient that catches the light beautifully.
Selecting the Perfect Shades for a Harmonious Red Gradient
Selecting the right polishes is the foundation of a successful ombre design. The key to a smooth transition lies in choosing colours that complement each other's undertones. For a classic, deep gradient, pairing a rich burgundy or plum-toned red with a bright scarlet or cherry red creates a striking contrast. When choosing your shades, consider whether you want a dramatic gradient or a subtle, soft transition. If you prefer a subtle look, choose three shades that sit close to each other on the colour spectrum, such as a medium brick red, a classic pillar-box red, and a soft coral-red. For a deeper, more dramatic effect, combine a dark mahogany shade with a vibrant crimson. Ensuring that all chosen polishes have a similar consistency and formulation will also make the blending process significantly smoother.
Essential Tools and Nail Preparation
Before beginning the application, proper preparation of both your nails and your tools is crucial. Ensure your nails are shaped, buffed, and free from any natural oils by using a gentle cleanser. Applying a high-quality base coat is essential, as red pigments can easily stain the natural nail plate. For the gradient technique, you will need a small, dense beauty sponge. Makeup wedges made of polyurethane work best because their fine pores prevent the polish from sinking too deeply, allowing more product to transfer onto the nail. To make cleanup effortless, consider applying a liquid skin barrier or a simple paper tape around the cuticles and side walls of your fingers before you start dabbing. This ensures that any excess polish transferred during the blending process can be easily peeled away, leaving behind clean, crisp edges.
Mastering the Sponge Blending Technique
The secret to a seamless ombre lies in the application technique. Once your base colour (usually the lightest shade of red) is completely dry, you can begin the sponge process. Lightly moisten your beauty sponge with water and squeeze out any excess; a slightly damp sponge prevents the polish from drying out too quickly on the surface. Paint horizontal stripes of your selected red shades directly onto the edge of the sponge, ensuring the colours slightly overlap where they meet. Gently press the sponge onto a piece of paper first to remove any excess polish and to blend the boundary line. Then, using light, tapping motions, transfer the gradient onto your nail. Move the sponge slightly up and down as you dab to blend the colours seamlessly. It is always better to apply multiple thin layers rather than one thick layer. Allow each layer to dry for a couple of minutes before dabbing the next one to avoid lifting the underlying polish.
Securing the Styling with a Glossy Top Coat
When you first finish sponging, the surface of your nails may look textured or slightly matte. This is entirely normal. The magic of the ombre technique is fully revealed once you apply a clear top coat. A generous layer of a glossy top coat serves a dual purpose: it smooths out any uneven texture left by the sponge and acts as a blending agent, seamlessly melting the boundaries between the crimson and scarlet shades together. When applying the top coat, use a light hand to avoid dragging the colours, and be sure to seal the free edge of the nail to prevent chipping. This protective layer not only locks in the vibrant red tones but also gives the manicure a brilliant, mirror-like finish that reflects natural light beautifully.
Simple Maintenance for Long-Lasting Red Nails
To keep your red ombre manicure looking fresh and glossy for as long as possible, a simple daily care routine is highly beneficial. Red polish can show chips and wear more easily than lighter pastel shades, making protection essential. Apply a drop of nourishing cuticle oil every evening to keep the surrounding skin hydrated and prevent peeling. If you perform household chores involving water or cleaning agents, wearing protective gloves will safeguard your glossy top coat from dulling. Reapplying a thin layer of top coat every few days can also extend the life of your manicure, keeping the transition sharp, vibrant, and incredibly glossy.




