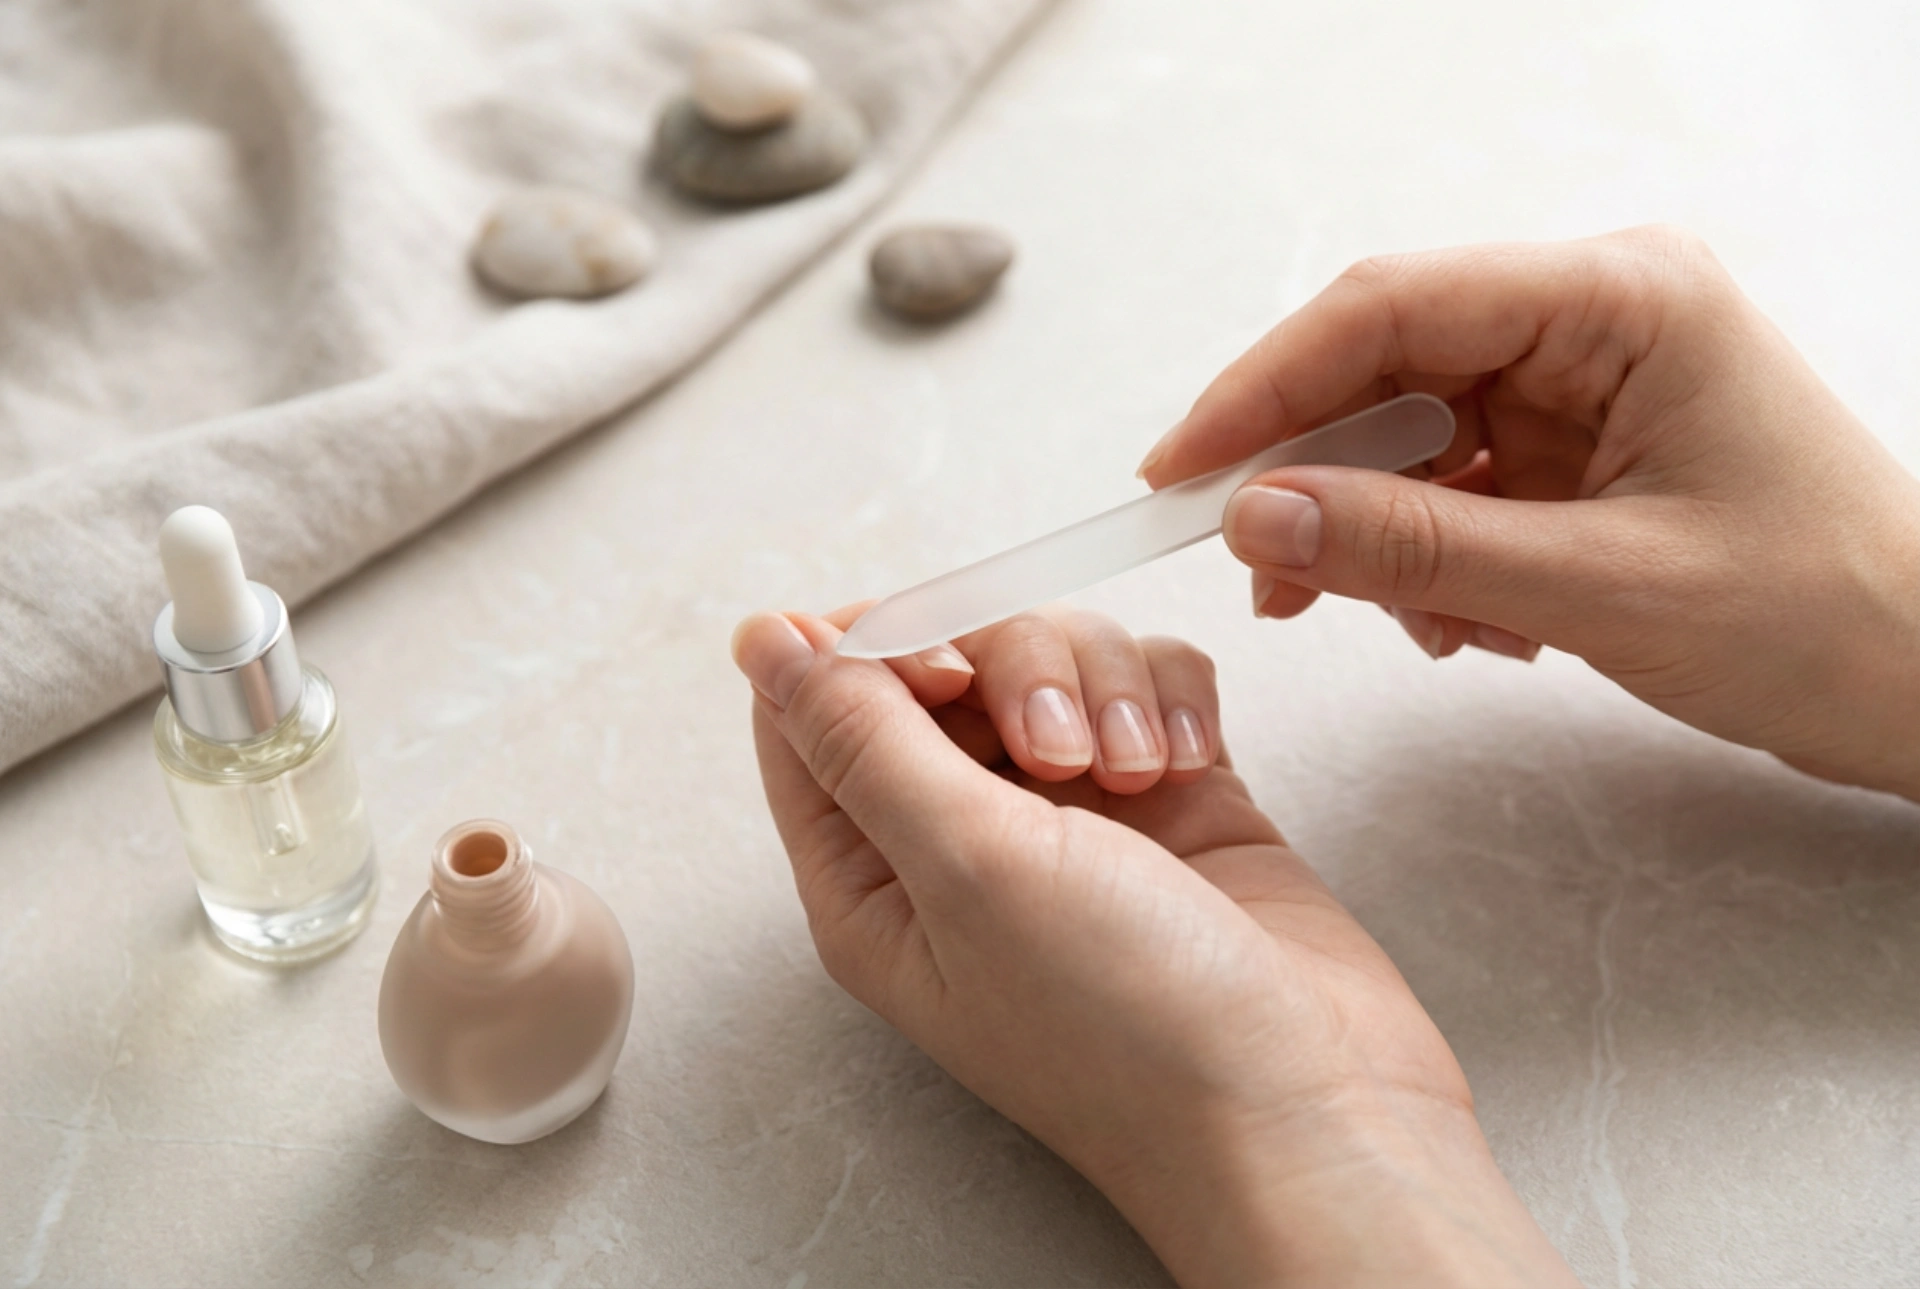


Creating a serene, spa-like experience at home is one of the most rewarding self-care rituals you can adopt. Imagine a quiet, sunlit room, a smooth light surface, and a minimalist selection of nail care tools laid out before you. Taking the time to nurture your hands not only enhances their appearance but also offers a moment of pure relaxation. A classic at-home manicure does not require complex equipment or professional salon skills; with the right technique, patience, and a gentle touch, you can achieve beautiful, elegant results that last.
Preparing the Canvas: Gentle Shaping and Filing
The foundation of any elegant manicure begins with proper shaping. Before you begin, ensure your hands are thoroughly clean and dry. Working on wet nails can cause them to bend and split more easily during the filing process. Opt for a high-quality glass nail file or a fine-grit emery board, which are far gentler on the natural nail layers than harsh metal files.
When shaping, decide on a silhouette that complements your natural hand anatomy. Oval, squoval, or softly rounded shapes tend to be the most durable and universally flattering. Always file from the outer edge towards the centre in one smooth, continuous motion. Avoid sawing back and forth, as this creates micro-tears in the keratin layers, leading to peeling and chipping later on. Keep your strokes light and deliberate to maintain complete control over the length and symmetry.
Nurturing the Frame: Mindful Cuticle Care
Cuticles serve as a protective barrier for your nail matrix, meaning they require gentle nourishment rather than aggressive removal. To begin, soak your fingertips in a bowl of warm water for a few minutes to soften the skin, or apply a dedicated cuticle-softening formula. Once the skin is pliable, use a traditional orangewood stick or a soft silicone tool to gently push the cuticles back.
Avoid the temptation to cut or clip the cuticles heavily. Instead, focus only on removing loose, dead skin or hangnails that may cause discomfort. Once the cuticles are neatly pushed back, massage a drop of nutrient-rich cuticle oil into the base of each nail. This step stimulates blood flow to the nail bed, promoting healthy growth while keeping the surrounding skin soft, hydrated, and free from dry, unsightly peeling.
Preparing the Nail Plate for Flawless Adherence
For your nail polish to adhere perfectly and remain chip-free for days, the surface of the nail must be completely clean and free of oils. Even natural skin sebum or residue from cuticle oil can prevent the polish from bonding properly. Gently wipe each nail plate with a lint-free pad soaked in a mild, acetone-free nail polish remover to strip away any remaining residue.
Once the nails are dry, apply a thin, even layer of base coat. A base coat is an essential step that should never be skipped. It acts as a protective shield, preventing pigments from staining your natural nail plate, while simultaneously smoothing out any minor ridges and creating a slightly tacky surface that helps the coloured polish stick securely.
The Art of Painting: Precision and Patience
Applying the colour is where your patience truly pays off. When selecting a shade, neutral, understated tones offer a timeless, sophisticated aesthetic that beautifully complements any wardrobe. Before applying, wipe the brush against the neck of the bottle to remove any excess polish, leaving just enough to coat one nail.
- The Three-Stroke Rule: Place a drop of polish slightly above the cuticle line, push it gently towards the cuticle without touching the skin, and then sweep down the centre to the tip. Follow with one stroke on the left side and one on the right.
- Thin Layers are Key: It is always better to apply two or three paper-thin coats rather than one thick layer. Thin coats dry faster and are much less prone to bubbling or smudging.
- Cap the Free Edge: Run the tip of your brush along the very edge of the nail to seal the polish. This simple step significantly reduces the likelihood of tip-wear and chipping.
Allow the first coat to dry completely for a couple of minutes before applying the second. Once your colour is dry, seal your masterpiece with a high-quality top coat to lock in the shine and protect your nails from daily wear and tear.
Maintaining Your At-Home Manicure
To preserve the beauty of your freshly painted nails, incorporate simple protective habits into your daily routine. Always wear protective gloves when washing up or using household cleaning products, as prolonged exposure to water and chemicals will quickly degrade your manicure. Reapply a drop of cuticle oil every evening before bed to keep the skin hydrated and the polish flexible, ensuring your hands remain elegantly groomed until your next self-care session.




