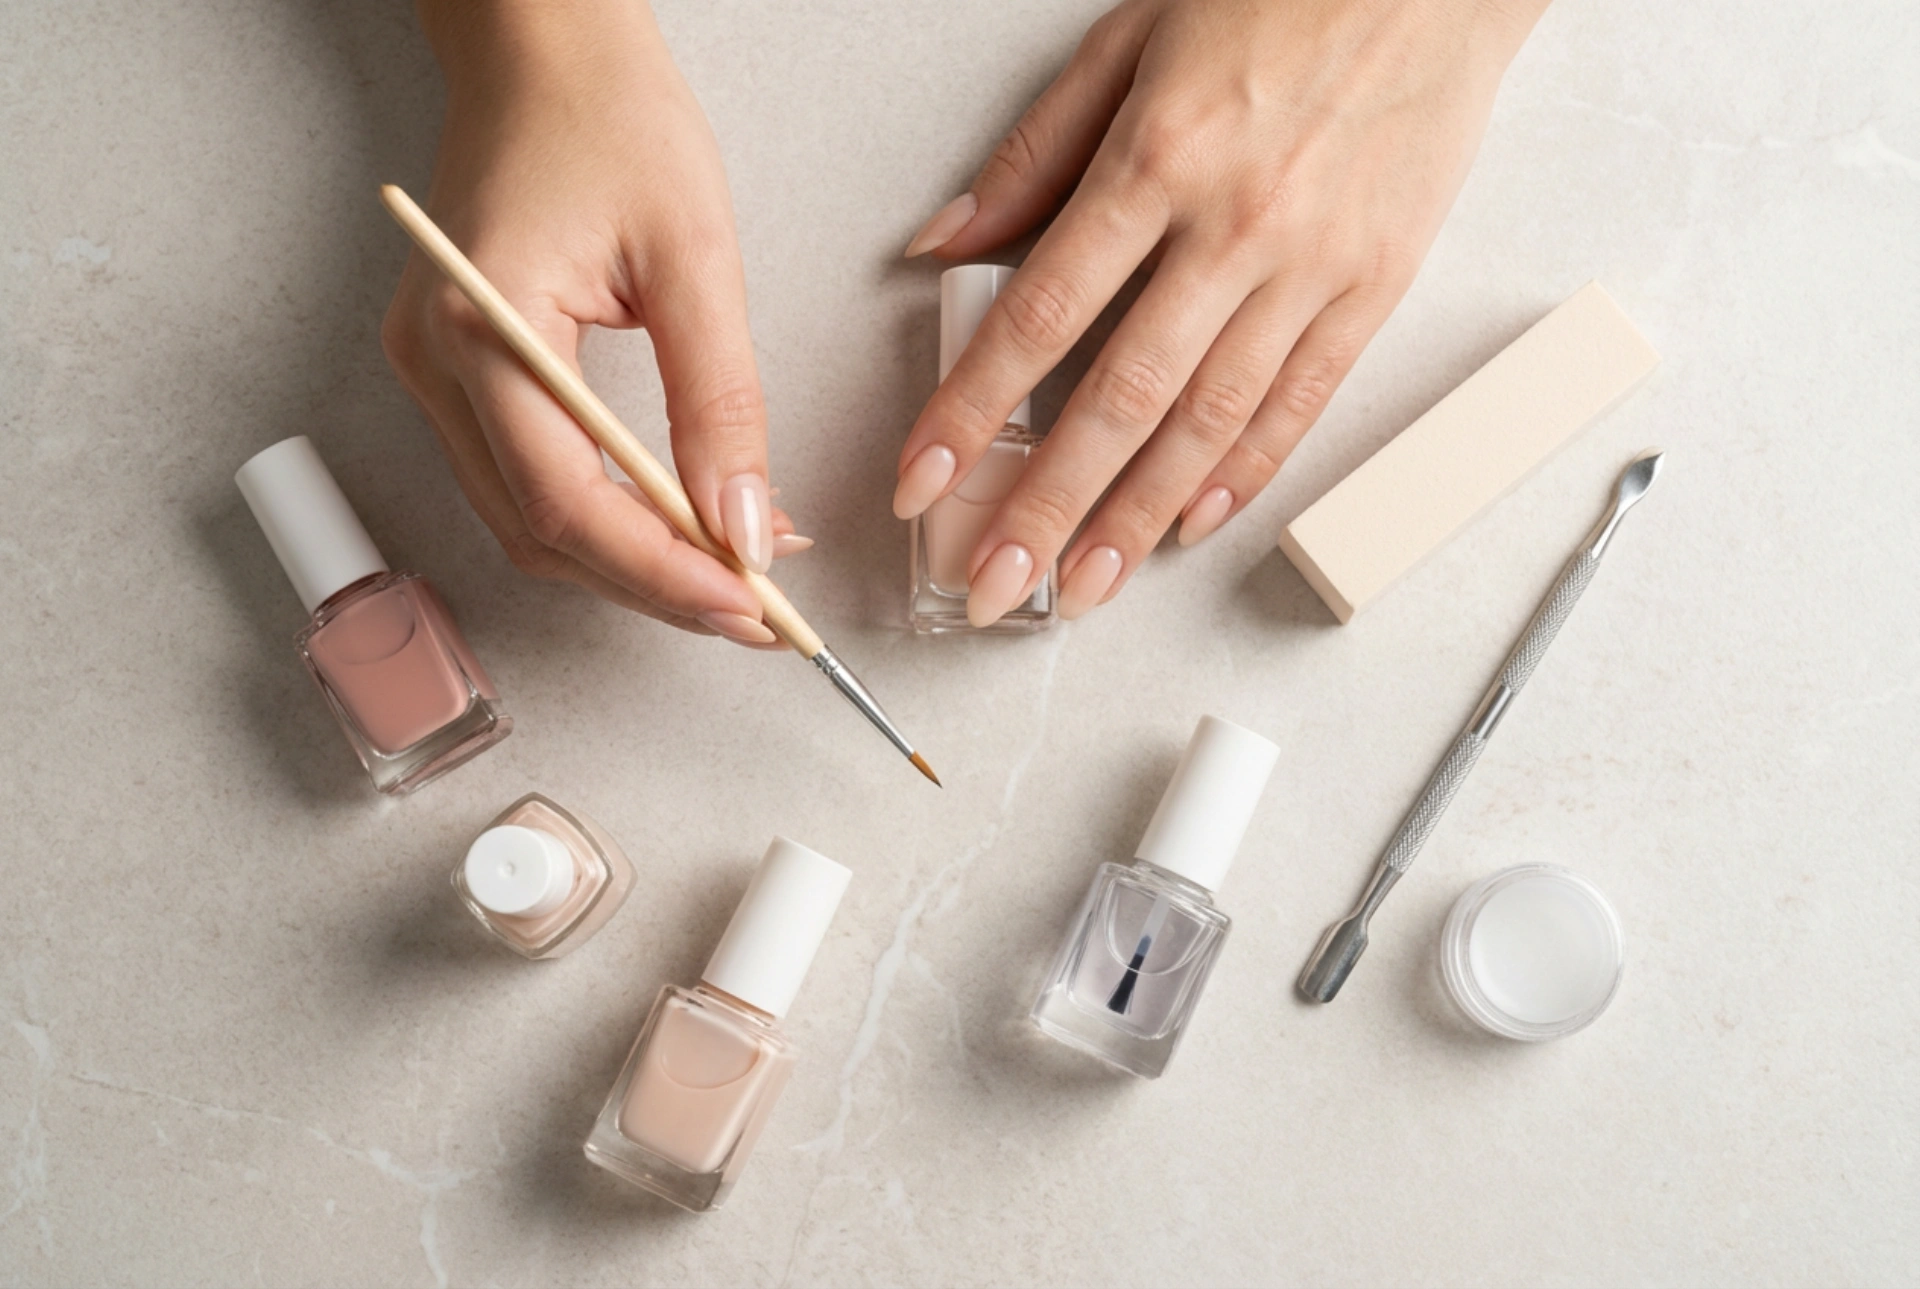


Creating a salon-like experience at home starts with the right environment and a curated selection of tools. A beautifully lit, clean workspace arranged with elegant polish shades, essential buffers, and fine detailing brushes can turn a simple beauty routine into a relaxing ritual. For those taking their first steps into the world of home manicures, having a structured approach is the key to achieving professional-looking results without feeling overwhelmed.
Essential Tools for Your Home Nail Kit
Before diving into complex designs, it is important to understand the role of each tool in your beginner's kit. A well-curated kit does not need to be overly complicated; rather, it should focus on high-quality essentials that protect and enhance the natural nail plate. First and foremost, a gentle nail file and a soft buffer are indispensable for shaping and smoothing the nail surface. A buffer helps remove natural shine and ridges, allowing the polish to adhere smoothly.
Additionally, you will need a cuticle pusher—preferably made of wood or gentle plastic—to carefully tidy the nail borders. For styling, a fine-tipped detailing brush is incredibly useful, even for beginners. It allows you to create clean lines, delicate dots, and correct minor imperfections near the cuticles. Finally, always include a high-quality base coat and top coat in your collection, alongside a few classic, subtle shades such as soft nudes, dusty pinks, or elegant sheer tones.
Prepping the Canvas: Clean and Safe Nail Preparation
The longevity and appearance of any nail design depend heavily on how well the nails are prepared. Start by washing and thoroughly drying your hands. This removes any natural oils or residues that could prevent the polish from sticking properly. Next, use your nail file to shape your nails. It is best to file in one direction rather than using a sawing motion, as this prevents splitting and peeling of the natural layers.
Caring for Cuticles Gently
Avoid cutting your cuticles at home, as this can lead to irritation or uneven growth. Instead, apply a small amount of nourishing cuticle oil or lotion to soften the skin, then gently push the cuticles back using your wooden stick. Once the cuticles are tidy, lightly run the buffer over the entire nail surface to create a smooth, even texture. Cleanse the nails once more with a lint-free wipe to remove any lingering dust.
Step-by-Step Plan for Your First Designs
When starting out, simplicity is your best friend. Elegant, minimalist designs are not only easier to execute but also carry a timeless appeal. Here is a simple plan for your very first stylings:
- The Classic Monochromatic Look: Begin by applying a thin layer of base coat. Once dry, apply two thin layers of your chosen subtle shade. Finish with a glossy top coat. This helps you practice even brush distribution and control.
- The Minimalist Dot: After your base colour has dried, dip the tip of a fine brush or a toothpick into a contrasting shade. Gently press a single, perfect dot at the base of each nail, just above the cuticle. This creates an understated, modern look.
- Elegant Dual-Tone: Apply a neutral nude shade over the entire nail. Once dry, use a fine brush to paint a thin, delicate line of a slightly darker or shimmery shade along the free edge of the nail, mimicking a modern French tip.
Key Tips for a Flawless Finish
Achieving a professional-looking finish requires patience and a few simple techniques. Always apply polish in thin layers. Thick layers take significantly longer to dry and are highly prone to bubbling or smudging. It is always better to build colour opacity through two or three ultra-thin coats rather than one heavy layer.
Another essential technique is capping the free edge. When applying your base coat, colour, and top coat, gently run the brush along the very edge of your nail tip. This seals the polish and significantly reduces the likelihood of chipping. Lastly, allow ample drying time between each step, and finish with a drop of cuticle oil to restore moisture and add a healthy shine to your newly styled hands.




