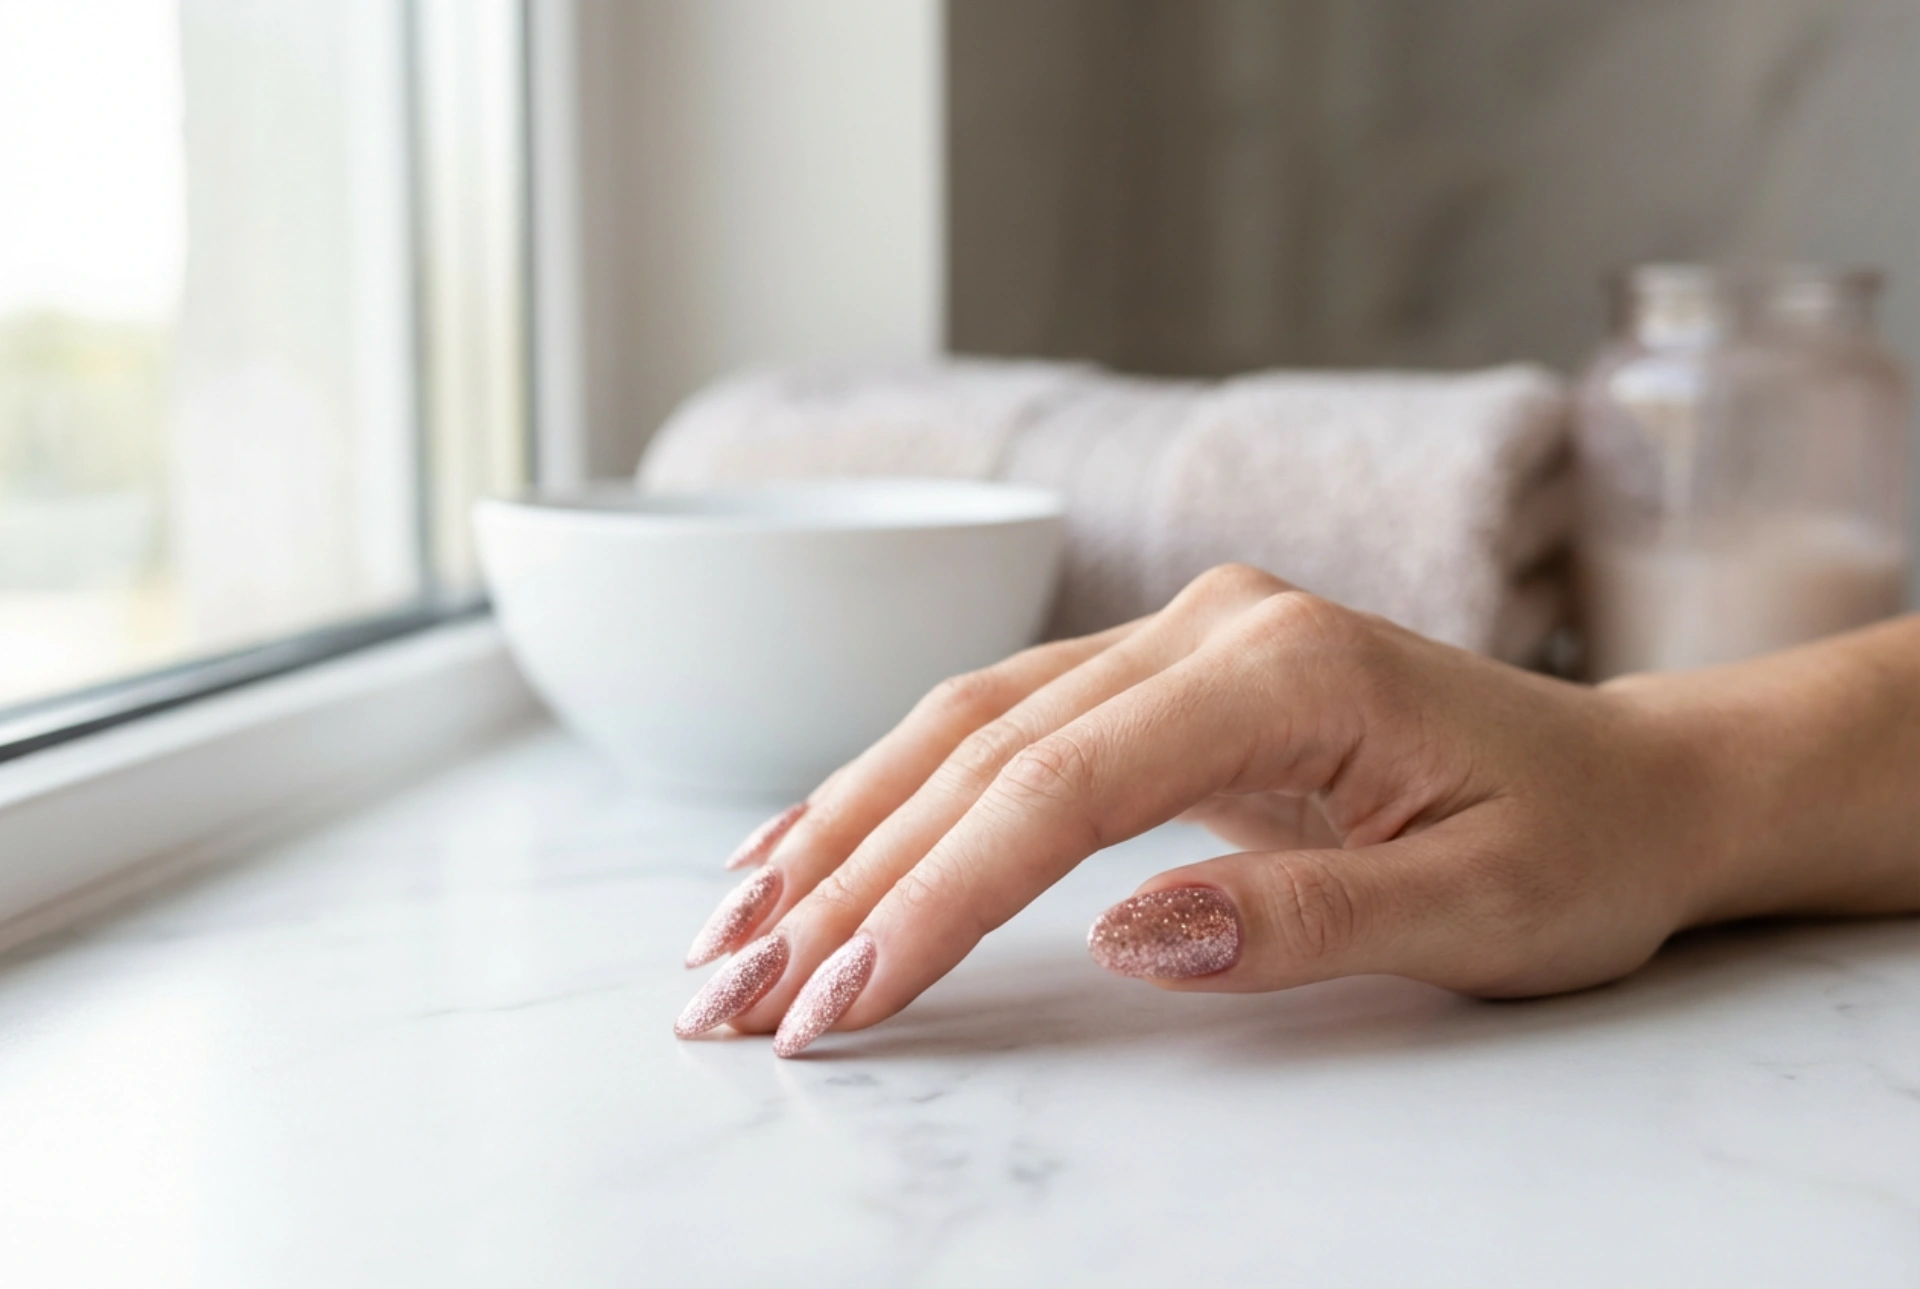


Elegant, sparkling nails have long been a symbol of refined beauty, catching the natural light with every movement. A perfectly applied glitter gel polish offers a sophisticated look that transitions seamlessly from daily wear to special occasions. However, achieving a completely smooth, bump-free surface with even glitter distribution can sometimes be challenging. Understanding the proper application techniques is key to ensuring that your manicure not only looks professional but also retains its flawless shine and durability for weeks.
Preparing the Perfect Canvas
Before introducing any glitter elements, the foundation of the nail must be meticulously prepared. An uneven nail plate will only amplify any imperfections once a sparkling polish is applied. Begin by gently pushing back the cuticles and shaping the free edge of the nails. Using a fine-grit buffer, lightly remove the natural shine from the nail surface. This step is crucial as it creates micro-textures that help the base coat adhere properly, preventing premature lifting.
After buffing, cleanse the nails thoroughly with a professional dehydrator or isopropyl alcohol to remove any remaining dust and natural oils. Once the surface is completely dry, apply a thin, even layer of a high-quality base coat. Pay close attention to capping the free edge, as this seals the nail and protects it from moisture. Cure the base coat under a UV or LED lamp according to the standard guidelines.
Mastering the Art of Even Glitter Distribution
Glitter polishes contain particles of varying sizes suspended in a gel medium. If not applied correctly, these particles can cluster together, leaving some areas of the nail bare while others are overly thick. To prevent this, gently roll the polish bottle between your palms before application to distribute the glitter evenly without creating air bubbles.
When applying the first colour coat, aim for thin, controlled layers. It is always better to apply two or three thin coats rather than one thick layer. If you notice gaps in the glitter placement, do not overload the brush. Instead, use a fine nail art brush or a wooden toothpick to gently guide individual glitter pieces into place before curing. This technique ensures a balanced, harmonious shimmer across the entire nail plate.
Techniques for a Smooth, Bump-Free Surface
One of the main difficulties with glitter gel manicures is the rough, textured finish left by larger glitter particles. A bumpy surface not only detracts from the elegant appearance but also makes the nails more prone to catching on fabrics and chipping. To achieve a smooth, touchable finish, consider incorporating a leveling technique.
After curing your glitter layers, you can apply a thin layer of a clear, self-leveling builder gel or a slightly thicker structure base. This clear layer fills in the microscopic gaps between the glitter pieces, creating a perfectly flat plane. Cure this layer thoroughly. Once cured, apply a generous layer of top coat, making sure to seal the free edge once more. If the surface still feels slightly textured, wipe away the dispersion layer, gently buff the surface with a soft buffer block to level it, cleanse, and apply a final thin layer of top coat.
Ensuring Durability and Long-Lasting Shine
A beautiful glitter manicure deserves to last. The longevity of gel polish depends heavily on the proper curing process and post-manicure care. Always ensure your lamp has sufficient power and that you cure each layer for the recommended duration. Under-cured gel remains soft and is highly susceptible to peeling.
Additionally, daily habits play a major role in preserving your manicure. Wear gloves when performing household chores, particularly when working with hot water or cleaning detergents, as these can weaken the gel bond over time. To maintain the healthy appearance of the surrounding skin and keep the polish looking fresh, apply a nourishing cuticle oil daily. This simple habit keeps the nail matrix hydrated and prevents dry, unsightly edges.




