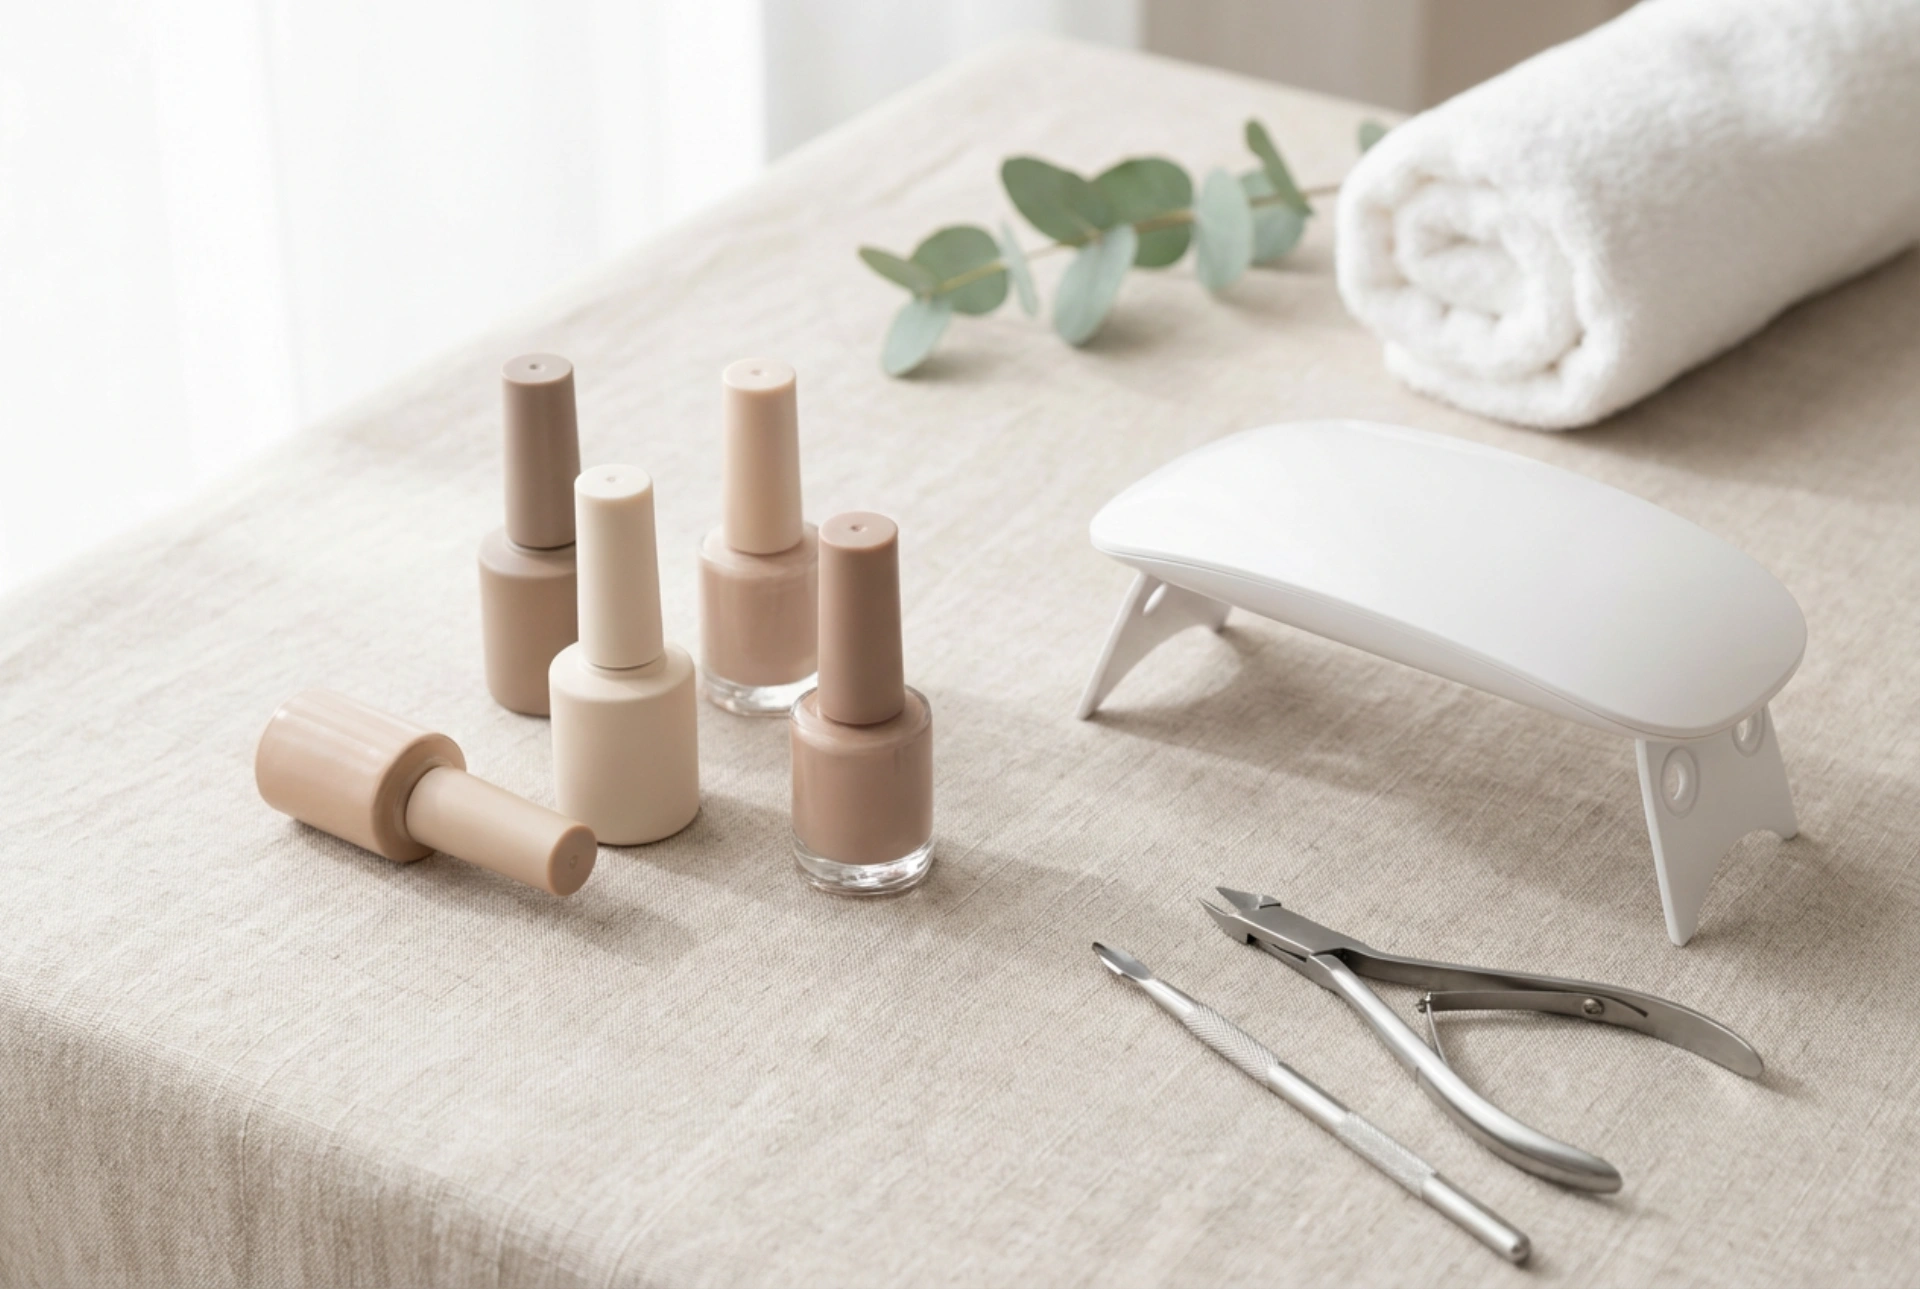


Creating a refined, at-home nail care ritual has become an elegant way to maintain beautiful hands without constant salon visits. The key to achieving professional, long-lasting results lies in choosing the right nail kit equipped with a high-quality lamp. By curating a minimalist selection of essential tools and understanding the science behind the curing process, anyone can master the art of the perfect home manicure. From preparation to the final top coat, understanding how to use these systems safely and effectively ensures your nails remain strong and beautiful.
Essential Components of a Complete At-Home Nail Kit
A well-curated starter kit should contain all the necessary elements to prepare, apply, and finish your manicure. Investing in a comprehensive set prevents the temptation to skip crucial steps, which can lead to premature lifting or peeling. Here are the core items your kit should include:
- A UV/LED Dual Lamp: The heart of the kit, responsible for polymerising the gel formula.
- Nail Prep and Dehydrator: Essential liquids used to remove natural oils and moisture from the nail plate, ensuring optimal adhesion.
- Base Coat: A protective layer that bonds to the natural nail and prevents staining from pigmented colours.
- Gel Colours: High-quality, generic gel polishes in your preferred shades for the main colour application.
- Top Coat: A sealing layer, available in glossy or matte finishes, designed to protect the colour from chipping and scratching.
- Minimalist Manicure Tools: High-quality nail files (typically 180/240 grit), a gentle buffer block, and a wooden cuticle stick to tidy the nail edges.
- Cleanser or Isopropyl Alcohol: Used to wipe away the sticky inhibition layer that remains on the top coat after curing.
Understanding Nail Lamp Technologies
To achieve a flawless finish, it is helpful to understand how different lamps operate. Most modern kits feature dual-source UV/LED lamps. These devices emit light at specific wavelengths that trigger the photo-initiators in the gel polish, transforming the liquid into a durable solid plastic layer.
LED lamps cure gel formulas much faster, typically taking between 30 to 60 seconds per layer. Traditional UV lamps require a longer exposure time, usually around 120 seconds. Dual-source lamps combine both wavelengths, making them highly versatile and compatible with almost all gel products on the cosmetic market today. Choosing a lamp with a low-heat mode is highly recommended to minimise sensitivity during the curing process.
The Step-by-Step Gel System Application
Preparation is the most critical stage of any manicure. Even the most advanced lamp cannot compensate for poor prep work. Follow these steps to prepare your nails for the gel system:
1. Shaping and Buffing
Begin by filing your nails to your desired shape. Gently use a buffer block to remove the natural shine from the nail plate. This creates a slightly textured surface that helps the base coat adhere securely. Be careful not to over-file, as preserving the thickness of the natural nail is vital for long-term health.
2. Dehydrating the Nail Plate
Apply a small amount of dehydrator to a lint-free wipe and clean each nail thoroughly. This step removes residual dust, oil, and moisture, which are the primary causes of gel lifting.
3. Applying the Base Layer
Apply an incredibly thin layer of base coat, ensuring you cap the free edge of the nail. Capping seals the tip, preventing water and dirt from getting underneath. Cure this layer according to your lamp's instructions, usually for 30 to 60 seconds under an LED light.
How to Correctly Cure Gel Systems
Curing is not just about keeping your hands under the light; it requires precision. To ensure even curing, place your hand flat inside the lamp, keeping your fingers separated. Avoid tilting your thumb, as this can cause the gel to run to one side and cure unevenly. Many users find it beneficial to cure their thumbs separately to guarantee the light hits the entire nail surface directly.
Always apply gel colours in multiple thin layers rather than one thick layer. Thick layers may look solid on the surface but can remain uncured underneath, leading to wrinkling and premature peeling. Standard gel colours generally require 60 seconds under a dual UV/LED lamp. Once the final top coat is applied and cured, wipe away the sticky residue with a gentle cleanser to reveal a brilliant, smudge-proof shine.
Safe Removal and Aftercare
Maintaining healthy nails is just as important as having a beautiful manicure. When it is time to change your style, never peel or scrape the gel off, as this strips away the delicate upper layers of your natural nail. Instead, gently buff the shiny top coat to break the seal, wrap each nail in a cotton pad soaked in a mild cosmetic remover, and secure with foil. After about ten to fifteen minutes, the gel will soften and can be easily swept away with a wooden stick. Finish your routine with a nourishing cuticle oil to restore moisture and keep your hands looking pristine.




