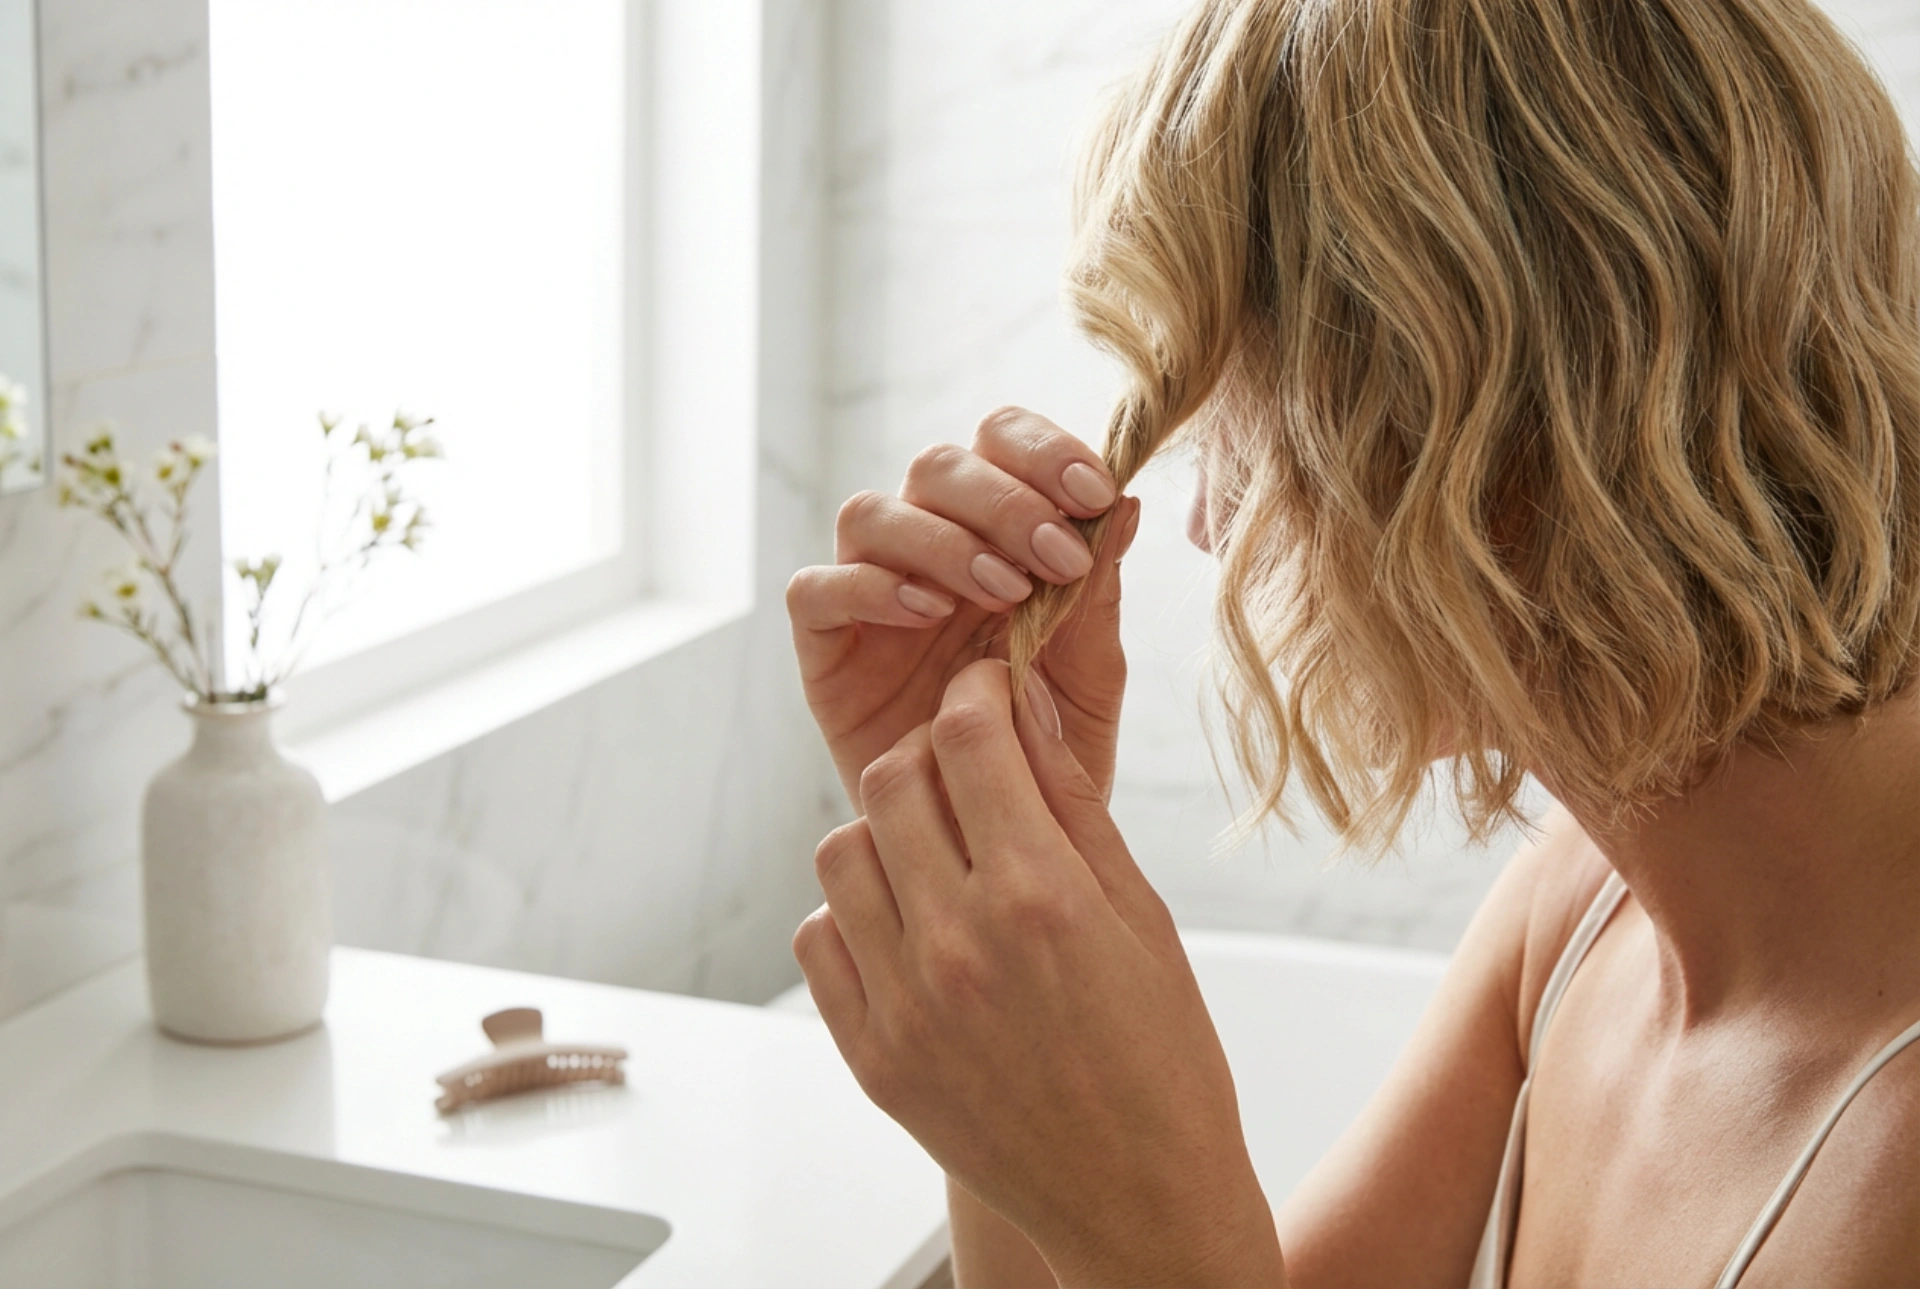


Styling short hair for a special occasion like a wedding can be an incredibly creative and rewarding process. While longer locks often dominate bridal hair guides, short hair offers a chic, modern, and highly elegant canvas that highlights your facial features and neckline beautifully. With the right techniques, a few simple tools, and a touch of patience, you can create a stunning wedding hairstyle at home. Whether you are aiming for soft, romantic waves or a clever faux updo that mimics longer hair, achieving a professional-looking result is entirely possible. By focusing on texture, volume, and the delicate placement of accessories, you can craft a look that feels both sophisticated and uniquely yours.
Preparation: The Foundation of a Long-Lasting Hairstyle
Before diving into styling, it is crucial to prepare your hair correctly. Short hair requires structure and hold, as there is less weight to keep the style in place. Starting with clean, lightly conditioned hair is key. Heavy conditioners can weigh short strands down, making them slippery and difficult to style, so opt for a lightweight formula.
- Wash and prep: Wash your hair using a volumising shampoo. Apply a small amount of conditioner only to the very ends of your hair, avoiding the roots.
- Apply styling products: On damp hair, distribute a golf-ball-sized amount of volumising mousse evenly from roots to ends. This provides the necessary grip and texture for styling.
- Blow-dry for volume: Blow-dry your hair using a round brush, lifting the hair at the roots to create natural volume. If you prefer a more textured look, blow-dry with your head upside down to encourage maximum lift.
Step-by-Step: Elegant Soft Waves
Soft, textured waves are a classic choice for wedding guests and brides alike. This style adds movement, dimension, and volume, creating a romantic aesthetic that lasts throughout the celebrations. It works wonderfully on bobs, lobs, and even slightly longer pixie cuts.
Step 1: Texturising and Heat Protection
Ensure your hair is completely dry before applying heat. Mist a heat protection spray thoroughly through your hair to prevent damage. Follow this with a light dusting of dry texture spray or volumising powder at the roots to give the hair extra body and hold.
Step 2: Curling Technique for Short Strands
Use a small-barrel curling wand or a slim flat iron. Divide your hair into manageable sections, starting from the bottom layers near the nape of your neck. Take small sections of hair, approximately one inch wide, and wrap them gently around the wand away from your face. For a modern, effortless finish, leave the bottom half-inch of the ends straight. This prevents the hair from looking too round or bouncy.
Step 3: Setting and Defining the Waves
Once all sections are curled, let the hair cool down completely for a few minutes. This step is essential, as styling warm curls can cause them to drop quickly. Once cooled, gently run your fingers or a wide-tooth comb through the curls to break them up into soft, flowing waves. Finish with a fine mist of medium-hold hairspray to secure the style without making the hair stiff.
Step-by-Step: The Faux Updo for Short Hair
Many people believe updos are reserved exclusively for long hair, but a chic faux updo is surprisingly simple to achieve on shorter locks. This style creates the elegant illusion of pinned-up length and looks exceptionally sophisticated, especially when paired with a low-backed dress.
Step 1: Sectioning the Hair
Divide your hair into three horizontal sections: top, middle, and bottom. Secure the top and middle sections out of the way with clips, leaving the bottom section at the nape of your neck free.
Step 2: Pinning and Securing the Sections
Take small pieces from the bottom section, twist them gently inward, and secure them flat against your scalp using bobby pins that match your hair colour. Next, release the middle section. Twist and pin these pieces directly over the bottom pinned section, overlapping them slightly to conceal the bobby pins and create a seamless look.
Step 3: Adding Volume and Finishing
Release the top section. Backcomb the roots gently at the crown of your head to create elegant height and structure. Smooth the top layer of hair over the backcombed area, sweep it backward, and tuck the ends into the pinned sections below. Secure everything firmly with extra bobby pins and set the style with a strong-hold hairspray to ensure it remains flawless from the ceremony to the dance floor.
Elevating Your Style with Accessories
Hair accessories are a wonderful way to elevate a short wedding hairstyle, adding a touch of bridal elegance and personality. Because short hair has less bulk, accessories can truly take centre stage. Delicate floral pins, pearl slides, or a subtle jewelled headband can transform a simple styling effort into something extraordinary. When placing accessories, consider the balance of your hairstyle. For instance, a small, sparkly clip looks beautiful nested just above the ear on one side of a soft wave style, while a delicate headband can beautifully frame a faux updo.
Crucial Tips for DIY Wedding Hair Success
To ensure your DIY wedding hairstyle stays perfect all day, keep these practical tips in mind. Avoid over-touching your hair once it is styled, as natural oils from your fingers can weigh down short strands and make them lose volume. Always use matte bobby pins rather than shiny ones, as they provide significantly better grip and are less likely to slip out of short hair. Finally, keep a miniature bottle of hairspray and a few spare hairpins in your bag for quick, convenient touch-ups throughout the event.





