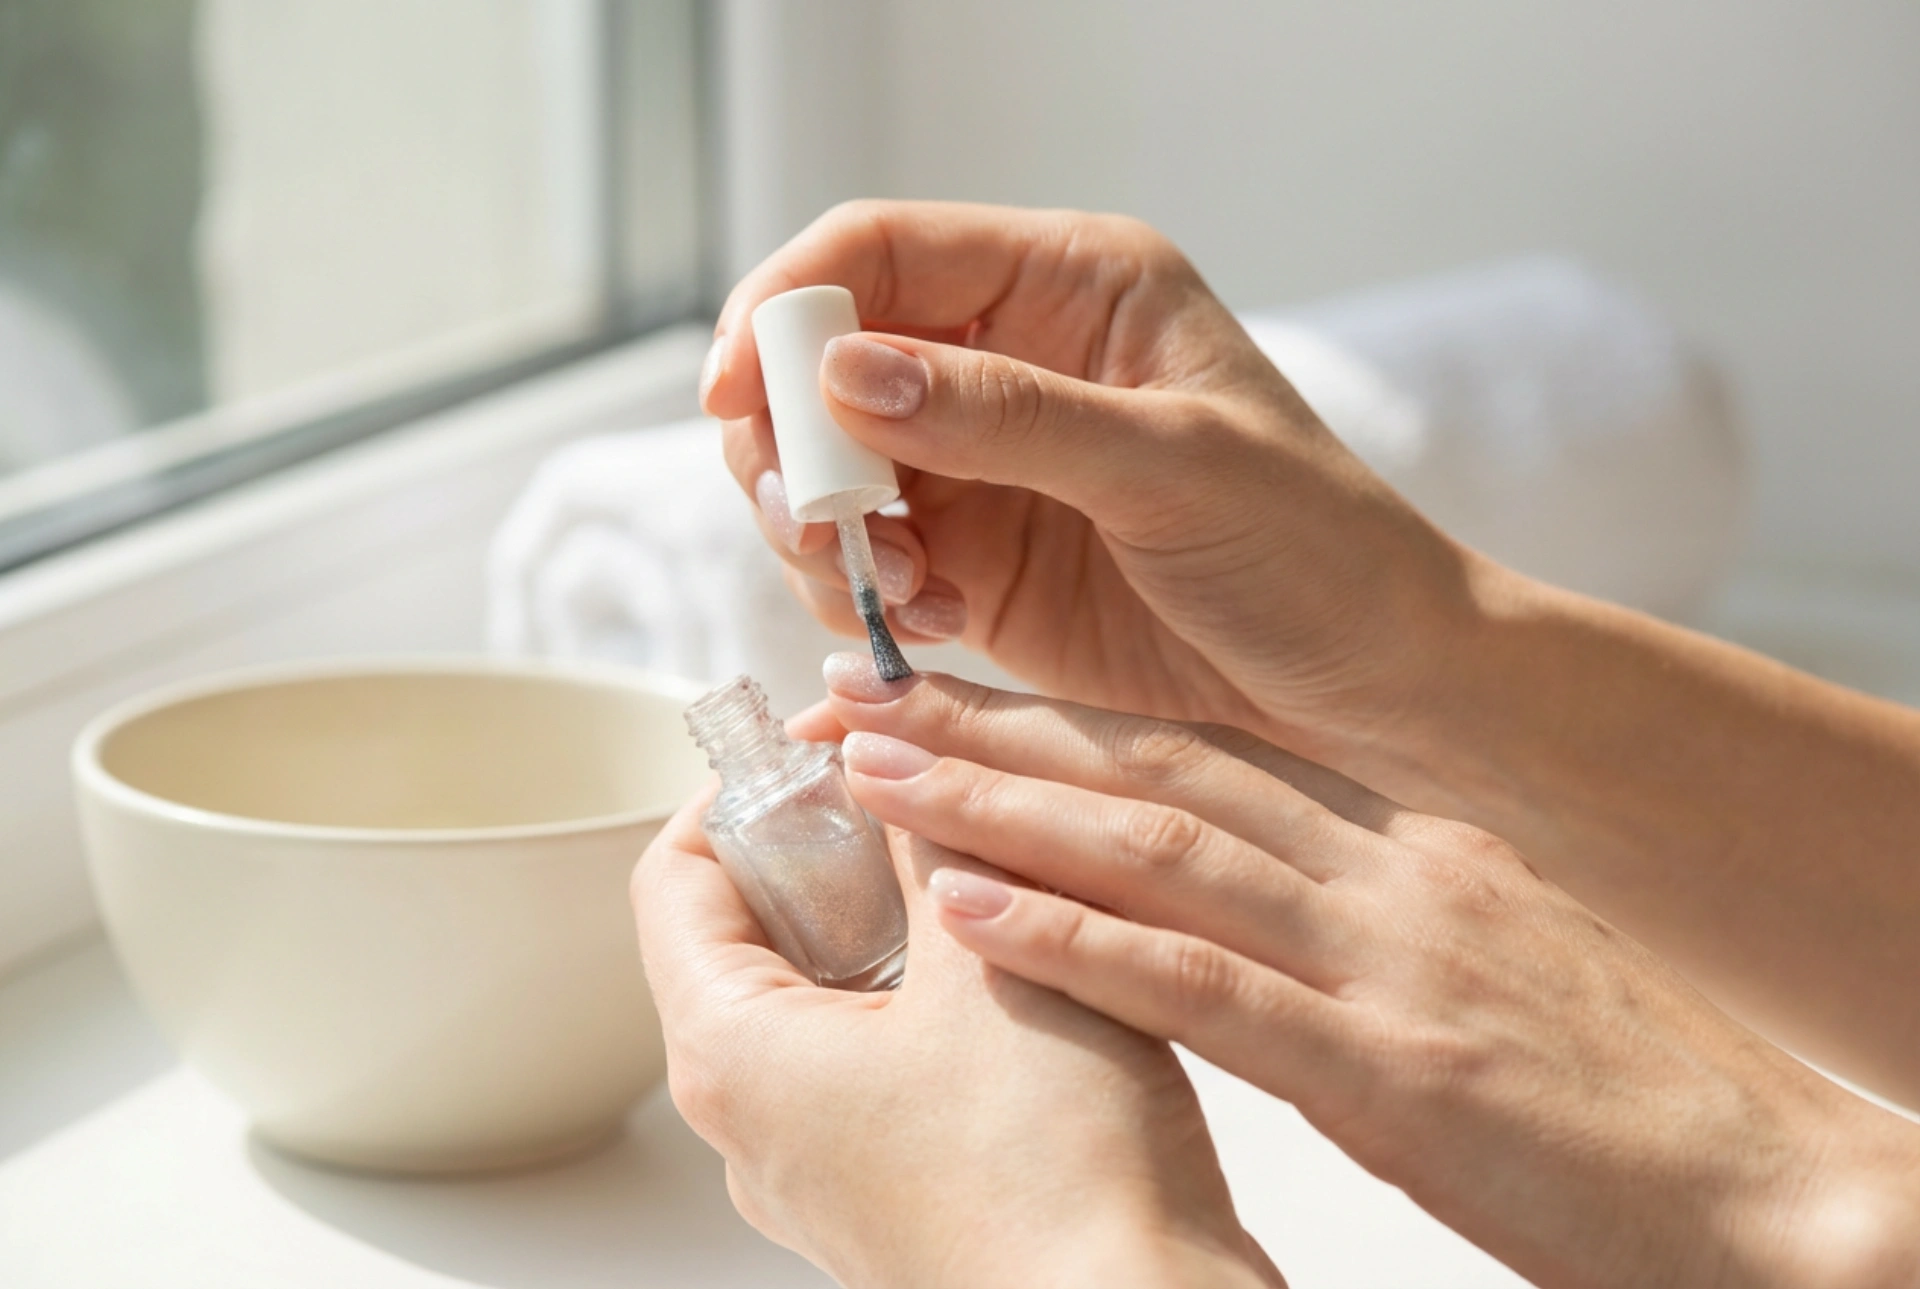


An elegant, shimmering manicure is a timeless way to add a touch of sophistication to your look. The gentle catch of light on a perfectly applied glitter gel polish evokes a sense of modern luxury and precision. Applying glitter gel polish at home, however, requires a specific approach to ensure that the sparkle is evenly distributed and the finish remains sleek rather than bulky. Mastering the art of layering and application can transform a standard manicure into an eye-catching, professional-looking set of nails that lasts for weeks.
Understanding Glitter Gel Polish Consistency
To achieve a flawless finish, it is essential to understand that glitter gel polishes differ significantly from classic solid colours. The suspension of shimmering particles in a gel base means the viscosity can vary. Some polishes feature fine shimmer dust, while others contain larger, hexagonal sequins. Knowing how to manipulate these particles during application is the first step towards a smooth surface.
Unlike solid shades, which rely on self-levelling pigments, glitter requires active placement. If applied too thickly, the gel can cure unevenly, leading to lifting or bubbles. Therefore, the key to success lies in applying ultra-thin layers and building up the density gradually.
Choosing the Perfect Background Colour
While glitter gel polish can be applied directly over a clear base coat, layering it over a solid colour background can completely transform the final look. This technique not only saves product but also adds depth and contrast.
- Dark Backgrounds: Applying a fine glitter polish over a deep black, navy, or forest green base creates a dramatic, galactic effect. The dark colour makes the individual shimmer particles stand out intensely.
- Nude and Pastel Backgrounds: Placing gold or silver glitter over a soft nude or pale pink background offers a subtle, sophisticated sparkle suitable for everyday elegance. This is highly recommended for bridal manicures.
- Coordinating Backgrounds: Using a solid colour that matches the tone of the glitter (for example, a metallic red under red glitter) creates an exceptionally rich and saturated finish with fewer layers.
The Classic Layering Technique: Step-by-Step
The traditional method of applying glitter hybrid polish focuses on building depth through consecutive thin layers. This ensures that the light reflects off different levels of the gel, creating a beautiful three-dimensional effect.
- Nail Preparation: Begin by gently pushing back the cuticles and shaping the nails. Lightly buff the nail plate to remove shine, and dehydrate it with a prep solution to ensure optimal adhesion. Always ensure the nails are completely clean and free of oils.
- The Base Coat: Apply a thin layer of a high-quality base coat. Cure it under the LED or UV lamp according to the recommended time. This layer protects the natural nail and creates a smooth foundation for the glitter to cling to.
- First Colour Layer: Apply a very thin layer of glitter gel. Do not worry if the first coat looks sparse or patchy; its primary purpose is to establish a base layer of shimmer. Cure this layer thoroughly under the lamp.
- Second and Third Layers: Apply a second thin coat, focusing on areas that look bare. For a more intense sparkle, a third thin layer can be added. Always cure between each application to guarantee the durability of the manicure.
Advanced Methods: The Sponge Technique and Colour Layering
For those seeking an opaque glitter finish without adding excess thickness to the nail, alternative application methods can be incredibly effective.
The Cosmetic Sponge Method
When a highly concentrated glitter look is desired, using a small cosmetic sponge is a fantastic technique. The sponge absorbs the excess clear gel base, leaving a dense concentration of glitter particles on the surface.
To do this, apply a small amount of glitter gel polish onto a clean, lint-free cosmetic sponge. Gently pat the sponge onto the cured base coat or a coordinating solid colour layer. This transfers a rich layer of glitter to the nail. Once satisfied with the density, cure the nail immediately to lock the particles in place.
The Sandwich Technique
Another sophisticated approach is the sandwich method, which creates a delicate, encapsulated look. This involves layering a semi-sheer or translucent shade (often referred to as a jelly polish) between layers of fine glitter.
Start with a layer of glitter gel, cure it, and then apply a thin coat of translucent pastel or nude gel polish. Cure again, and finish with another light touch of glitter before sealing. This creates an elegant depth, making the shimmer appear as though it is floating beneath a glass-like surface.
Achieving a Smooth and Even Surface
One of the main challenges with glitter polishes is avoiding a rough, textured finish. Larger glitter pieces can sometimes stick up, creating a finish that catches on hair or clothing.
To prevent this, use a fine detail brush or a clean wooden stick to gently press down any protruding glitter particles before curing. If a particle is particularly stubborn, move it away from the free edge or the cuticle line towards the centre of the nail where it can be easily encapsulated.
Sealing and Protecting the Sparkle
The final step in any glitter manicure is sealing the design with a top coat. Because glitter creates a textured surface, a standard thin top coat might not be sufficient to achieve a perfectly smooth, glassy finish.
Consider using a slightly thicker, self-levelling top coat to encapsulate the glitter fully. Apply the top coat generously but carefully, ensuring it wraps around the free edge of the nail to prevent chipping. If you still feel a slight texture after curing, gently buff the surface with a fine buffer block and apply a second thin layer of top coat for an ultra-glossy, smooth result.
Gentle Removal and Care
Maintaining nail health is paramount. When it is time to change your manicure, avoid scraping or peeling the glitter gel, as this can damage the natural nail plate. Use the standard soaking method with a gentle remover, allowing the solution sufficient time to break down the gel bonds safely. Follow up with a nourishing cuticle oil to restore moisture.




