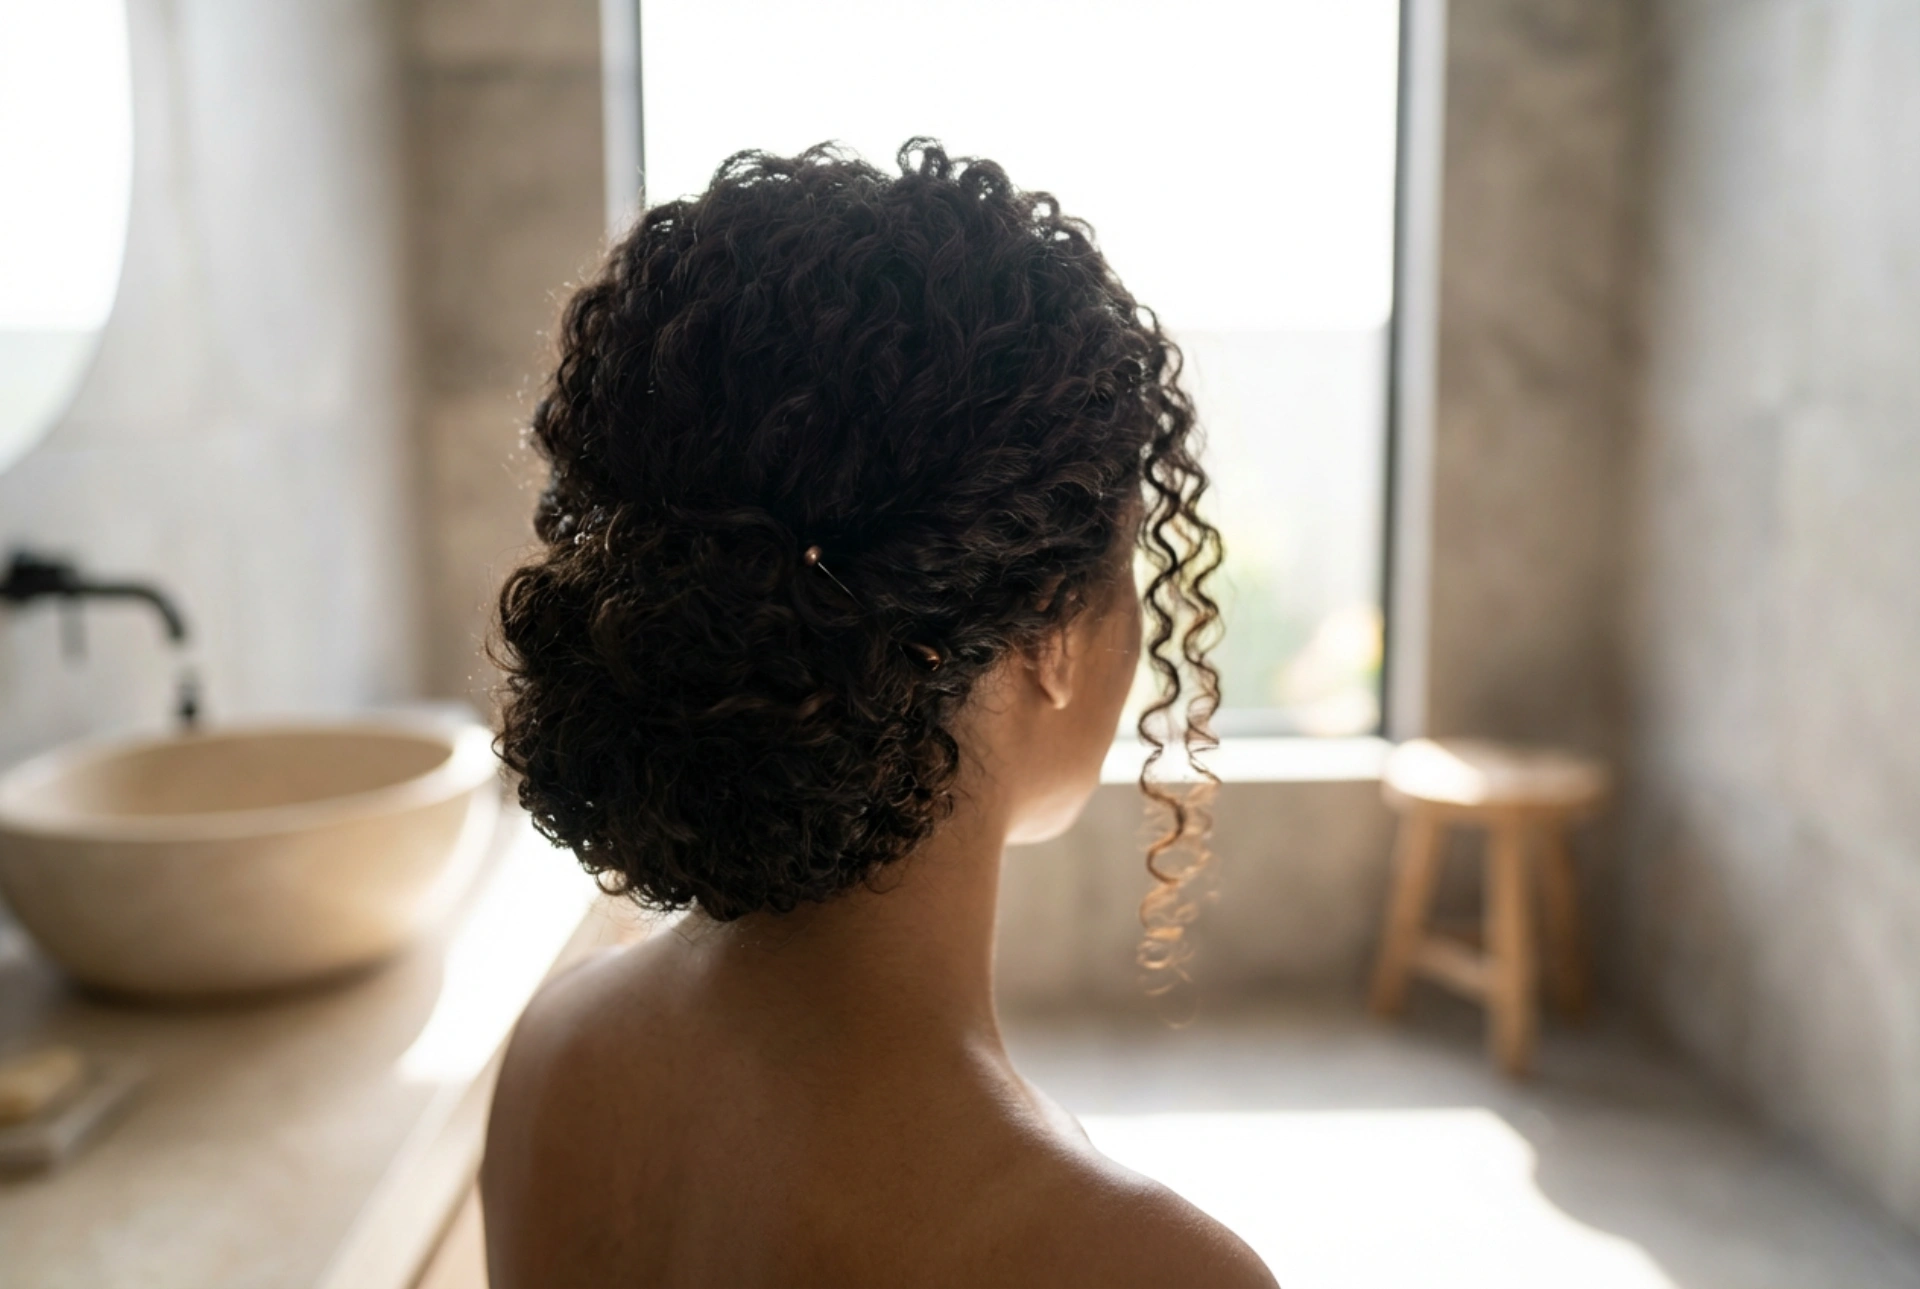


Achieving a sophisticated, elegant updo with naturally curly hair is a wonderful way to showcase texture, volume, and natural beauty. As seen in stylish hair portraits where defined, bouncy coils are artfully secured at the back of the head, the key to a successful curly updo lies in maintaining the hair's natural spring. Unlike straight hair, curly tresses require a gentle touch and specific techniques to prevent them from becoming flattened, frizzy, or losing their unique shape when pinned up. By understanding how to work with your natural pattern, you can create stunning updos that look both effortless and highly polished.
The unique characteristics of curly hair and upstyling
To successfully pin curly hair without losing its elasticity, one must understand its structural characteristics. Curly hair is naturally more fragile and prone to dryness than straight hair because natural oils from the scalp have a harder time travelling down the spiral shaft. When you pull, stretch, or tightly secure curls, you risk disrupting the natural curl pattern, which can lead to frizz and a loss of definition. The goal of a great curly updo is to support the curls rather than force them into a rigid shape. This approach allows the hair to retain its natural bounce and volume, creating a soft, romantic silhouette that highlights the hair's healthy texture.
Preparing your curls for styling
A beautiful curly updo always begins with proper preparation. Attempting to style dry, tangled, or unconditioned curls can lead to frustration and styling damage. To ensure your coils remain defined and springy, start with a focused washing and conditioning routine that prioritises moisture.
Hydration is key
Begin by using a moisturising shampoo and a rich, detangling conditioner. Whilst conditioning, use your fingers or a wide-tooth comb to gently detangle the hair from the ends up to the roots. This prevents breakage and helps preserve the natural clump formation of your curls. Rinse with cool water to help seal the hair cuticle, which adds natural shine and minimises frizz during the styling process.
Applying styling products
Apply your styling products to soaking wet hair to lock in maximum hydration. A combination of a leave-in conditioner and a light-hold curl cream or styling gel works wonders. Work the products through your hair using the "praying hands" method, then gently scrunch upwards to encourage curl formation. Allow your hair to air-dry completely or use a diffuser on a low heat setting to dry your curls without disturbing their shape. Refrain from touching your hair while it dries to prevent frizz from developing.
Essential tools for gentle styling
Traditional hair ties and tight elastics are the enemies of bouncy curls. They squeeze the hair too tightly, leaving permanent dents and flattening the natural volume. To keep your curls springy, you must use the right tools designed for delicate textures.
- Silk or satin scrunchies: These soft fabric bands glide easily over the hair, securing the updo without causing friction, breakage, or deep creases.
- Spiral hair pins (hair screws): Unlike traditional bobby pins that compress the hair, spiral pins twist gently into the hair, holding a large amount of volume securely without flattening the curls.
- U-shaped hair pins: These open pins are perfect for tucking away loose ends and securing sections of hair loosely, maintaining the natural loft and airy quality of the curls.
- Wide-tooth combs: Useful for sectioning the hair gently without brushing out the defined curl clumps.
Step-by-step: creating a chic, bouncy updo
Once your hair is dry and fully defined, you can begin crafting your elegant updo. Here is a simple, safe method to secure your curls while preserving their bounce and volume:
Step 1: Sectioning the hair
Gently divide your hair into three main sections: two smaller sections at the front (near your temples) and one large section at the back. This allows you to build the foundation of the updo at the back while leaving the front curls free to frame your face or be pinned back softly later.
Step 2: Creating a loose foundation
Gather the back section of your hair at the nape of your neck or slightly higher, depending on where you want the focus of the updo to be. Instead of pulling the hair tight, lift it gently and use a silk scrunchie to create a loose, comfortable ponytail. On the final loop of the scrunchie, do not pull the hair all the way through; leave it in a loose loop or "pineapple" shape. This preserves the natural bounce of the coils at the crown of your head.
Step 3: Artfully securing the curls
Take individual curls or small curl clumps from the loop and gently drape them around the base of the scrunchie. Secure each curl softly with a U-shaped pin or a spiral pin. Avoid pulling the hair taut; instead, let the curls fall naturally into a soft, cascading bun. This technique ensures that the volume is distributed evenly and the curl definition is kept intact.
Step 4: Framing the face
Take the two front sections that you left out earlier. Gently twist them or sweep them back towards the bun, securing them loosely with pins. You can leave a few delicate curls free around your face to soften the look and add a touch of romance.
Maintaining and refreshing your updo
To ensure your curly updo remains fresh and defined throughout the day, avoid touching your hair unnecessarily, as this can introduce oils and create frizz. If you notice any curls losing their shape or becoming flat, you can easily refresh them. Simply mist a tiny amount of water or a mixture of water and leave-in conditioner onto your hands and gently scrunch the affected curls. This reactivates the styling products already in your hair, restoring the spring and definition of your coils without the need to restyle the entire look from scratch.





