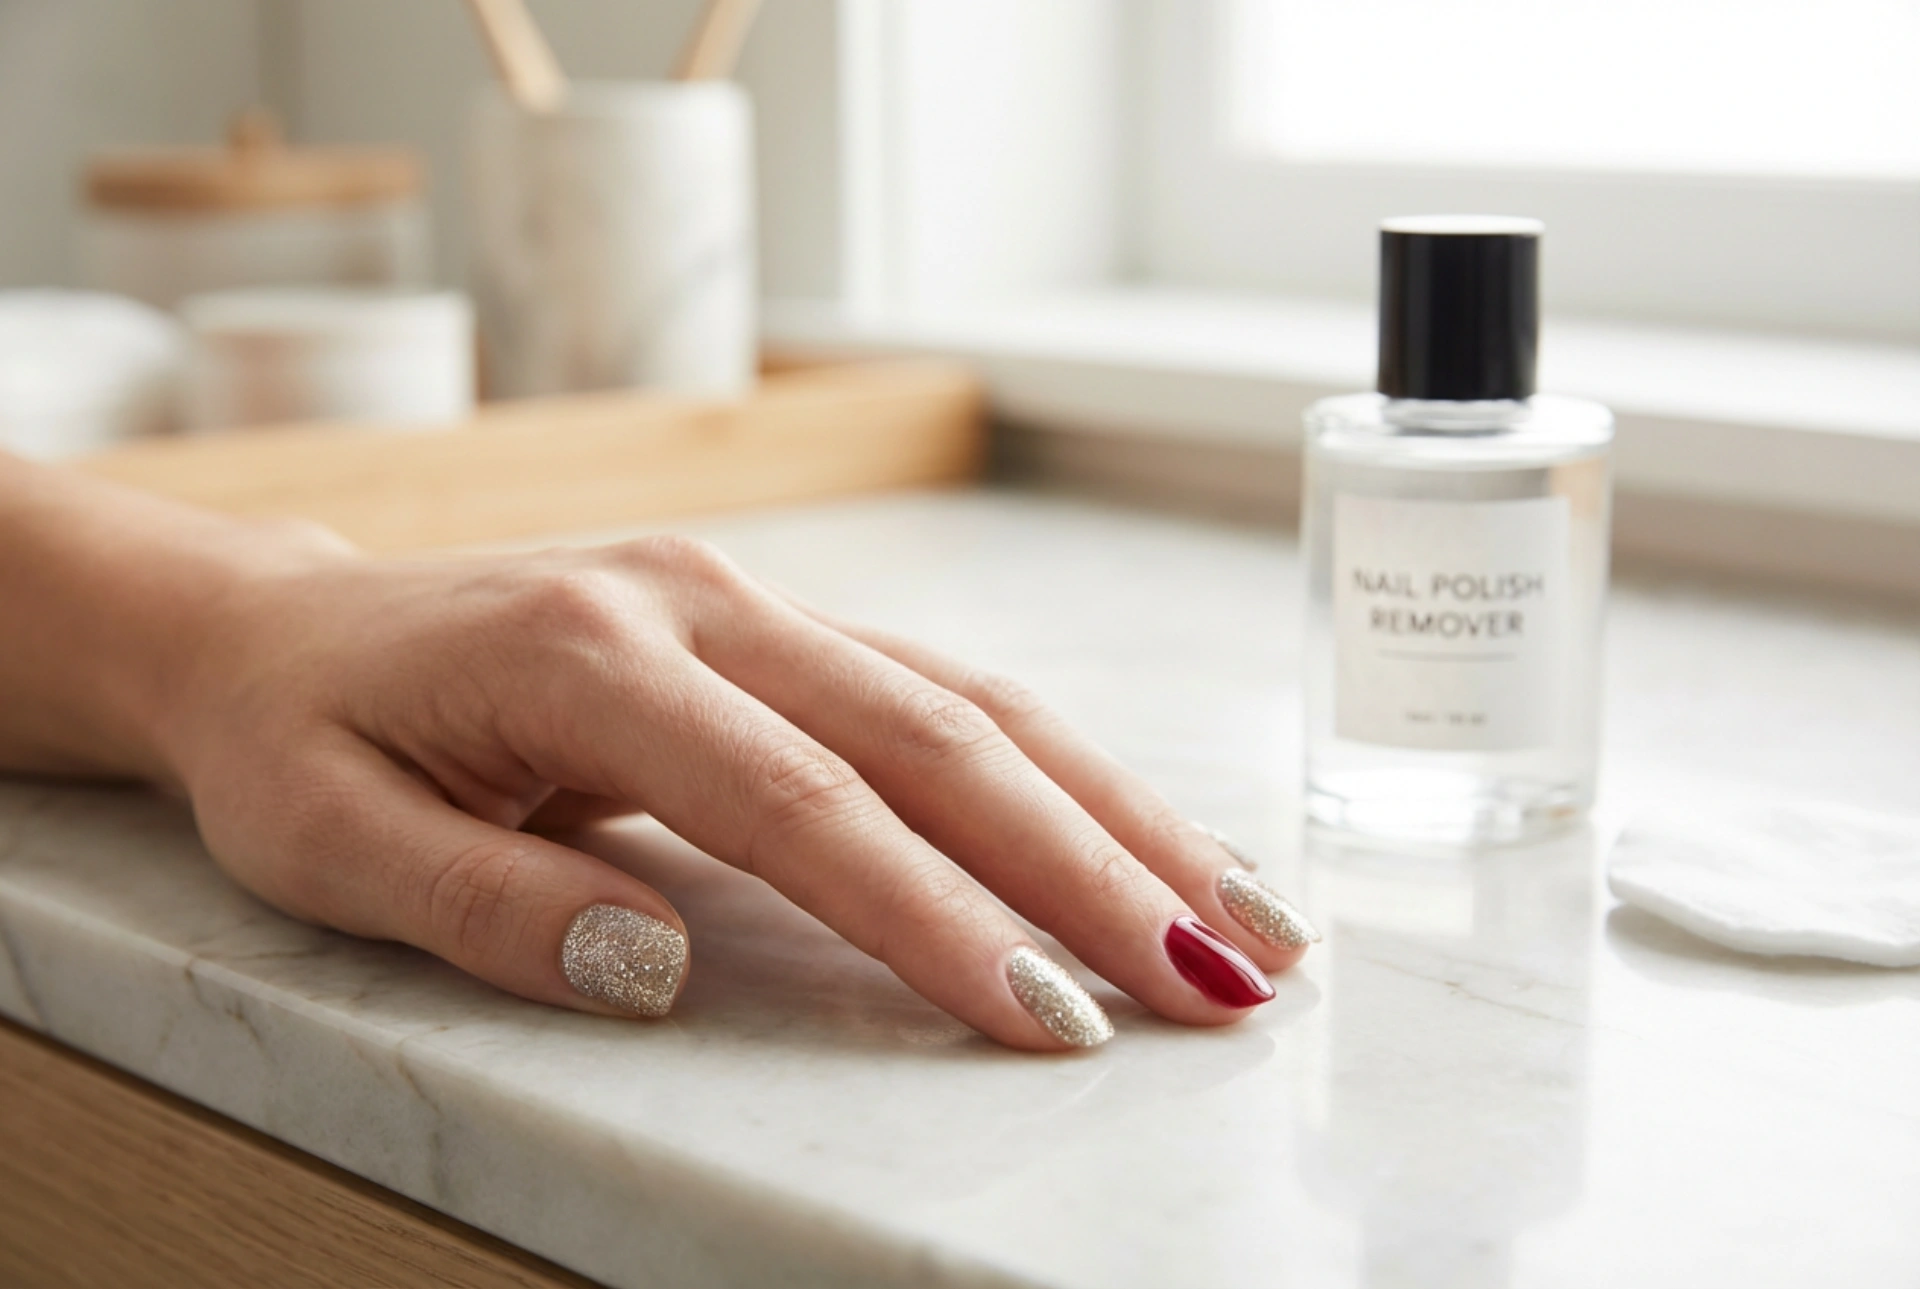


A beautifully manicured hand catching the natural light can instantly boost your confidence, and few things capture that brilliance quite like glitter nail polish. Whether you are preparing for a festive occasion or simply want to add a touch of sparkle to your everyday routine, glitter manicures offer a versatile and striking aesthetic. From a full dazzling set to a subtle single-finger accent, the way you wear sparkle can express your personal style. However, achieving a professional finish and eventually removing these stubborn particles requires a bit of know-how to keep your natural nails healthy and strong.
Choosing the Right Glitter Formula for Your Style
Not all glitter polishes are created equal, and understanding the different types can help you decide on the perfect look. Fine shimmer polishes contain tiny, microscopic particles that catch the light softly, offering a subtle glow that is highly appropriate for professional settings. On the other hand, chunky glitters feature larger, multi-dimensional shapes like hexagons or stars, creating a bold, texturised look that stands out instantly. Multi-coloured glitter blends offer a playful, festive vibe, while monochromatic glitters present a sleek and polished appearance.
When selecting a formula, consider how the particles are suspended. A clear base allows you to layer the glitter over any base colour of your choice, giving you endless customisation options. A tinted base, however, provides a quicker application as it deposits both colour and sparkle in a single stroke. Whichever you choose, always remember to roll the bottle gently between your palms instead of shaking it to prevent air bubbles from ruining your smooth finish.
The Secret to Flawless Full Coverage
Applying glitter polish directly from the brush can sometimes lead to a patchy appearance, with more clear base than actual sparkle. To achieve a rich, opaque glitter finish, many beauty enthusiasts turn to the sponge application method. This simple technique allows you to build density without creating an excessively thick layer of polish that is prone to chipping.
The Sponge Application Technique
- Start by applying a high-quality base coat to protect your natural nail plate and ensure a smooth foundation.
- Apply a thin layer of a coordinating solid colour underneath your glitter. For example, a metallic silver or a neutral nude base can make the glitter pop and cover any tiny gaps.
- Apply a generous amount of glitter polish onto the edge of a clean makeup wedge sponge. The sponge naturally absorbs the excess liquid base while keeping the glitter concentrated on the surface.
- Gently dab the sponge onto your nail, gradually building up the sparkle until you reach full coverage.
- Finish with a thick, glossy top coat to smooth out any rough textures and seal the glitter in place.
The Elegant Appeal of the Accent Nail
If full-coverage glitter feels too bold for your daily routine, the accent nail is the perfect compromise. This classic nail art trend involves painting nine nails in a solid, understated shade while dedicating one nail to a striking glitter design. It creates a focal point that is both sophisticated and playful.
When choosing which finger to accent, the ring finger is the traditional choice, though the thumb or middle finger can also create a chic effect. The key to a successful accent manicure lies in colour harmony. Classic combinations include matte navy blue nails paired with a silver glitter accent, or warm neutral tones complemented by a rose gold shimmer. By maintaining a clean contrast between the solid colour and the sparkle, you elevate your look with minimal effort.
How to Safely Remove Glitter Polish at Home
While glitter polish is incredibly durable, removing it can often feel like a challenge. Rubbing the nail aggressively with a standard cotton pad can scratch the delicate surface of the nail plate and irritate the surrounding skin. Fortunately, the foil wrap method offers a gentle, hassle-free way to dissolve stubborn glitter without causing damage.
The Foil Wrap Method
- Soak a small piece of cotton wool in a standard nail polish remover. For the best results and to prevent excessive dryness, look for formulas enriched with nourishing oils.
- Place the soaked cotton pad directly over the glitter nail.
- Wrap a small square of kitchen aluminium foil tightly around your fingertip to secure the cotton pad in place. This traps the moisture and prevents the remover from evaporating.
- Leave the wraps on for approximately five to ten minutes, allowing the solvent to break down the polish layers.
- Gently press down and slide the foil wrap off the nail. The glitter should slide off smoothly with minimal rubbing.
Essential Post-Manicure Nail Care
The process of wearing and removing glitter polish can occasionally leave your nails and cuticles feeling dry. To maintain the strength and flexibility of your natural nails, establishing a simple aftercare routine is essential. Once your nails are completely clean, wash your hands to remove any leftover residue.
Apply a generous drop of cuticle oil to the base of each nail, massaging it gently into the skin to promote healthy nail growth. Follow up with a rich, hydrating hand cream to lock in moisture. Giving your nails a day or two of rest between manicures can also help them recover, ensuring your next sparkle application looks just as stunning as the last.




