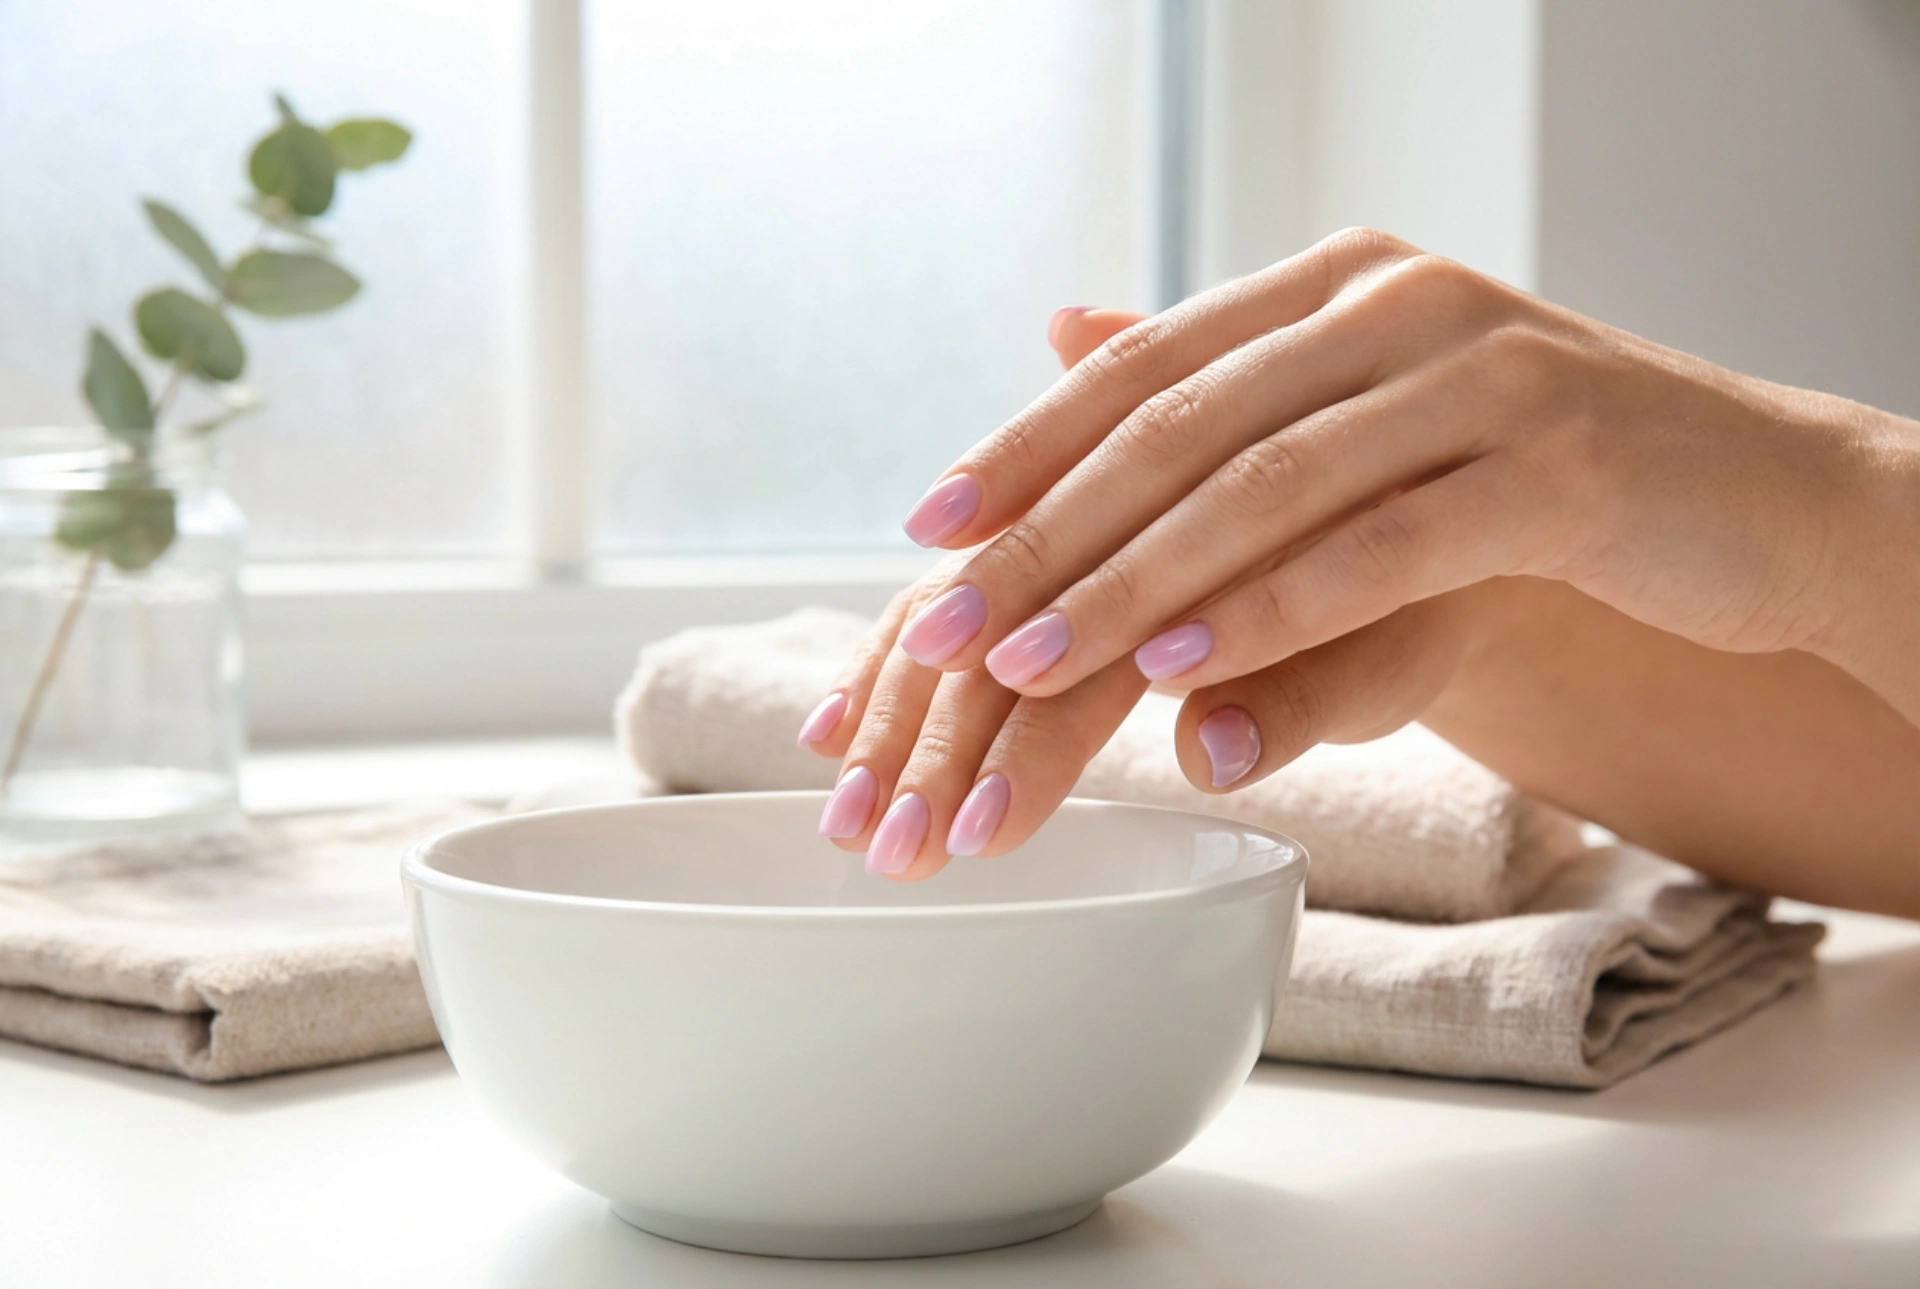


Graceful hands with beautifully styled nails are the epitome of modern elegance and self-care. Among the various nail art trends that have captured the imagination of beauty enthusiasts, the ombre effect stands out as a timeless favourite. This seamless transition of colours, fading gently from one shade to another, creates a delicate yet eye-catching gradient that suits any occasion. While it may look like a complex creation from a high-end salon, achieving a flawless pastel or vibrant ombre finish is entirely possible in the comfort of your own home. With a simple makeup sponge, the right set of polishes, and a touch of patience, you can elevate your regular manicure into a sophisticated work of art.
Choosing the Perfect Colour Combinations
The key to a stunning ombre design lies in the harmonious selection of colours. When planning your manicure, consider how different shades interact when blended together. For beginners, working within the same colour family is highly recommended, as it guarantees a smooth and effortless transition. Think of combining a soft blush pink with a delicate lavender, or a pale sky blue with a cream white. These pastel transitions evoke a sense of quiet elegance and are incredibly forgiving during the application process.
If you prefer a bolder aesthetic, contrasting combinations can look spectacular. However, blending contrasting colours requires a bit more care to avoid a muddy transition in the centre of the nail. When mixing warm and cool tones, such as a sunny yellow and a soft turquoise, you will naturally create a subtle third shade where they meet. To ensure the transition looks intentional and clean, always opt for polishes with similar formulas and opacity. Highly pigmented creams work best for the sponge method, while sheer or glittery formulas can be layered on top for added depth.
Preparing Your Nails for the Ombre Technique
Before diving into the colour application, proper preparation is essential to ensure longevity and a professional appearance. Start by shaping your nails with a gentle file, aiming for a rounded or soft square shape, which beautifully complements the flowing nature of gradient designs. Gently push back your cuticles using a wooden stick to maximise the nail surface area and create a clean frame for your artwork.
Once your nails are shaped and clean, apply a high-quality base coat. The base coat protects your natural nail plate and provides a smooth, even surface for the coloured polishes to adhere to. After the base coat has dried completely, apply one or two coats of your lightest selected shade as a solid background. This background layer is a crucial step that makes the subsequent ombre colours pop and prevents the natural nail colour from showing through the gradient.
The Sponge Method: Step-by-Step Application
The secret weapon for achieving a soft, diffused gradient is a simple cosmetic sponge. A fine-pored latex or polyurethane makeup sponge works best, as large pores can create a textured, uneven finish. Here is how to apply the colours step-by-step:
- Prepare the sponge: Cut a small rectangular piece of the sponge that easily covers the width of your nail. Lightly dampen the sponge with water and squeeze out any excess. This prevents the sponge from absorbing too much nail polish, allowing more product to transfer onto your nail.
- Apply the polish: Paint horizontal stripes of your chosen colours directly onto the edge of the sponge, ensuring the colours slightly overlap. The width of the stripes should correspond to the length of your nail.
- The dabbing technique: Gently press and roll the sponge onto your nail. Move the sponge slightly up and down as you dab; this minor shifting is what blends the colours together seamlessly, erasing any harsh lines.
- Build the intensity: Do not try to achieve full opacity on the first go. It is much better to apply several thin layers, letting each layer dry slightly for a minute before dabbing the next. Typically, two to three rounds of sponging will yield a rich, beautiful gradient.
Tips for a Seamless Blend
If you notice tiny air bubbles forming on the nail surface while sponging, do not panic. This is common when using a dry sponge or applying too much pressure. To prevent this, always ensure the sponge is damp and use a light, bouncing motion rather than pressing hard. Additionally, you can tap the freshly painted sponge once or twice onto a piece of paper or foil before bringing it to your nail to remove any excess polish and air bubbles.
Mastering the Perfect Glossy Finish
The magic of the ombre nail technique truly comes alive during the finishing stage. Immediately after sponging your final layer, while the polish is still slightly tacky, apply a generous layer of a glossy top coat. The top coat acts as a blending agent, smoothing out any texture left by the sponge and merging the colours into a completely seamless, glass-like gradient.
Once the top coat is applied, it is time for the final cleanup. Because sponging can be a bit messy, use a small, flat brush dipped in gentle nail polish remover to clean up any excess polish from the surrounding skin and cuticles. Finish your manicure by applying a drop of nourishing cuticle oil to restore moisture to your skin, highlighting the flawless, elegant look of your newly styled ombre nails.




