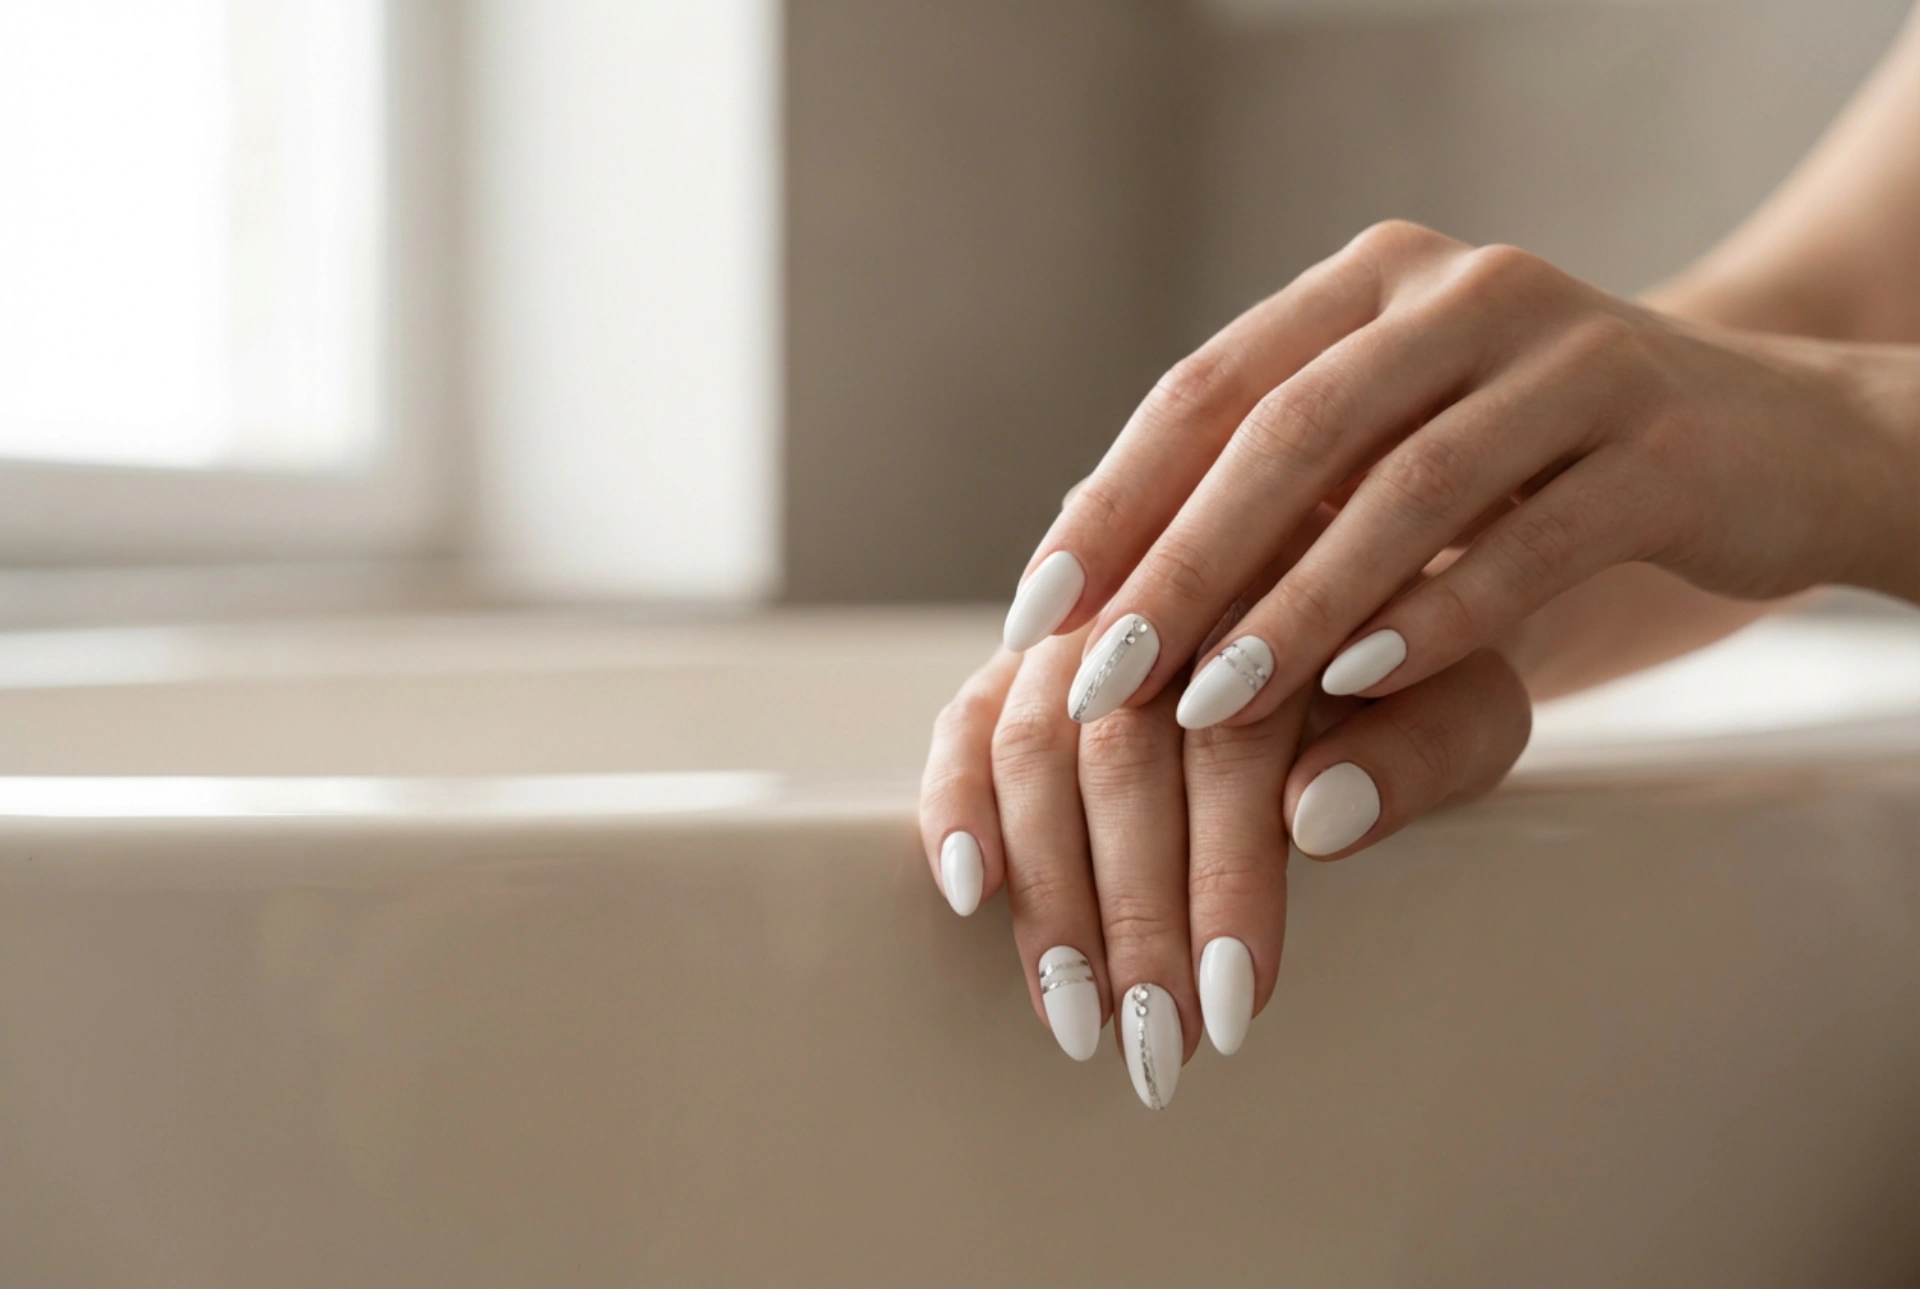


Beautifully manicured hands featuring clean, white nails decorated with elegant silver detailing capture a timeless, modern aesthetic that feels both fresh and sophisticated. A classic white manicure acts as a blank canvas, allowing metallic elements to stand out with incredible clarity. Whether you prefer the precise lines of metallic striping tape, the textured shimmer of transfer foils, or the classic sparkle of tiny rhinestones, combining white and silver creates an understated yet striking look. Doing this at home is entirely achievable with the right preparation and a steady hand.
Preparing Your Nails for a Flawless Finish
Before applying any colour, preparing the nail plate is the most important step to ensure your design lasts and looks professional. White polish is notoriously unforgiving, as any unevenness on the nail surface will be magnified by the opaque pigment. Start by shaping your nails into your preferred silhouette; a classic almond or a sleek square shape works exceptionally well with geometric silver accents.
- Gently push back your cuticles using a wooden manicure stick to maximise the nail surface.
- Lightly buff the nail plate with a fine-grit buffer to remove any natural oils and smooth out ridges.
- Dehydrate the nail plate using a gentle prep solution or rubbing alcohol to ensure maximum adhesion.
- Apply a thin, even layer of base coat to protect the natural nail and create a smooth surface for the white polish.
Mastering the White Base Coat
Achieving a streak-free white manicure requires patience and the correct application technique. Since white pigments are dense, applying thick layers can lead to uneven drying, bubbling, or streaking. The key is to build the opacity gradually using thin, precise layers.
Apply the first coat of white polish using three clean strokes: one down the centre, and one on each side. Do not worry if the first layer looks slightly sheer or patchy. Allow it to dry completely before applying the second coat. For most standard polishes, two thin coats are sufficient to achieve a solid, opaque finish. Ensure the free edge of the nail is capped with polish to prevent premature chipping.
Step-by-Step: Adding Silver Details
Once your white base is dry and set, you can begin adding your silver embellishments. Mixing different textures—such as precise tape, organic foil, and dimensional rhinestones—adds depth to the design without overwhelming it.
Working with Metallic Striping Tape
Striping tape is perfect for creating clean, geometric lines and minimalist designs. To apply it successfully, cut a small piece of tape that is slightly longer than your nail width. Using tweezers, place the tape onto the nail, pressing it down firmly along the entire length. Use fine nail scissors to trim the edges, leaving a fraction of a millimetre of space before the edge of the nail plate. This prevents the tape from catching on clothes and lifting.
Creating a Textured Look with Silver Foil
Silver transfer foil offers a more organic, distressed metallic effect that catches the light beautifully. To achieve this, apply a tiny amount of foil adhesive to specific areas of the nail, or use the tacky layer of a semi-dry polish. Press the dull side of the foil piece onto the nail, rub it gently with your finger or a silicone tool, and pull it away quickly. The silver will transfer in delicate, irregular patches, creating an effortless, modern abstract pattern.
Placing Shimmering Rhinestones with Precision
For a touch of classic elegance, small rhinestones can be placed near the cuticle or arranged in a delicate line. To secure them, apply a small dot of clear top coat or specialised nail glue to the desired spot. Dampen the tip of an orange wood stick or use a wax pencil to pick up the rhinestone, then press it gently onto the adhesive. Hold it in place for a few seconds to ensure it is secure.
Sealing and Protecting Your Design
To ensure your hard work lasts and to smooth out any texture from the tape or rhinestones, applying a high-quality top coat is essential. A generous layer of clear gloss will seal the edges of the striping tape and lock the foil and rhinestones into place, preventing them from catching.
Gently glide the top coat brush over the design, taking care not to drag the polish or displace the stones. If you are using rhinestones, paint around them rather than directly over them, as coating the top of the crystal can dull its facets and reduce its sparkle. Allow the entire design to cure or dry thoroughly, then finish with a drop of nourishing cuticle oil to restore hydration to the surrounding skin.
Creative Variations for White and Silver Nails
The combination of white and silver is incredibly versatile, allowing you to tailor the look to suit any occasion, from casual everyday wear to formal events. If you prefer a minimalist approach, a single silver stripe down the centre of each accent nail offers a modern, architectural feel. For those who enjoy a more glamorous finish, clustering small rhinestones at the base of the ring finger creates an elegant focal point. Alternatively, combining a matte white base with high-shine silver foil creates an intriguing contrast of textures that is sure to draw attention.




