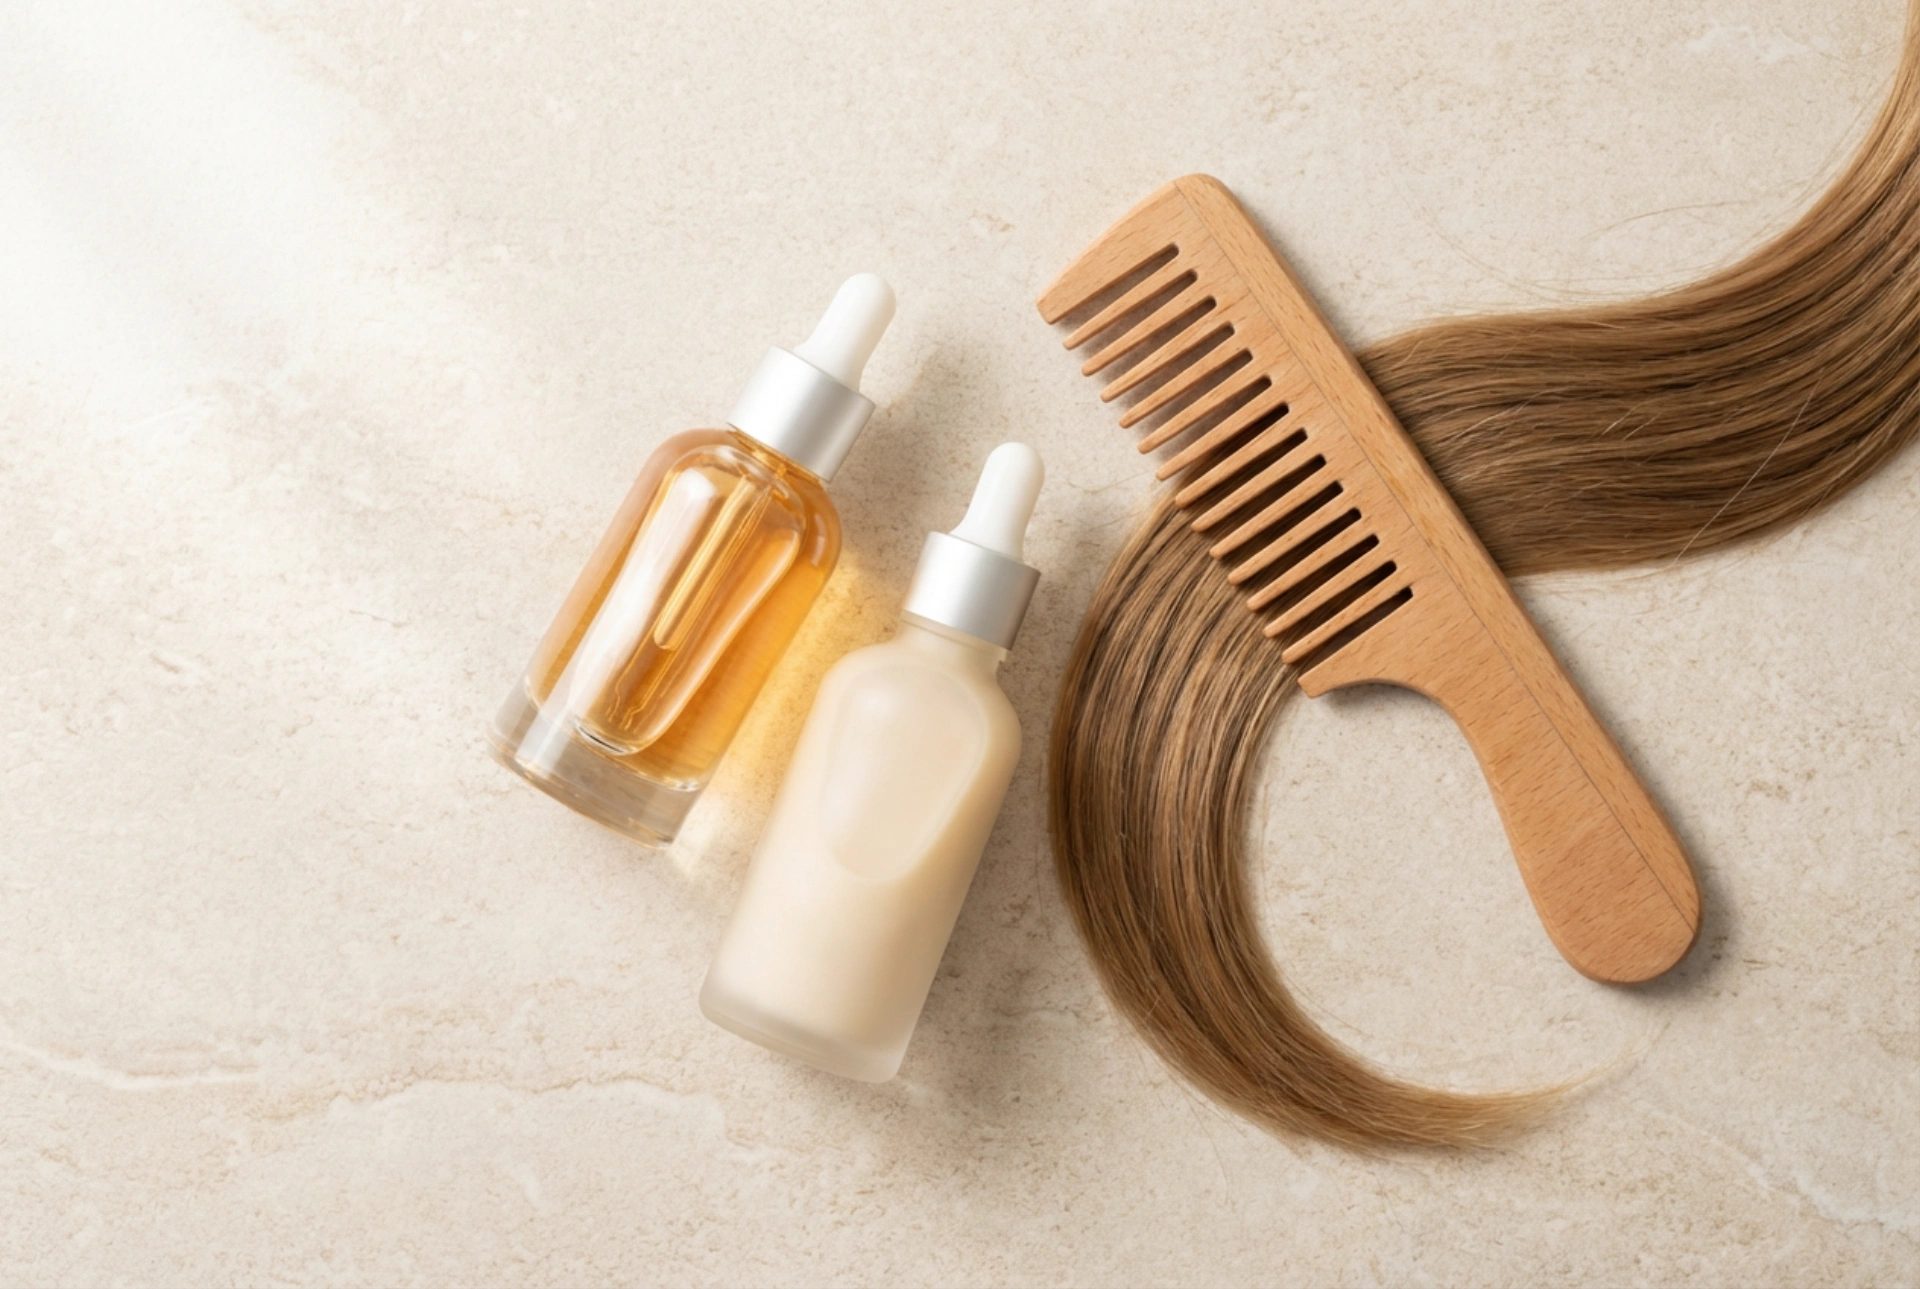


Creating a spa-like atmosphere at home is a wonderful way to indulge in self-care. Picture a minimalist bathroom vanity adorned with elegant bottles of hair treatment formulas, a sleek styling comb, and the promise of beautifully smooth, transformed locks. For many, achieving sleek, frizz-free hair is the ultimate goal, and at-home keratin treatments have emerged as a highly popular method to achieve this. Keratin, a natural protein found in our hair, skin, and nails, is responsible for the strength and structure of each strand. When external factors like heat styling, weather, and general wear and tear deplete this protein, hair can become porous, dull, and prone to frizz. Conducting a keratin treatment at home allows you to restore that lost smoothness, lock in shine, and drastically reduce daily styling time.
The Science Behind Keratin and Hair Smoothness
Before embarking on this home beauty ritual, it is helpful to understand how the process works on a molecular level. Our hair fibres are made up of overlapping cuticle scales. When these scales are raised or damaged, moisture enters the hair shaft, causing it to swell and frizz. A keratin treatment works by filling in the microscopic gaps in the hair cuticle with liquefied protein. This protein coating is then sealed using heat, which temporarily changes the structure of the outer layer of the hair, resulting in a sleek, glossy surface that resists humidity.
Unlike chemical relaxers, which break and permanently restructure the internal bonds of the hair, a cosmetic keratin treatment primarily coats the outer layers. This means the natural texture of your hair will gradually return over several weeks or months, making it a much gentler alternative for those who want manageable hair without committing to permanent structural changes.
Essential Preparation and Checklist
Achieving salon-worthy results at home requires careful preparation and the right tools. Ensuring you have everything ready beforehand will make the application seamless and stress-free. To begin, you will need the following essentials:
- A clarifying shampoo to thoroughly cleanse the hair and open the cuticles.
- A high-quality keratin treatment solution suitable for home use.
- A fine-toothed application comb and a tinting brush.
- Sectioning clips to hold the hair in place.
- Protective gloves and a cape or towel to protect your clothes.
- A hair dryer and a high-quality flat iron with adjustable temperature controls.
Before starting, it is crucial to perform a strand test. Apply a small amount of the treatment to an inconspicuous lock of hair, usually at the nape of the neck, following the full process. This ensures that your hair reacts well to the product and helps you gauge the correct temperature for the flat iron. Additionally, work in a well-ventilated room to ensure a comfortable breathing environment throughout the application.
The Step-by-Step At-Home Application
With your tools prepared and your workspace set up, you can begin the transformation. Follow these steps meticulously for the best possible outcome:
Step 1: Deep Cleansing
Wash your hair twice with the clarifying shampoo. This step is vital as it removes any residual styling products, sebum, and environmental impurities, leaving the hair cuticles completely open and receptive to the keratin treatment. Avoid using any conditioner or styling creams after washing.
Step 2: Gentle Drying
Rough-dry your hair with a blow dryer until it is roughly eighty to ninety percent dry, depending on the specific instructions of your product. Hair should feel slightly damp but not soaking wet, allowing the keratin formula to distribute evenly without being diluted.
Step 3: Sectioning and Application
Divide your hair into four manageable sections using your clips. Put on your protective gloves. Pour a small amount of the keratin treatment into a bowl. Working with thin, one-inch sections of hair, apply the product using the tinting brush, starting about half an inch away from the scalp. Use the fine-toothed comb to distribute the product evenly down to the tips, ensuring every strand is lightly coated without being oversaturated.
Step 4: Waiting and Blow Drying
Allow the treatment to sit on your hair for the recommended time, usually between twenty to thirty minutes. Once the waiting time is up, blow-dry your hair completely dry on a medium heat setting, using a paddle brush to keep the strands straight.
Step 5: The Heat Seal
This is the most critical stage. Set your flat iron to the recommended temperature for your hair type—lower for fine or colour-treated hair, and slightly higher for coarse or thick hair. Take very thin sections of hair and pass the flat iron over each section from root to tip multiple times. This heat activates the keratin, sealing it into the hair cuticle for a mirror-like finish.
Maintaining Your Smooth, Sleek Results
The longevity of your home keratin treatment depends heavily on how you care for your hair in the days and weeks that follow. Immediately after the treatment, it is usually recommended to avoid washing your hair, getting it wet, or tying it back with elastic bands for at least forty-eight to seventy-two hours. This allows the protein coating to fully cure and settle into its straight alignment.
When you do wash your hair, always choose a mild, sulfate-free shampoo and conditioner. Sulfates are harsh cleansing agents that can quickly strip away the keratin barrier, shortening the lifespan of your smooth look. Regular deeply moisturising masks can also help sustain the sleekness, keeping your hair looking vibrant, healthy, and beautifully managed for weeks to come.





