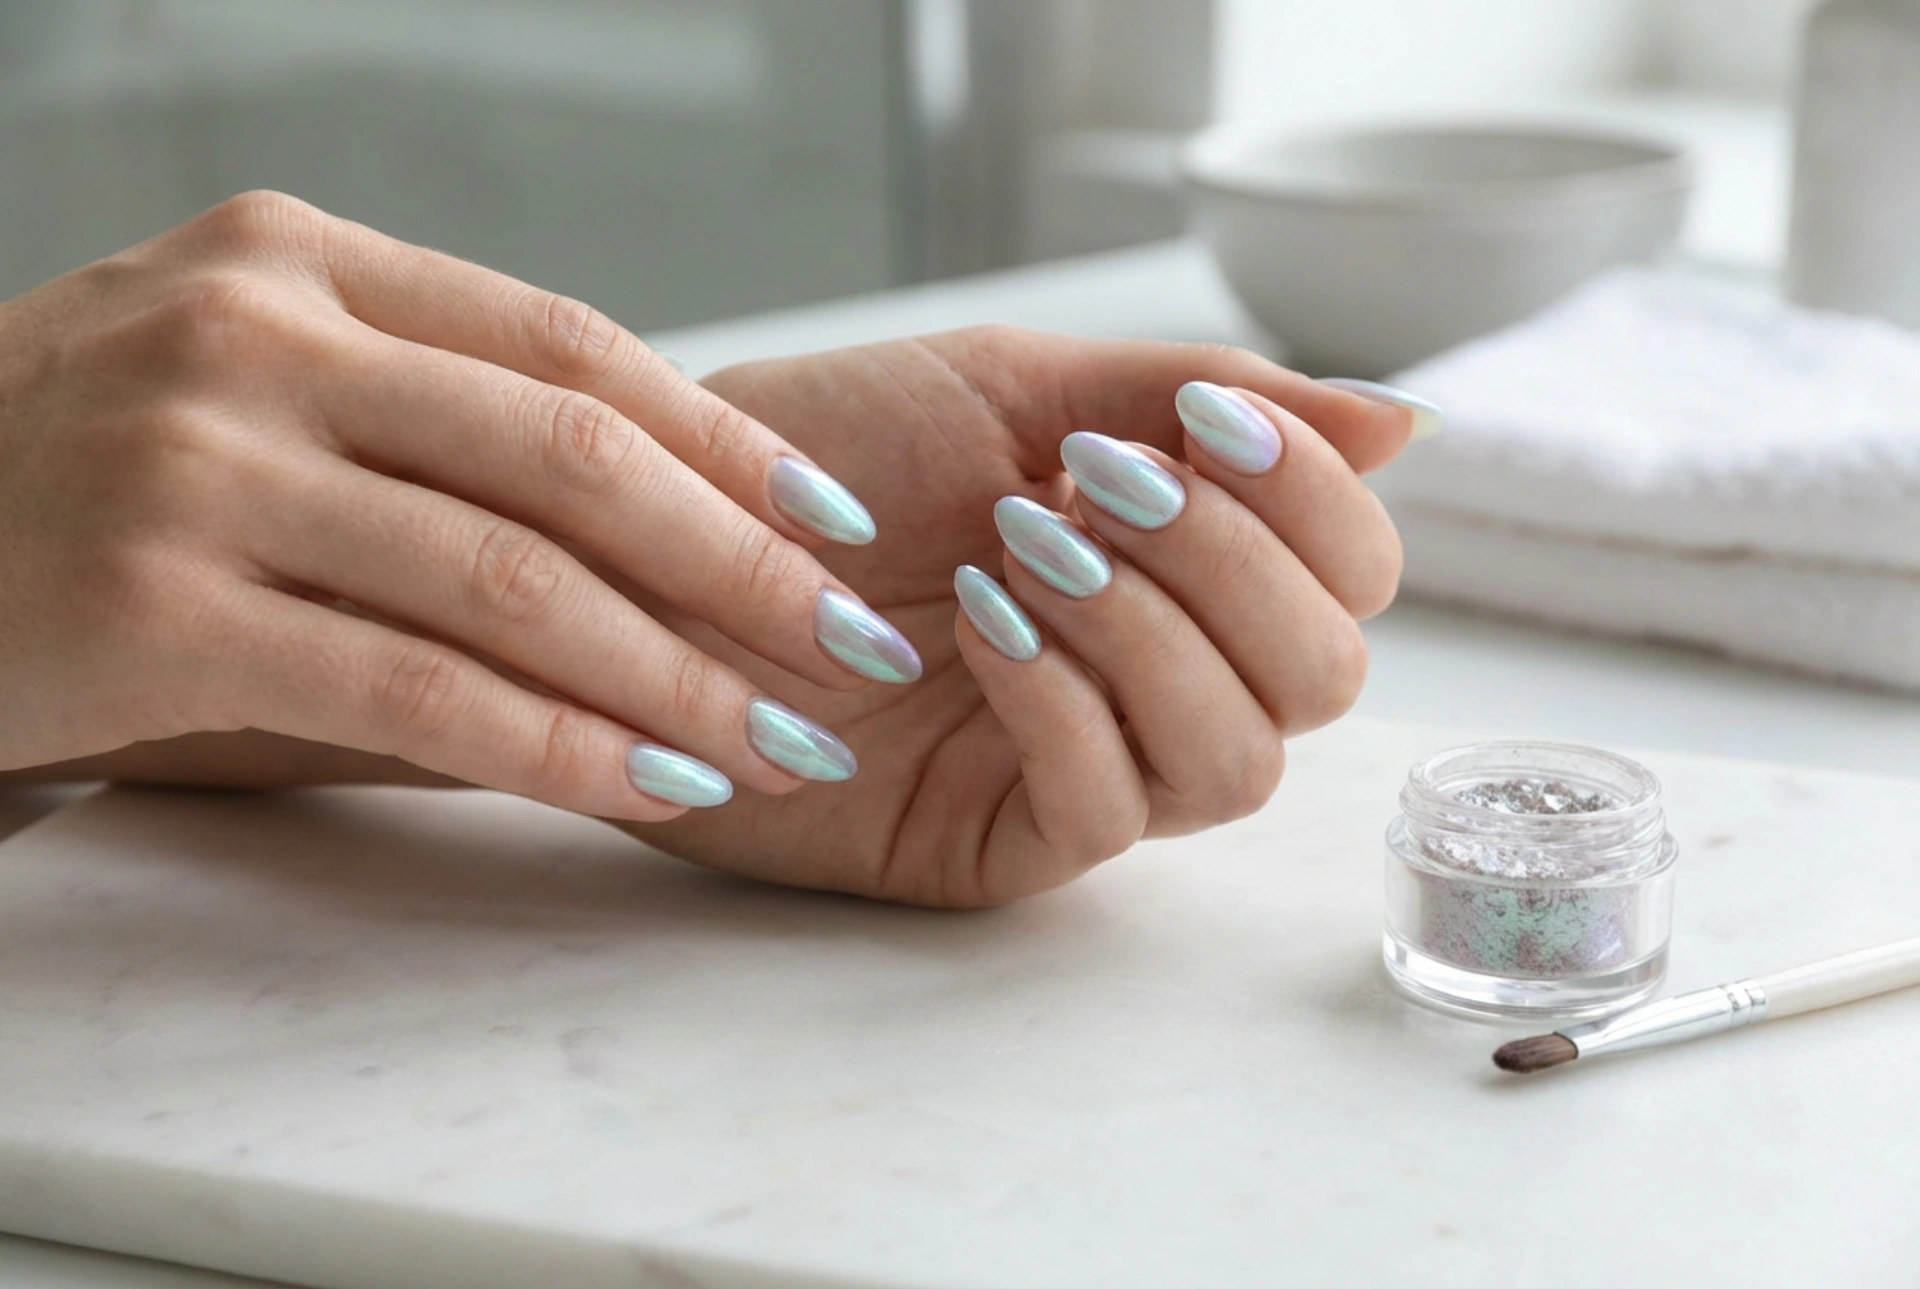


Elegant, well-manicured hands are a beautiful showcase of personal style, and incorporating a subtle shimmer can elevate a classic look into something truly magical. The luminous, iridescent finish known as the mermaid effect captures the soft, light-reflecting beauty of aqua, lilac, and seafoam hues. Using a fine sparkling powder applied over a gel polish base, this sophisticated nail art technique allows light to dance across the nails, creating a multidimensional glow. Perfect for those who appreciate understated artistry, this delicate shimmer can be achieved easily at home with the right preparation and technique.
Understanding the Mermaid Effect
The mermaid effect is a highly popular nail art technique that utilises a microscopic, iridescent powder to create a glaze-like, shimmering finish. Unlike chunky glitters, this powder is incredibly fine, allowing it to blend seamlessly into the sticky inhibition layer of gel polish. Depending on the base colour chosen, the final look can range from a soft, pearlescent glow when applied over pastel shades, to a striking, deep metallic shimmer when applied over dark hues. Understanding how light interacts with these pigments is key to mastering the application and choosing the right colour combinations for your personal aesthetic.
Preparing the Nails for Styling
Before applying any polish or decorative powder, proper nail preparation is essential to ensure a smooth, long-lasting finish. Any unevenness on the nail surface will be magnified by the reflective nature of the iridescent powder, so taking your time during the preparation phase is highly recommended.
- Shape and File: Gently shape the free edge of your nails using a fine-grit file to achieve a symmetrical shape, such as almond, oval, or square.
- Cuticle Care: Soften and gently push back the cuticles using a wooden stick or a dedicated cuticle pusher, ensuring the nail plate is completely clear.
- Dehydration: Wipe the nail plate with a gentle dehydrating solution to remove any natural oils, dust, or moisture that might interfere with adhesion.
- Base Coat Application: Apply a thin, even layer of base coat, sealing the free edge, and cure it under a suitable lamp according to the standard guidelines.
Step-by-Step Application Guide
Achieving that flawless, smooth mermaid finish requires a precise sequence of steps. Follow this guide to create a professional-looking result at home.
Choosing the Right Base Colour for Different Effects
The base colour you choose under the iridescent powder acts as a canvas, significantly altering the final outcome of the mermaid effect. For a classic, ethereal bridal look, a sheer milky white or a soft beige base works beautifully, creating a pearl-like radiance. If you want to highlight the cool aqua and seafoam undertones, opting for a light pastel mint or lavender base will make those specific pigments pop. Alternatively, applying the exact same sparkling powder over a dark navy, forest green, or charcoal black base will create a dramatic, oil-slick effect reminiscent of deep-sea mystery. Experimenting with different background shades is a wonderful way to customise this versatile nail art technique to suit different seasons and occasions.
Step 1: Applying the Base Colour
Select your desired base colour. Soft pastel pinks, lilacs, or light blues work beautifully to enhance the delicate aqua and seafoam tones of the powder. Apply a thin layer of the colour gel polish, cure it under the lamp, and repeat with a second layer if necessary to achieve full opacity. Ensure the second layer is fully cured but retains its sticky, tacky layer (also known as the inhibition layer), as this is crucial for the powder to adhere properly.
Step 2: Rubbing in the Iridescent Powder
Using a small eyeshadow applicator, a silicone tool, or even a clean fingertip, scoop a small amount of the fine sparkling powder. Gently press the powder onto the sticky layer of the cured colour polish, covering the entire surface of the nail. Once the powder is distributed, use circular, firm yet gentle rubbing motions to buff the pigment into the nail. You will notice the surface instantly transforms into a smooth, metallic, light-reflecting glaze.
Step 3: Removing Excess Powder
After buffing the powder thoroughly on all nails, use a very soft, clean brush to sweep away any loose sparkling particles from the surrounding skin and cuticles. If loose powder remains on the nail surface before sealing, it can ruin the smooth glaze and make the final finish look speckled or textured rather than seamless.
Step 4: Sealing the Design
To lock in the beautiful mermaid shimmer and prevent it from wearing off, apply a generous layer of a glossy, non-wipe top coat. Be sure to seal the free edge of the nail meticulously, as this prevents water and daily wear from lifting the powder. Cure the top coat thoroughly under the lamp to ensure a durable, glass-like shine.
Common Mistakes to Avoid
While the process is relatively straightforward, a few common missteps can affect the final appearance of your mermaid styling. Firstly, applying the powder to a surface that is too dry will prevent the pigment from sticking, resulting in a patchy finish. Conversely, trying to rub the powder onto an uncured polish will smudge the base colour. Always ensure the polish is fully cured, leaving only the thin tacky layer active. Secondly, using too much pressure when buffing can scrape the base polish underneath; a light, polishing touch is all that is required. Finally, neglecting to seal the edges of the nail with the top coat will lead to premature chipping and loss of the iridescent shimmer.
How to Extend the Longevity of Your Styling
To enjoy your radiant, iridescent nails for as long as possible, some simple daily care is advised. Always wear protective gloves when performing household chores, particularly when using cleaning agents or washing dishes, as harsh chemicals can dull the glossy finish. Regularly apply a hydrating cuticle oil to keep the skin around your nails nourished and looking clean. By protecting the top coat from physical abrasion and keeping your hands moisturised, you can maintain the pristine, luminous look of your mermaid nails for weeks.




