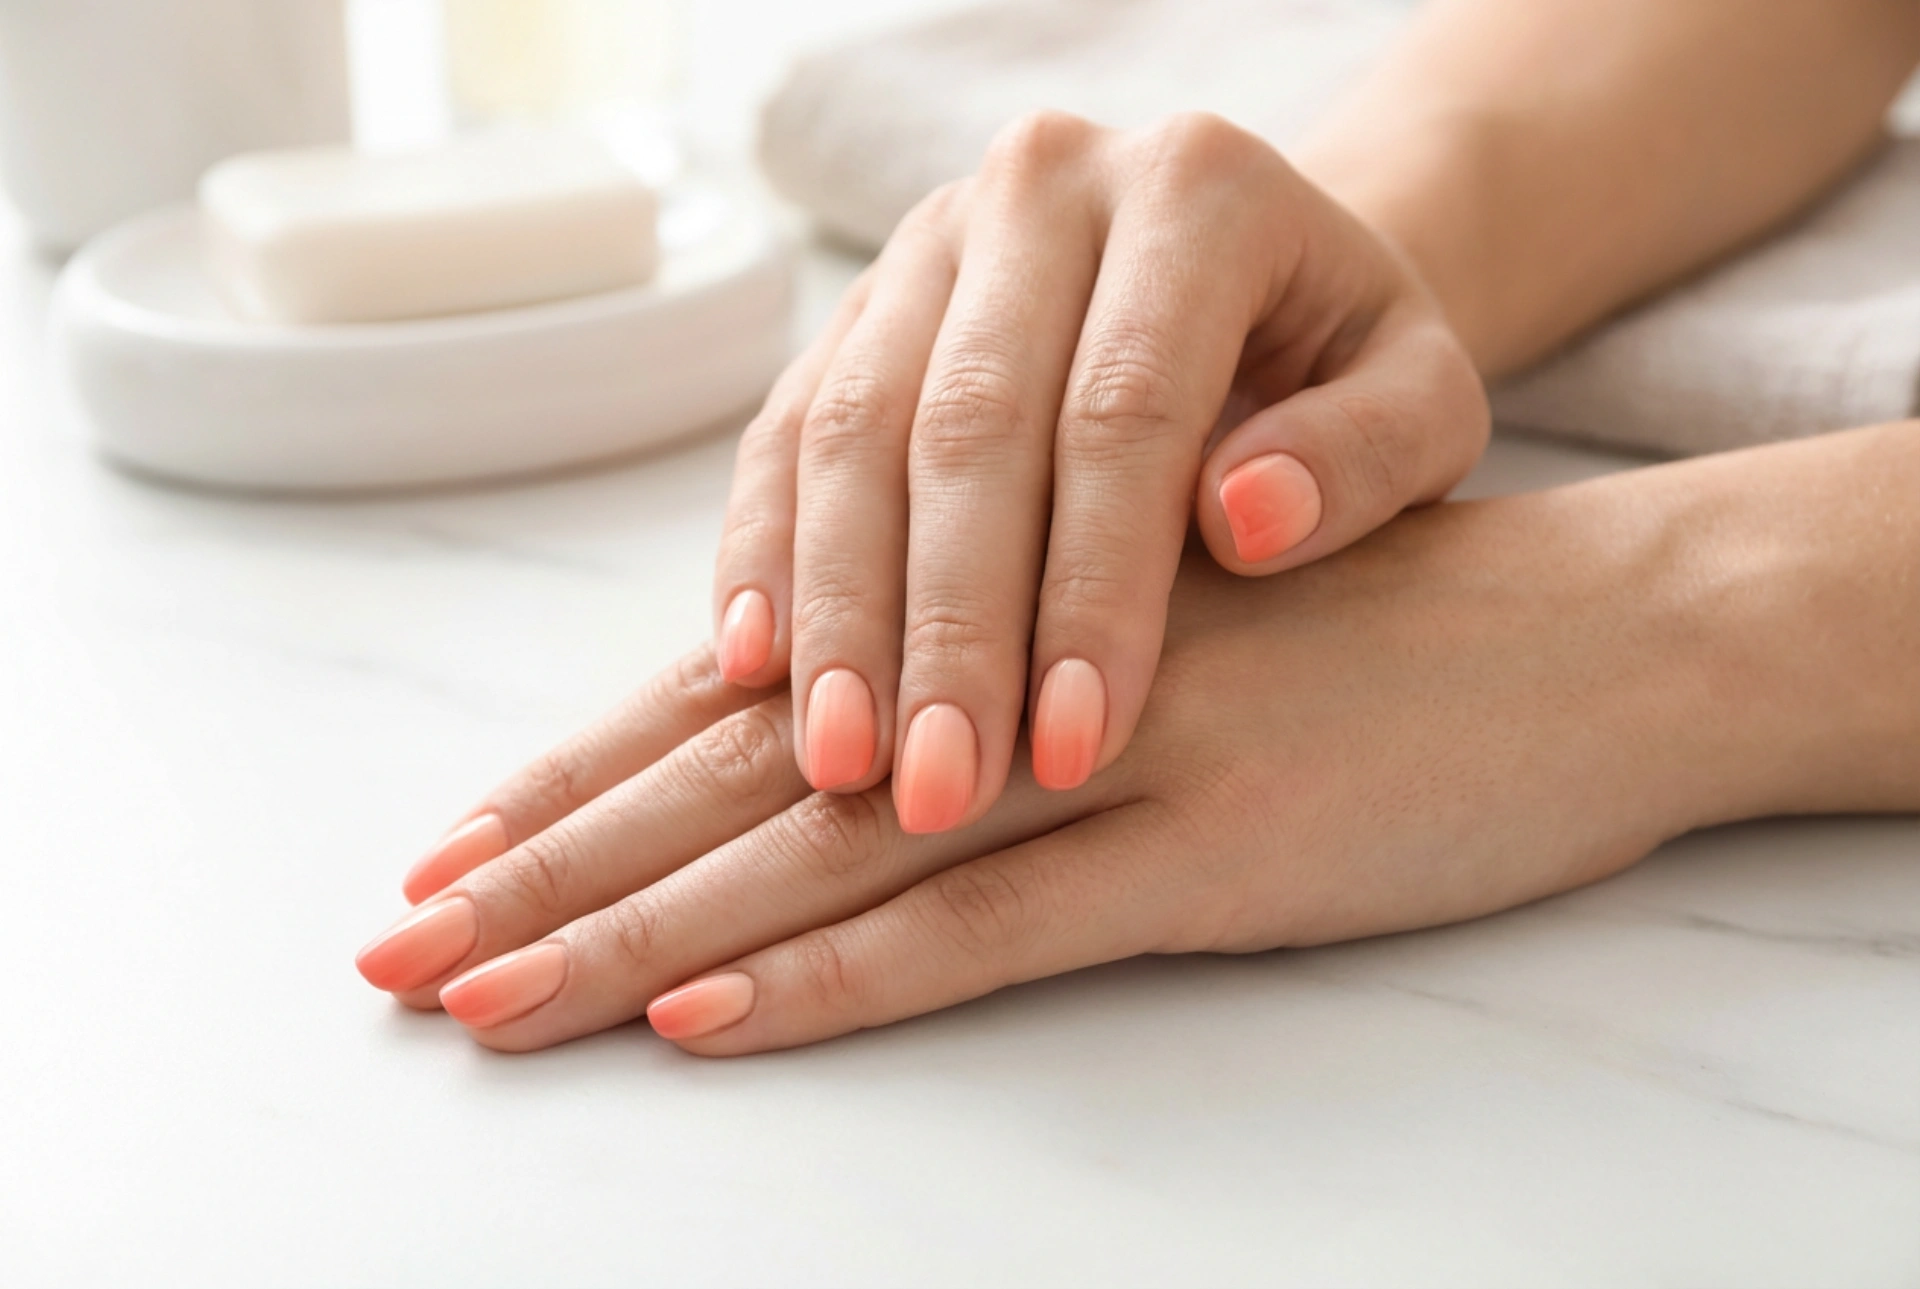


Beautifully manicured hands are a universal symbol of elegance and self-care. Among the many nail art techniques, the ombre design remains a timeless favourite due to its soft transition of colours and sophisticated appeal. A salmon ombre gradient, transitioning seamlessly from a delicate peach to a warm, inviting coral, offers a fresh yet understated aesthetic. This look is perfect for those who appreciate minimalist beauty, as it captures the light beautifully and complements a wide range of skin tones, adding warmth and sophistication to your daily style.
The Appeal of Salmon and Coral Gradients
The combination of soft peach and warm coral creates a harmonious blend that feels both modern and classic. Unlike bold, high-contrast ombre designs, the salmon gradient is incredibly subtle, mimicking the natural warmth of a sun-kissed sky. This gentle shift in tone makes your nails appear longer and more elegant. It is an ideal choice for office wear, casual weekend outings, or special occasions where you want your hands to look polished without being overly distracting. Choosing high-quality classic or gel polishes in these warm tones ensures a smooth application that highlights the beauty of the natural nail shape.
Preparing Your Canvas for a Flawless Finish
Achieving a professional-looking ombre gradient at home requires careful preparation. Because this style relies on a smooth, clean aesthetic, any unevenness on the nail surface can disrupt the subtle colour transition. Follow these preparation steps to set yourself up for success:
- Shape and File: Begin by shaping your nails into your preferred silhouette. Oval, almond, or soft square shapes work exceptionally well with ombre designs, as they enhance the natural flow of the gradient.
- Cuticle Care: Gently push back your cuticles using a wooden stick. Clean cuticles create a larger, neater surface area for the polish, ensuring the gradient looks seamless right from the nail bed.
- Buff and Cleanse: Lightly buff the nail plate to remove any natural oils, then wipe the nails with a gentle cleanser to ensure maximum adhesion of the base coat.
- Apply a Base Coat: A high-quality base coat is essential. It protects your natural nails from staining and creates a smooth, even surface that helps subsequent layers of colour stick smoothly.
Step-by-Step: Creating the Perfect Salmon Ombre
To achieve this delicate gradient, the makeup sponge method is highly recommended. It allows for a diffused, airbrushed effect that manual brushing cannot easily replicate. Here is how to do it step-by-step:
- Step 1: The Base Colour. Apply two thin coats of your lightest shade, a soft peach, over the entire nail and let it dry completely. This acts as the background colour, making the gradient pop.
- Step 2: Preparing the Sponge. Take a small, dense makeup sponge. Dampen it slightly with water and squeeze out any excess. A damp sponge prevents the polish from absorbing too quickly, allowing more product to transfer onto your nails.
- Step 3: Applying the Polishes. Paint two parallel, slightly overlapping stripes of polish directly onto the flat edge of the sponge. Start with the soft peach on one side and the warm coral on the other.
- Step 4: Dabbing the Gradient. Gently press the sponge onto your nail, moving it slightly up and down to blend the boundary line where the peach and coral meet. Repeat this tapping motion across all nails. It is best to work in thin layers, allowing each layer to dry slightly before repeating to build depth.
Finishing Touches and Aftercare
The magic of an ombre gradient truly reveals itself during the final steps. Once you are satisfied with the colour intensity, it is time to seal and protect your artwork:
- Apply a Top Coat: While the gradient is still slightly damp, apply a generous layer of a glossy top coat. The top coat acts as a blending agent, smoothing out any texture left by the sponge and merging the colours into a flawless transition.
- Clean Up the Edges: Use a small, flat brush dipped in gentle nail polish remover to clean up any excess polish on the skin surrounding your nails.
- Moisturise: Finish by applying a nourishing cuticle oil or a rich hand cream to restore moisture to your skin, giving your manicure a clean, professional finish.




