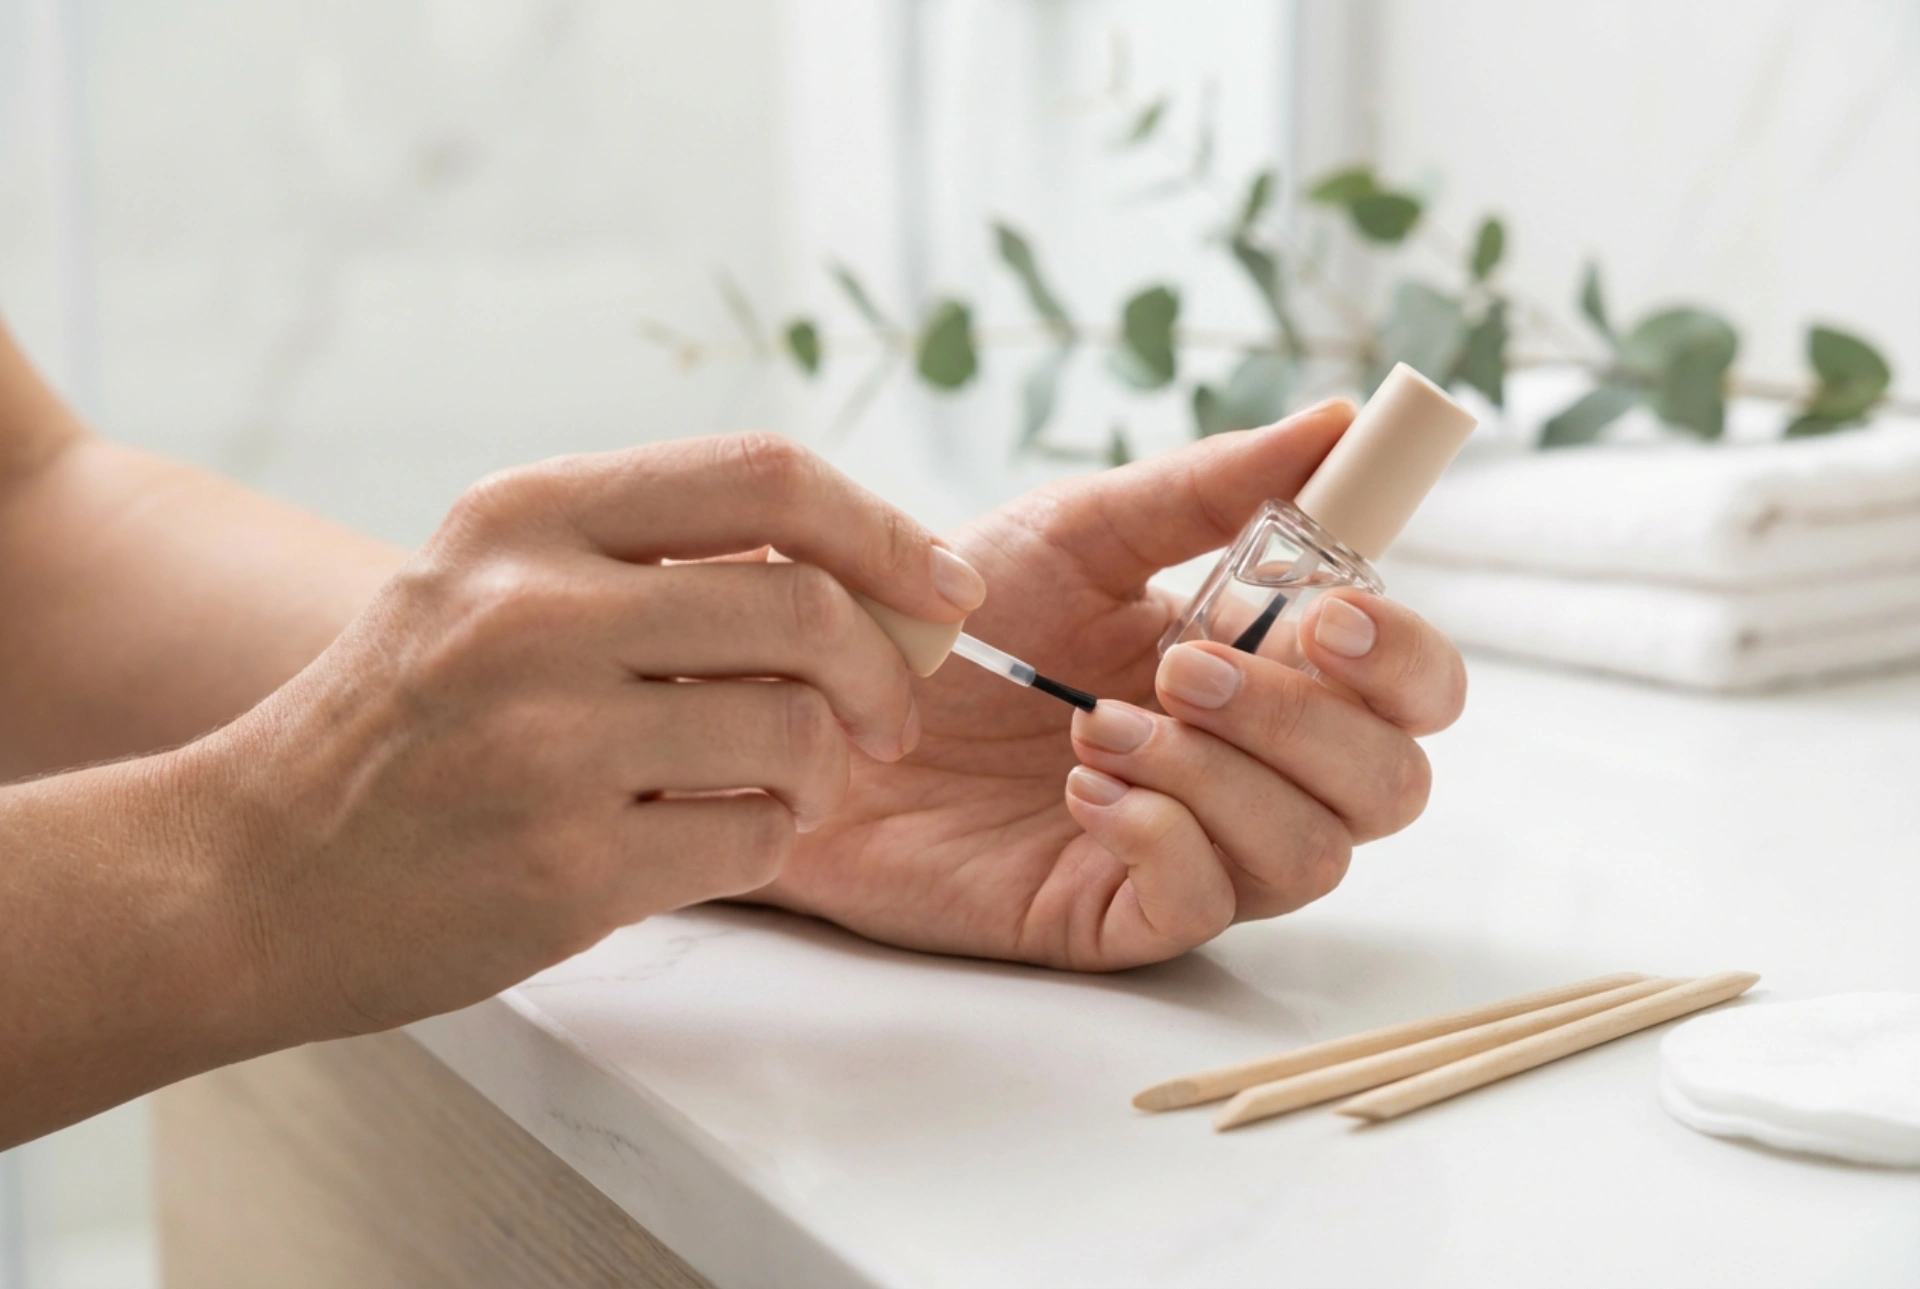


In our busy daily routines, finding time for an elaborate beauty ritual can be challenging. However, maintaining neat, well-groomed hands does not require hours at a professional desk. A quick, minimalist manicure focusing on a natural aesthetic can easily be achieved at home. By utilising soft natural lighting, clean basic tools, and subtle neutral shades, you can create an elegant look that complements any outfit. Here is how to master the art of an express everyday manicure in just a few straightforward steps.
Step 1: Gentle Preparation and Shaping
The foundation of any beautiful manicure lies in proper preparation. Start by washing your hands thoroughly with a mild soap to remove any natural oils or residues. Once dry, use a gentle nail file to shape your nails. To prevent splitting, always file in one direction rather than using a sawing motion. For an everyday look, a soft square or a classic round shape works best as they are less prone to snagging.
Next, focus on the cuticles. Avoid cutting them, as this can lead to irritation. Instead, apply a drop of nourishing oil or a gentle softener and use a clean wooden stick to push them back gently. This simple step immediately elongates the nail bed and creates a clean, tidy canvas for your colour.
Step 2: Smooth Application and Neutral Colours
When time is of the essence, selecting the right product is key. Neutral-toned polishes, such as soft beige, sheer pink, or muted taupe, are incredibly forgiving. They are easy to apply, show fewer imperfections, and blend beautifully with all skin tones, providing a sophisticated, clean aesthetic. Before applying your colour, a thin layer of base coat is highly recommended to protect the nail plate and ensure a smooth surface.
- Apply in three strokes: Start in the middle of the nail and then sweep down each side to distribute the product evenly.
- Keep layers thin: Two thin coats dry significantly faster than one thick layer and are much less likely to smudge.
- Seal the edges: Run the brush lightly along the very edge of the nail tip to cap the free edge and prevent premature chipping.
Step 3: Accelerating the Drying Time
Waiting for nail polish to dry can often be the most tedious part of a home manicure. To speed up this process without compromising the finish, consider using a quick-drying top coat. This not only seals in the colour and adds a brilliant shine but also hardens the polish in a fraction of the time. If you are in an absolute hurry, running your hands under cool tap water a few minutes after application can help set the top layer quickly. Just ensure the water pressure is gentle to avoid marking the wet surface.
Step 4: Nourishing Finish for Hand Health
No manicure is truly complete without proper hydration. Once your nails are dry to the touch, massage a rich hand cream into your palms and fingers, paying extra attention to the skin surrounding the nails. Follow up with a drop of cuticle oil on each nail base to lock in moisture and prevent dryness. This simple final step not only revitalises the skin but also gives your home manicure that fresh, professional-looking gloss that lasts for days.




