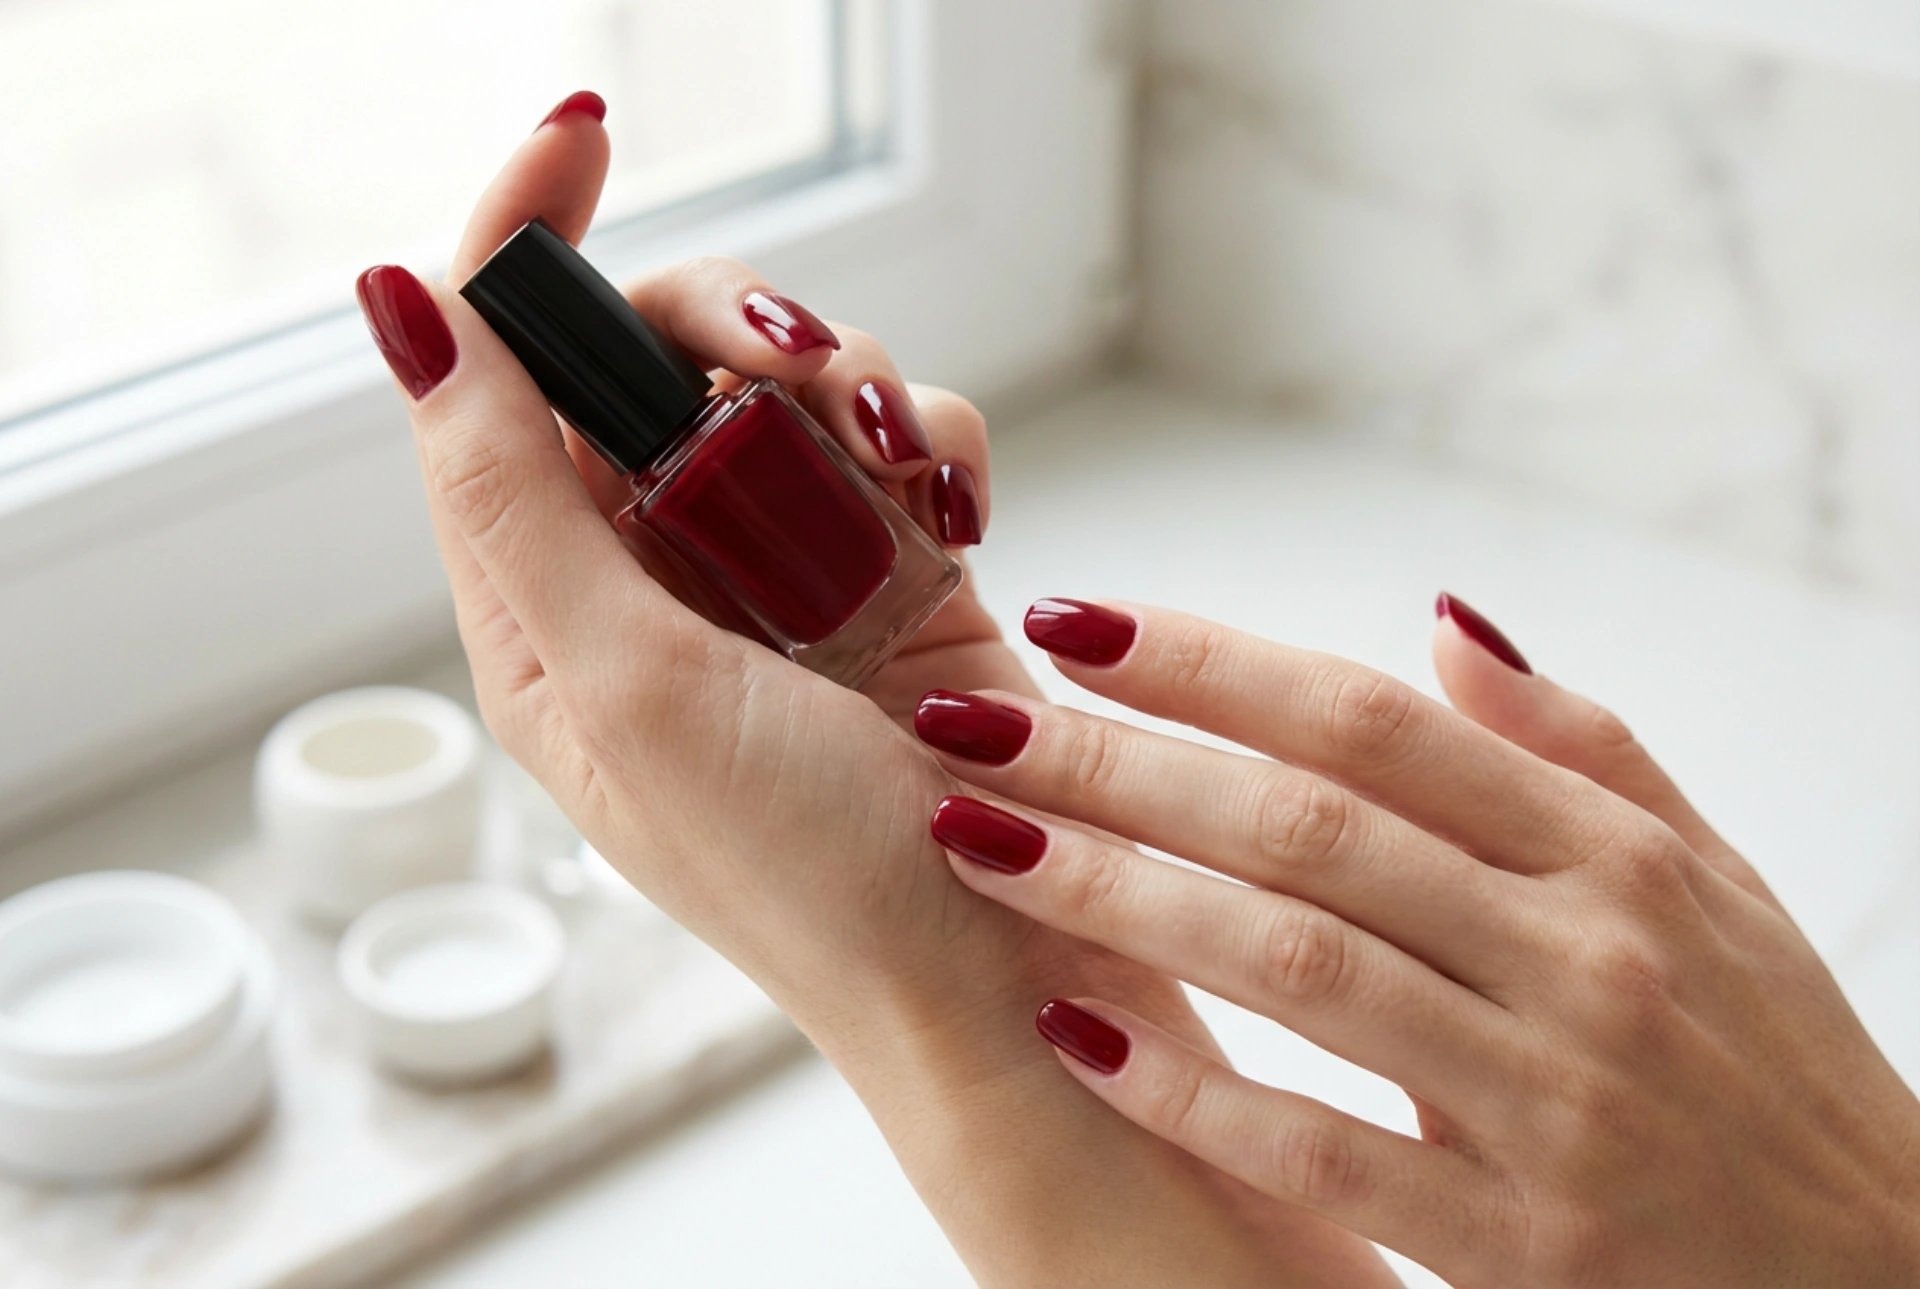


Beautifully manicured hands with a high-shine finish are a timeless symbol of elegance and self-care. In the modern world of beauty, we constantly seek solutions that combine the durability of professional salon treatments with the ease of home application. This is where vinyl nail polishes come into play, offering a perfect middle ground. Capturing the light with a spectacular, glossy texture, these innovative formulas allow you to achieve a sleek, long-lasting look without the need for specialised equipment or UV lamps.
What Is Vinyl Nail Polish?
Vinyl nail polish is a modern cosmetic product designed to bridge the gap between traditional nail lacquers and hybrid gel polishes. Its unique formula contains vinyl polymers, which react to natural light. As the polish is exposed to everyday light, these polymers gradually harden, making the coating increasingly durable and resistant to chipping over time.
Unlike hybrid manicures, vinyl polishes do not require curing under a UV or LED lamp. They dry naturally like classic polishes, yet they offer a significantly harder, more flexible protective layer. This flexibility is key, as it prevents the polish from cracking when the natural nail bends during daily activities. It is a fantastic option for individuals who appreciate a professional, high-gloss appearance but prefer a quick, non-invasive application process at home.
The Key Benefits of Choosing Vinyl Formulas
Opting for a vinyl manicure comes with a variety of benefits that make it an attractive choice for both beginners and experienced nail enthusiasts. Here are the main advantages of this technology:
- Impressive Durability: While classic polishes often begin to wear off after two or three days, a properly applied vinyl manicure can remain intact for up to a week or even longer.
- High-Shine Finish: Vinyl polymers create an exceptionally smooth surface that reflects light beautifully, mimicking the professional "wet-look" gloss typical of gel manicures.
- No Lamp Required: Because the formula cures with natural light, you save time and avoid exposing your skin to UV rays.
- Easy Removal: Despite its durability, vinyl polish can be easily removed using standard, acetone-free nail polish remover, preventing damage to the natural nail plate.
- Strengthening Layer: The thickness and flexibility of the vinyl coating provide physical support to the natural nail, helping to prevent breaks and splits.
Step-by-Step Guide: How to Apply Vinyl Nail Polish
To achieve a flawless, streak-free finish that truly lasts, proper application is essential. Follow these steps to ensure a professional-looking result at home:
1. Prepare the Nail Plate
Start by shaping your nails with a fine-grit file and gently pushing back the cuticles. The key to longevity is a clean, oil-free surface. Gently buff the nail plate with a soft buffer block to remove any shine, then wipe the nails with a cleanser or a standard dehydrator to remove residual oils and dust.
2. Apply a Base Coat (If Required)
Some modern vinyl systems are designed as two-step processes where the colour coat acts as its own primer. However, if you have uneven nail plates or are prone to staining, applying a thin, protective base coat can create a smoother canvas and protect your natural nail.
3. Apply the Colour in Thin Layers
Shake the bottle well to distribute the pigments and vinyl polymers. Apply the first thin coat of vinyl polish, starting from the centre of the nail and moving to the sides. Leave a tiny gap near the cuticles to avoid spilling. Let it dry for about two to three minutes before applying a second thin coat. Two layers usually ensure full opacity and depth of colour.
4. Seal with the Dedicated Top Coat
The top coat is a crucial element of the vinyl system. It contains the photo-initiators that react to natural light, sealing the colour and initiating the hardening process. Apply a generous layer of top coat, making sure to seal the free edge of the nail to prevent premature chipping.
Practical Tips to Prolong Your Manicure
Even the most durable polish requires some care to maintain its pristine look. To extend the life of your vinyl manicure and keep that high-shine finish, consider incorporating these simple habits into your routine:
- Protect Your Hands: Always wear protective gloves when doing household chores, washing dishes, or using cleaning detergents. Chemicals and prolonged exposure to water can soften the polish and cause it to lift.
- Moisturise the Cuticles: Healthy, hydrated skin around the nails prevents hangnails and keeps the manicure looking fresh. Apply a nourishing cuticle oil daily to maintain flexibility.
- Avoid Using Nails as Tools: Refrain from opening cans, scraping labels, or tapping hard surfaces with your fingernails, as this physical stress can chip the edges.
- Reapply Top Coat: If you want to boost the shine and durability after a few days, you can apply an extra thin layer of vinyl top coat mid-week to refresh the protective barrier.
By choosing vinyl polishes, you choose a convenient, modern way to enjoy beautiful, glossy nails without compromising on nail health. With correct application and minimal maintenance, your hands will look effortlessly polished and elegant day after day.




