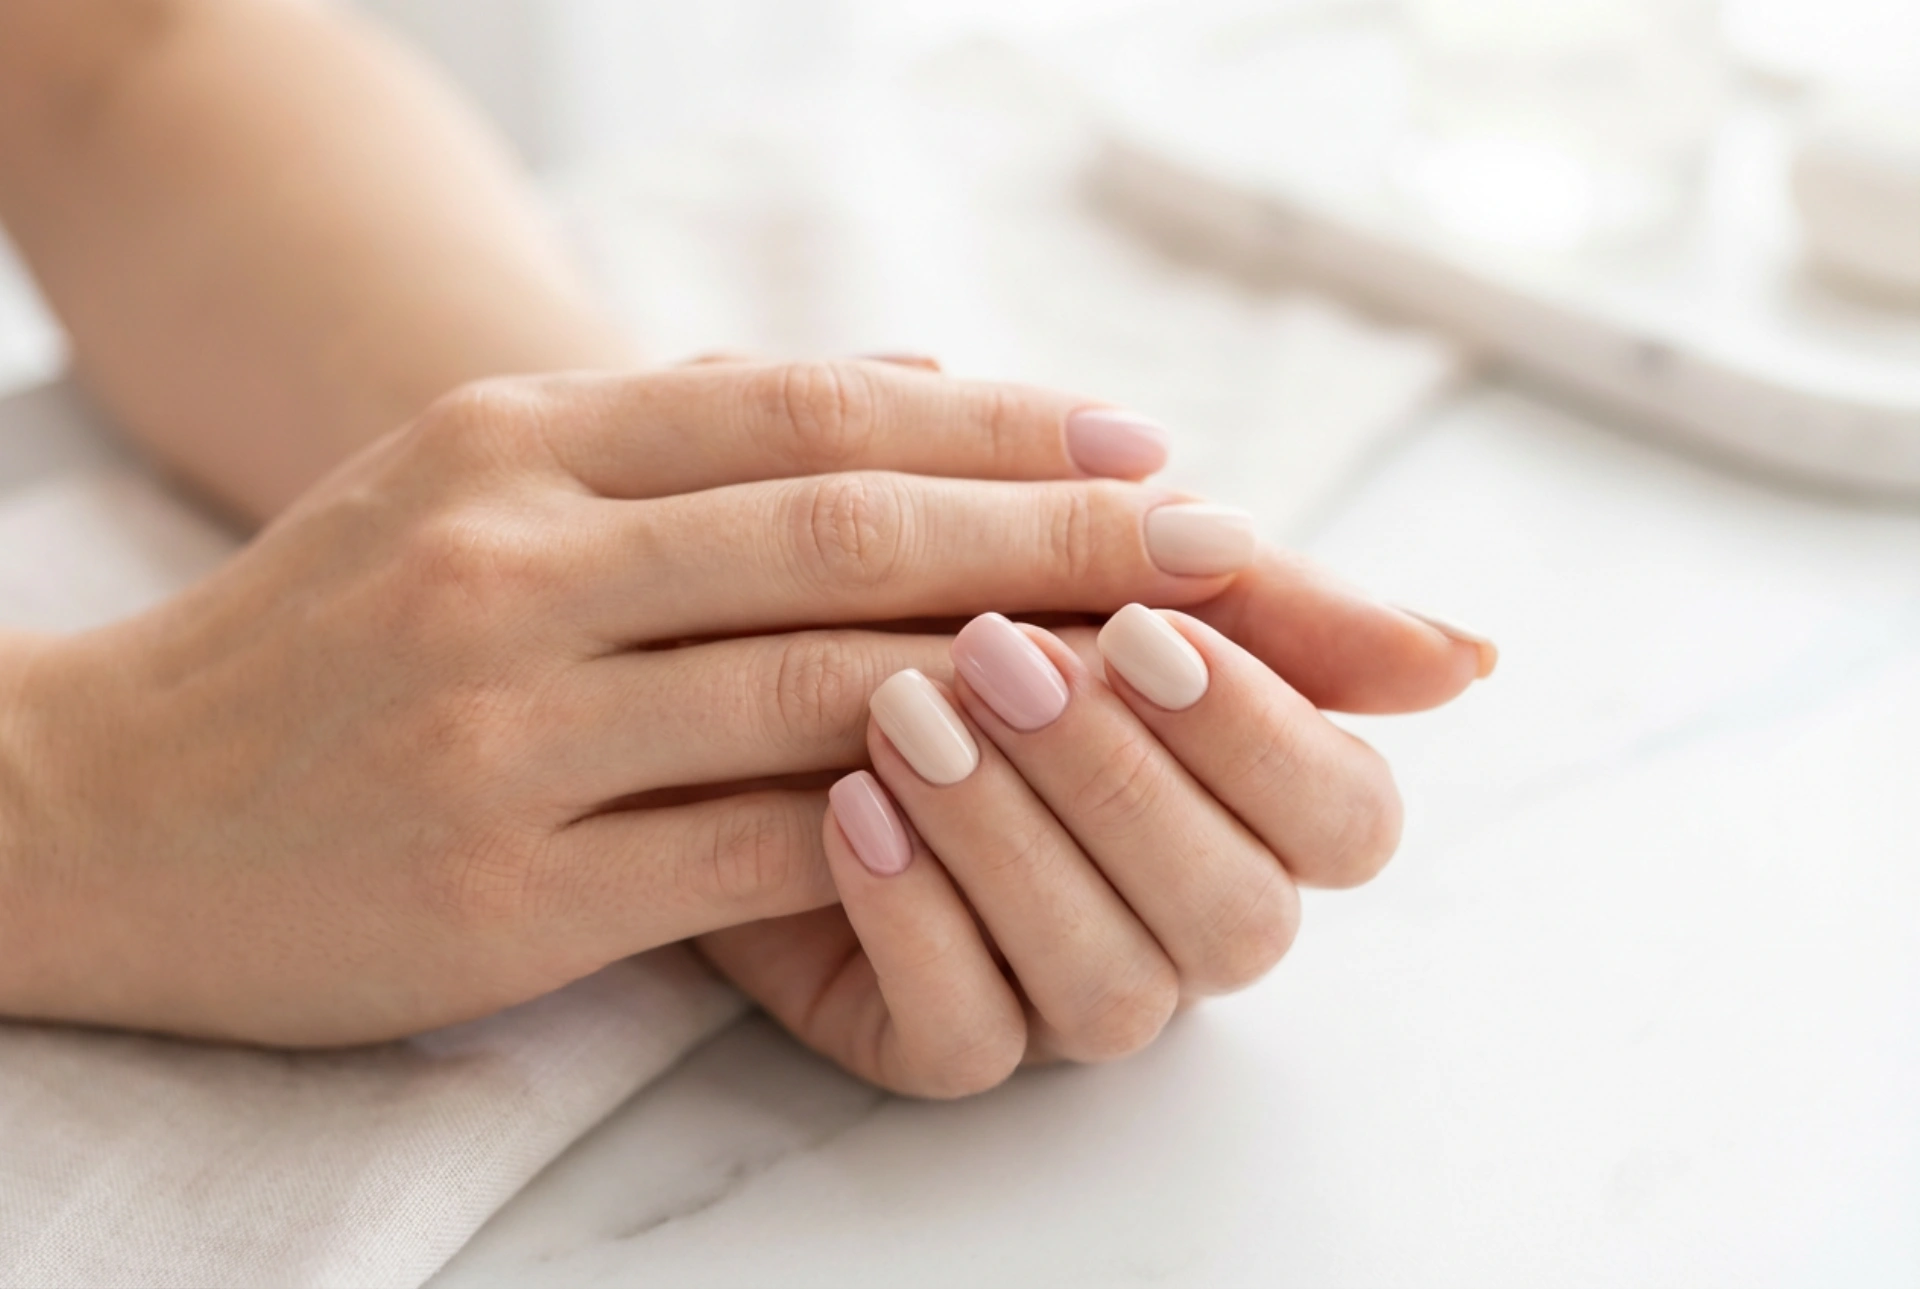


Achieving a flawless, elegant manicure with soft pastel tones is the ultimate symbol of refined beauty. When we look at perfectly manicured hands showcasing a smooth, streak-free finish, the subtle sheen of light highlights the expert care behind the application. However, pastel gel polishes – from delicate lavenders to soft mints and creamy peaches – are notoriously difficult to apply. Because of their high white pigment content, they often look chalky, uneven, or prone to sheer patches. Understanding the correct application techniques is key to turning a challenging manicure session into an effortless routine that results in a salon-worthy, streak-free look at home.
Why Do Pastel Gel Polishes Streak?
To master the application of pastel gel polishes, it helps to understand why they behave differently from deeper shades. Pastel colours contain a high proportion of titanium dioxide, a white pigment used to create pale, opaque tones. This pigment is heavier and denser than others, making the formula thicker and less prone to self-levelling naturally. When you pull the brush across the nail, the dense pigment can gather unevenly, leaving visible brush strokes and translucent areas where the polish has been swept too thin.
Another factor is the contrast with the natural nail bed. Because pastel shades are light, any variation in the thickness of the application becomes instantly visible. Where darker shades can mask minor imperfections, pastels highlight unevenness, requiring a precise, deliberate hand and proper preparation of the underlying surface.
Meticulous Preparation of the Nail Plate
The foundation of any smooth manicure lies in the preparation of the canvas. An uneven nail surface with ridges or dry spots will inevitably cause pastel gel polish to pool in some areas and thin out in others. To avoid this, follow these steps before reaching for your colour bottle:
- Gently buff the surface: Use a fine-grit buffer to smooth out any natural ridges on the nail plate. Be careful not to over-file, as the goal is simply to create an even, matte surface.
- Cleanse and dehydrate: Remove all dust, oils, and moisture using a lint-free wipe soaked in a specialised prep solution. Any residue will prevent the base coat from adhering smoothly, leading to microscopic lifting that distorts the colour layers.
- Apply a smooth base coat: The base coat acts as a double-sided tape, but it also fills in minor imperfections. Use a self-levelling base coat and apply it evenly. If your natural nails have deep ridges, a slightly thicker, structuring base coat can help create a perfectly flat foundation.
The Art of Thin, Even Layers
The most common mistake when dealing with streak-prone pastel polishes is applying a thick layer in an attempt to achieve instant opacity. This almost always results in wrinkling during the curing process, air bubbles, and deep shadows. The golden rule for pastel gel nails is to apply multiple ultra-thin layers rather than two thick ones.
To achieve this, wipe one side of the brush completely clean on the neck of the bottle, leaving only a small bead of product on the other side. When applying, keep the brush almost parallel to the nail plate. Pushing down too hard with the brush angled vertically will scrape the product off, creating the very streaks you are trying to avoid. Instead, let the brush float gently over the wet gel, guiding it from the cuticle area to the free edge with minimal pressure.
Allowing the Gel to Self-Level
Modern gel formulas are designed with self-levelling properties, meaning they naturally smooth out over a few seconds if left untouched. One of the simplest tricks to eliminate brush strokes is patience. Once you have applied a thin layer of pastel polish to the nail, wait 5 to 10 seconds before placing your hand under the curing lamp.
During this brief pause, you will watch the minor ridges left by the brush settle and disappear, creating a perfectly uniform surface. If you notice the gel pooling slightly towards the sidewalls, you can gently turn your hand upside down (palm facing up) for 5 seconds just before curing. Gravity will pull the gel back towards the centre of the nail plate, restoring a beautiful, curved apex and a streak-free appearance.
Securing with a High-Quality Top Coat
The final step in ensuring a flawless finish is the application of the top coat. While the colour coats provide the pigment, the top coat delivers the ultimate depth and gloss that hides any remaining micro-imperfections. Choose a top coat with excellent self-levelling capabilities to seal your pastel manicure.
Apply the top coat with the same gentle, floating motion used for the colour coats, ensuring you cap the free edge to prevent chipping. Once cured, allow the nails to cool for a minute before applying cuticle oil, as touching the warm surface can sometimes dull the exquisite sheen. With these professional techniques, your pastel manicures will look incredibly smooth, radiant, and professionally crafted every single time.




