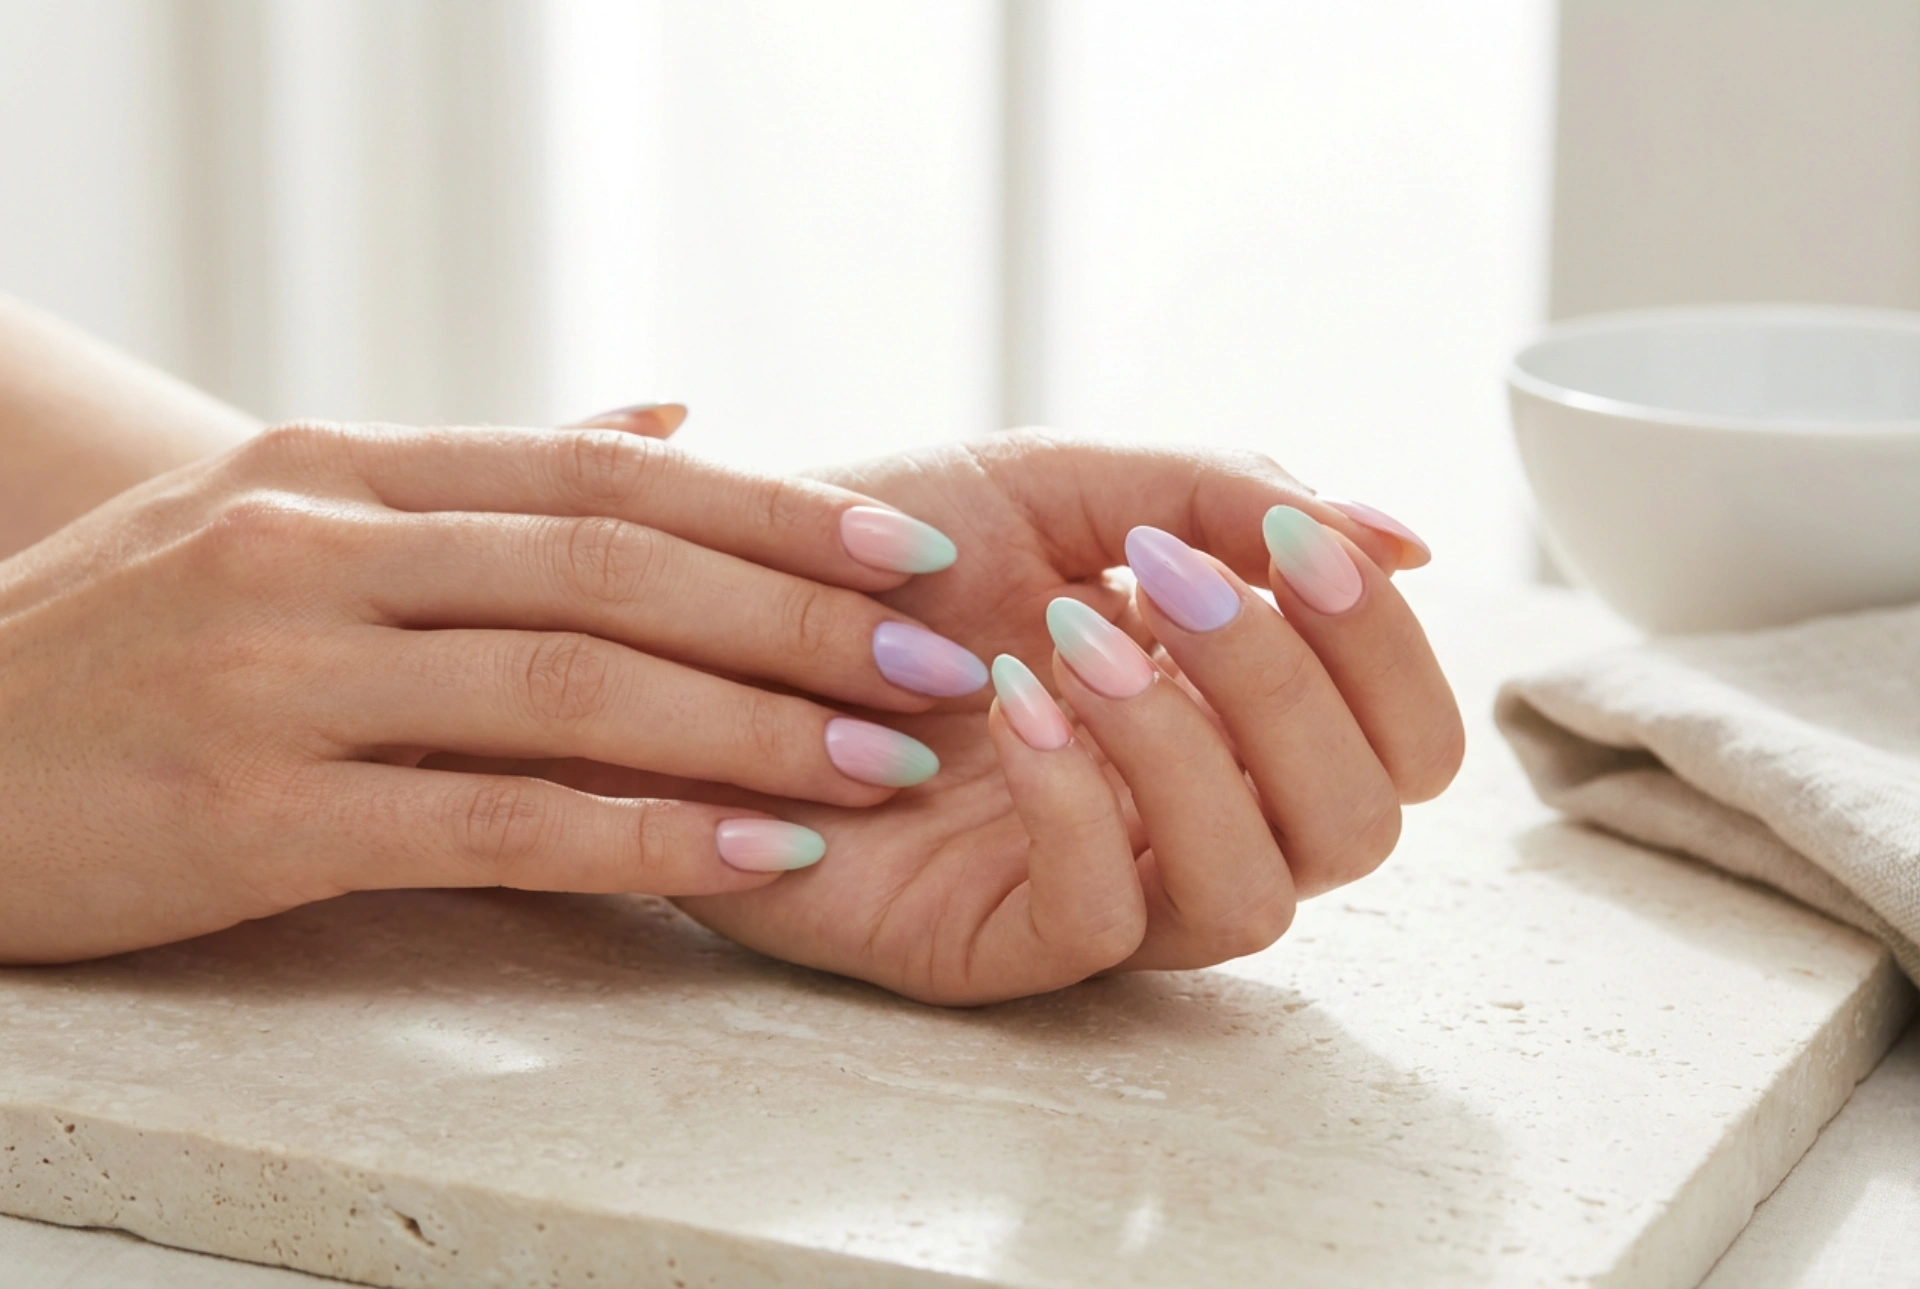


Elegant hands showcasing a perfectly manicured set of nails in a harmonious blend of soft pastel shades are the epitome of sophisticated artistry. There is a refined beauty in the gentle, natural light reflecting off immaculate pastel tones, conveying an effortless sense of elegance. Achieving this level of sophistication requires more than just picking a few favourite light colours; it demands a keen eye for colour transitions, careful attention to proportions, and the technical precision needed to create crisp, immaculate edges. Whether you are opting for a subtle gradient or a modern geometric layout, mastering pastel application can elevate your regular home manicure into a stunning work of wearable art.
Selecting and Combining Pastel Shades Harmoniously
Pastels are often celebrated for their soft, soothing nature, but combining them successfully requires an understanding of undertones and contrast. Unlike vibrant primary colours, pastels have a high concentration of white pigment, which makes them appear soft but can also make them look chalky if not paired correctly. To create a balanced aesthetic, you should consider the temperature of the shades you choose.
- Cool-toned pastels: Mint green, baby blue, lavender, and icy lilac work beautifully together to create a calming, serene aesthetic. These shades suit cool undertones in the skin and look exceptionally crisp when paired with minimalist accessories.
- Warm-toned pastels: Peach, soft apricot, pale butter yellow, and blush pink offer a warm, sunny energy. They complement warmer skin tones beautifully and evoke a soft, romantic feel.
- Complementary pairings: If you want to mix warm and cool pastels, try pairing lavender with peach, or mint green with pale pink. The subtle contrast creates a dynamic visual interest without overwhelming the eyes.
When planning your layout, it is helpful to swatch the colours next to each other on a neutral surface first. This allows you to see how the pigments interact and ensures that no single shade dominates the entire composition in an unflattering way.
The Rule of Proportions in Pastel Nail Art
Achieving a sophisticated pastel manicure involves more than just painting each nail a different colour. Visual balance is key to ensuring the final result looks intentional and refined. One popular approach is the gradient or "skittle" manicure, where shades transition gradually from the thumb to the pinky finger. To make this look cohesive, arrange the colours from darkest to lightest, or follow the natural order of the colour wheel.
If you prefer to combine multiple shades on a single nail, geometric designs, half-and-half splits, or abstract curves are excellent options. In these designs, proportions dictate the elegance of the outcome. A good rule of thumb is the golden ratio or a two-thirds split, where one dominant pastel shade occupies the majority of the nail plate, while a secondary accent shade occupies the remaining third. This prevents the design from looking cluttered and allows each colour to have its own moment of focus.
How to Create Crisp, Clean Edges
The hallmark of a professional-looking home manicure is the absolute precision of its lines. Pastel polishes can be notoriously unforgiving because their high white pigment content highlights every minor mistake, wobble, or overlap. Creating crisp, clean boundaries between different colours requires patience and the right simple tools.
To achieve sharp geometric lines, high-quality striping tape is invaluable. Apply your base pastel shade and allow it to dry completely. Once dry, place the tape firmly across the nail to define your boundary, paint the second pastel shade over the designated section, and peel the tape away immediately while the polish is still wet. This technique guarantees a razor-sharp edge.
For curved lines or freehand designs, an ultra-fine detailing brush is essential. Instead of using the thick brush from the polish bottle, dispense a small drop of polish onto a clean palette and use the detail brush to sketch the outline first, then fill in the shape. To clean up any minor imperfections around the cuticles or the edges of your designs, use a flat, angled makeup brush dipped in mild polish remover. Running this brush gently along the edges of your design will sharpen the lines and leave a pristine finish.
Mastering the Pastel Application Process
Pastel polishes have a reputation for being streaky during application. Because they contain a lot of white pigment, they can apply unevenly if not handled with care. To overcome this, start with a high-quality, smoothing base coat. This creates an even surface and fills in any ridges on the natural nail, preventing the pastel polish from settling into grooves.
Always apply pastel polish in thin, even layers. The first coat may look sheer or slightly streaky, but do not try to fix this by applying a thick second coat. Instead, let the first layer dry completely, then apply a second thin layer. If necessary, a third very thin coat can be added to achieve full opacity. Keeping the layers thin prevents bubbling and ensures the polish dries uniformly, preserving those crisp edges you worked hard to create.
Finally, seal your design with a generous layer of quick-drying top coat. A good top coat acts as a magnifying glass, smoothing out any minor brush texture and blending the transitions between different coloured sections into a single, glass-like surface. It also protects your clean edges from chipping, keeping your manicure pristine for longer.
Caring for Your Pastel Manicure
Because pastel colours are very light, they can easily show dirt, dye transfer from dark clothing (like new jeans), or stains from cooking ingredients. To maintain the fresh, clean look of your manicure, gently wash your hands with mild soap after coming into contact with potential staining agents. Applying a fresh layer of top coat every few days can also help shield the underlying pastel colours from daily wear and tear, keeping the edges looking sharp and the colours looking vibrant and clean.




