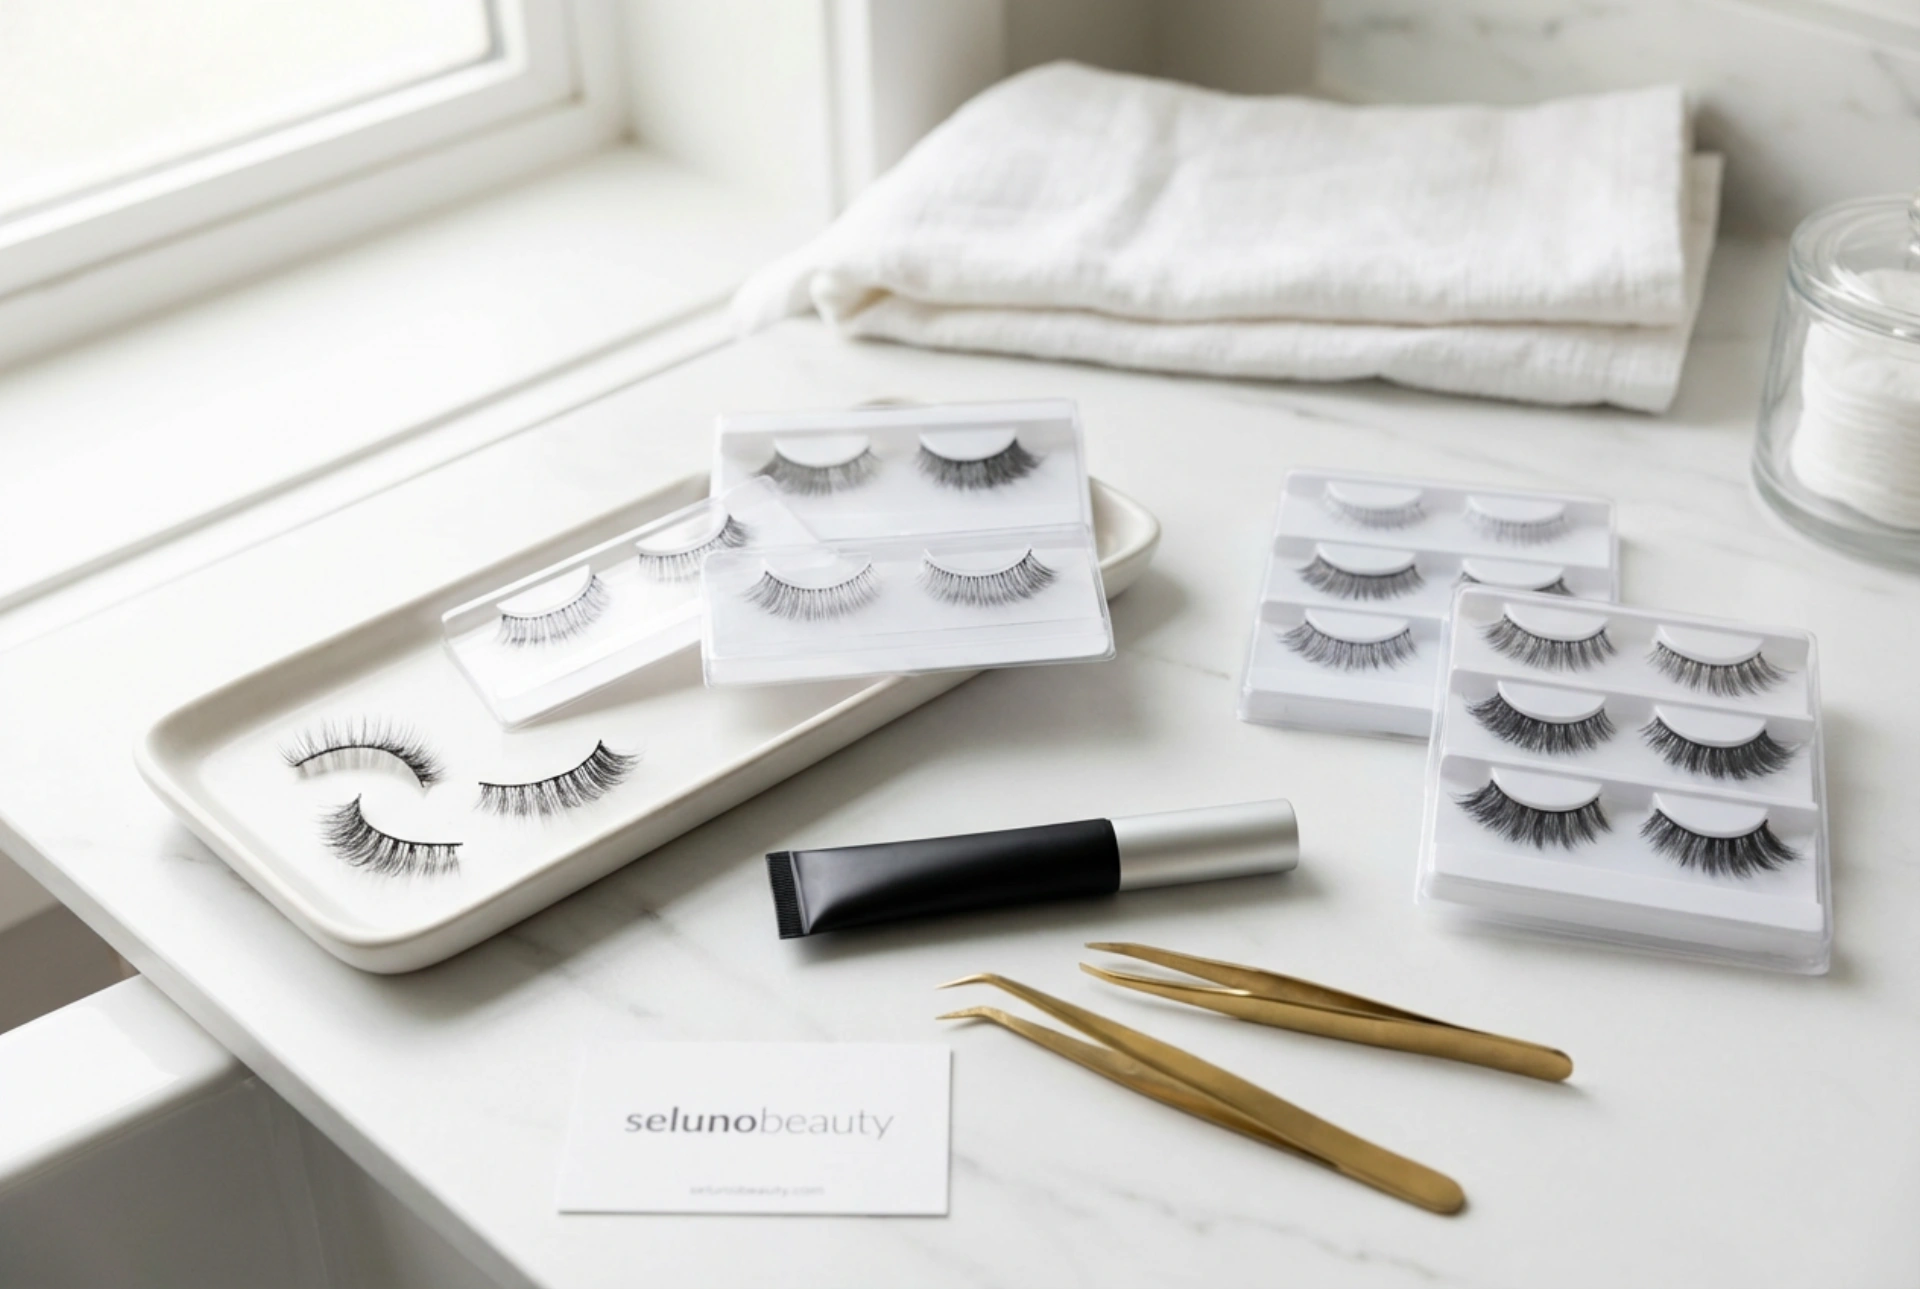


A beautifully curated collection of false eyelash strips can instantly elevate a makeup routine, transforming a simple daily look into an elegant and polished statement. When paired with the right adhesive and precision tools, lash strips offer a versatile, non-permanent way to enhance your natural eyes. However, achieving a flawless, clump-free finish requires a blend of the correct lash selection and refined application techniques. Understanding how to navigate the vast array of lash styles and mastering the nuances of application ensures a professional, comfortable, and seamless result every time.
Understanding Eyelash Strip Varieties
The journey to a flawless eyelash application begins with choosing the right type of strip. False eyelashes come in various styles, densities, and band materials, each contributing to the final look and comfort of wear. The two primary categories of lash bands are clear bands and black cotton bands. Clear bands are highly flexible and virtually invisible on the eyelid, making them the ideal choice for creating a natural, everyday appearance without the need for heavy eyeliner. Black cotton bands, on the other hand, offer more structure and provide a built-in eyeliner effect, which helps to define the lash line and conceal the base of the false lashes.
In terms of lash density, options range from wispy, natural styles to dense, voluminous designs. Wispy lashes feature staggered lengths that mimic the natural growth pattern of your hair, adding subtle volume and length. Voluminous lashes offer a more uniform, thick pattern that creates a dramatic, glamorous effect. Selecting the right density depends largely on the occasion and your personal comfort level.
Matching Lash Strips to Your Natural Eye Shape
To ensure a comfortable fit and a flattering look, it is essential to match the lash strip design to your natural eye shape. Not all lash styles suit every eye shape, and choosing the correct design can harmonise your overall facial features. For almond-shaped eyes, most lash styles work beautifully, but a wing-out style that flares at the outer corners can beautifully accentuate the eye length. Round eyes benefit from wispy, lightweight lashes that elongate the shape rather than making them appear too wide.
For hooded eyes, choosing lashes that are longer in the centre can help to open up the eye area and draw attention upward. If you have monolids, multi-layered, fluttery lashes offer excellent depth and dimension without weighing down the eyelid. Taking the time to evaluate your eye shape before selecting your strips ensures a more natural integration between the falsies and your real lashes.
The Step-by-Step Guide to Clump-Free Application
Achieving a seamless, clump-free lash application requires patience and the right technique. Follow these steps to ensure a flawless application that stays secure all day:
- Measure and Trim: Never apply a lash strip straight from the packaging. Hold the strip against your natural lash line to measure the length. Always trim any excess from the outer corner of the lash strip using small, precise scissors. Trimming from the inner corner can disrupt the natural graduation of the lash lengths.
- Prepare Your Natural Lashes: Curl your natural lashes and apply a very light coat of mascara before applying the false strips. This creates a supportive shelf for the strip to sit on and prevents the need to apply mascara over the false lashes, which often causes unsightly clumps.
- Apply the Adhesive Sparingly: The most common cause of clumps and lifting is excess glue. Apply a very thin, even layer of lash adhesive along the strip band. Pay slightly more attention to the inner and outer corners, as these areas are prone to lifting.
- Wait for the Tackiness: Do not attempt to apply the strip immediately after applying the glue. Wait approximately thirty to forty seconds for the adhesive to become tacky. This prevents the strip from sliding around and causing messy glue transfers on your eyelid.
- The Precision Placement: Using a pair of eyelash tweezers or a dedicated applicator, hold the lash strip from the centre. Look downward into a mirror, place the strip onto the centre of your natural lash line, and then gently secure the outer and inner corners. Press the false strip and your natural lashes together gently to ensure a cohesive blend.
Tips for Seamless Blending and Longevity
Once the lash strip is secured, a few final touches can elevate the entire look. If there are minor gaps between the lash band and your natural lash line, you can fill them in with a fine-tipped matte eyeliner. This creates a cohesive transition and hides any remaining adhesive residue. To keep your false lashes looking pristine for multiple uses, proper maintenance is vital. Gently peel off the adhesive residue from the band after each wear using tweezers, and store the lashes in their original tray to maintain their curved shape. Avoid using heavy makeup removers directly on the lash fibers to preserve their texture and longevity.





