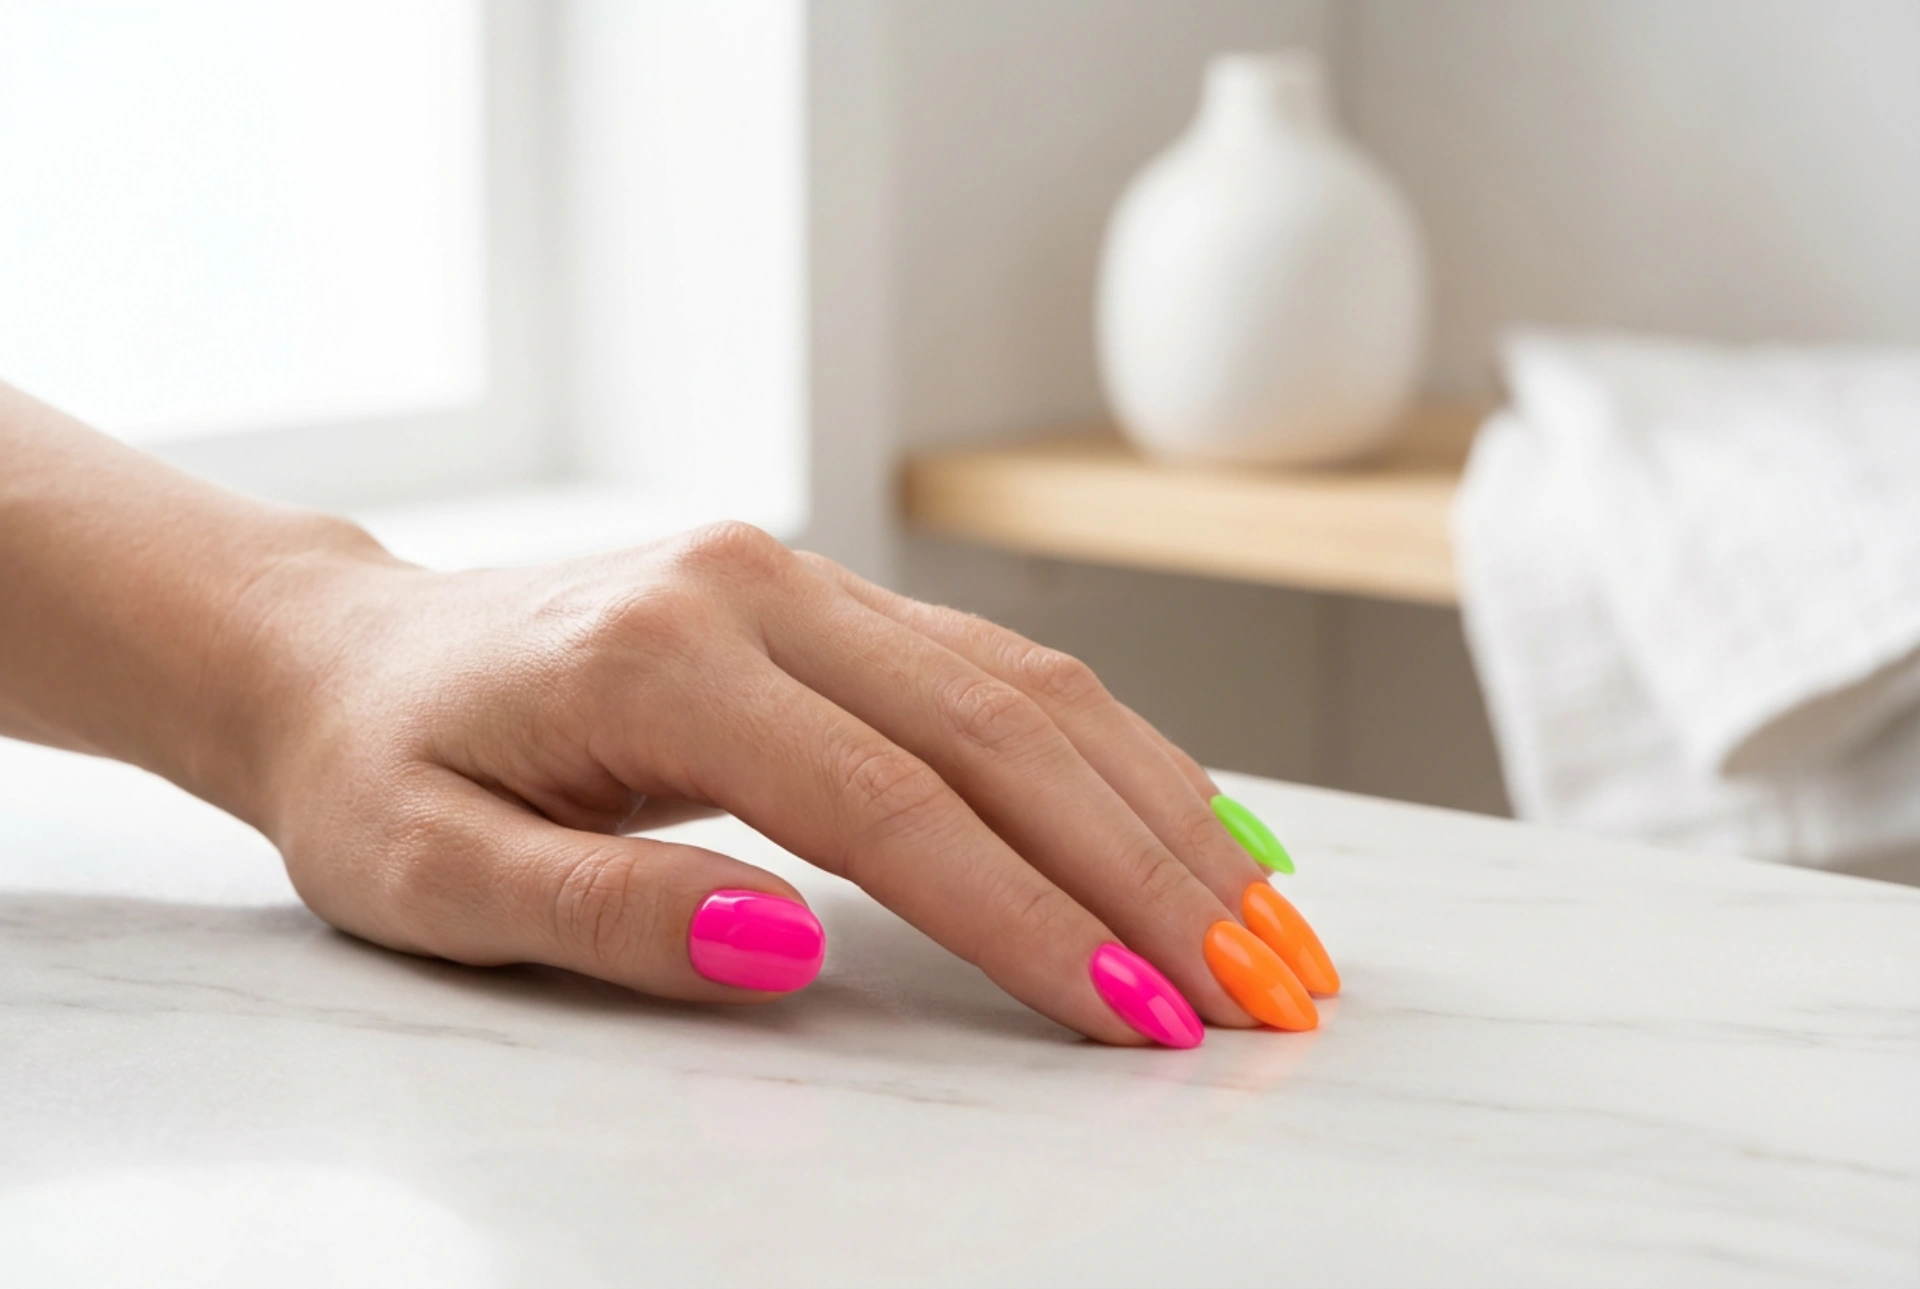


A flawless manicure with vibrant, eye-catching hues is a perfect way to express style and add a modern touch to any look. Brilliantly vibrant neon gel polish has become a staple for those who love intense, high-gloss finishes that command attention. However, working with bright neon pigments requires specific techniques to ensure full, opaque coverage and long-lasting brilliance. Achieving that smooth, professional appearance at home involves understanding how these unique formulas behave under different conditions and applying them with care.
The Unique Characteristics of Neon Pigments
Neon gel polishes differ significantly from classic pastels or deep, dark shades. The pigments used to create ultra-bright colours are often semi-translucent by nature. This is why a simple application can sometimes result in streaks or uneven coverage if the correct method is not applied. To bring out the true depth of fluorescent pinks, electric oranges, or lime greens, the base underneath plays a vital role. Without a proper foundation, even multiple layers of neon polish may look dull or uneven under natural light.
Understanding the science behind these bright colours helps in achieving the perfect look. Neon pigments absorb ultraviolet light and re-emit it, which is what gives them their luminous, almost glowing appearance. Because they interact with light so dynamically, any imperfection in the application, such as air bubbles or thin patches, becomes highly visible. This makes precise preparation and application techniques essential for anyone seeking a flawless finish at home.
Step-by-Step Technique for Intense, Opaque Coverage
To recreate a stunning, high-gloss look with flawless opacity, follow a structured application process. This ensures that the colour is rich and consistent across the entire nail surface:
- Preparation of the Nail Plate: Begin by gently buffing the nail plate to remove any natural oils. Cleanse the surface thoroughly to ensure optimal adhesion of the base coat.
- Applying a White Base: This is the ultimate secret to making neon shades pop. Applying a thin, even layer of opaque white gel polish or a highly pigmented milky base before the neon colour provides a neutral, bright canvas that enhances the fluorescent pigments.
- Thin, Multiple Layers: Instead of applying one thick layer, which can lead to improper curing and wrinkling, apply two or three very thin coats of the neon polish. Cure each layer completely under the lamp.
- Edge Capping: Always seal the free edge of the nail with each layer of polish and top coat. This prevents lifting and protects the colour from chipping at the tips.
Curing Best Practices for Highly Pigmented Formulas
Because neon gel polishes contain unique pigments designed to reflect light, they can sometimes block light from fully penetrating the layer during the curing process. This is why keeping the layers incredibly thin is so crucial. If a layer is too thick, only the top surface will cure, leaving uncured, wet polish underneath, which leads to bubbling, wrinkling, or premature peeling. Always follow the recommended curing times for your specific device, and ensure your hand is placed flat inside the lamp so that light reaches all angles of the nails evenly, including the thumbs.
Protecting Your Vibrant Colour from Fading
One of the main challenges with bright neon gel manicures is their susceptibility to fading. Over time, exposure to sunlight and daily activities can cause the vibrant hues to lose their intensity. Protecting the colour requires a proactive approach during and after the manicure process.
The Role of Protective Top Coats
Applying a high-quality top coat is not just about adding shine; it acts as a shield against environmental factors. For neon colours, look for top coats that contain UV filters. These specialised formulas block the rays that break down neon pigments, keeping your nails looking fresh and vibrant for weeks. Ensure the top coat is applied evenly and cured thoroughly to seal in the colour pigments completely.
Daily Maintenance and Protection
Daily routines can also impact the longevity of your manicure. To keep the high-gloss finish smooth and scratch-free, consider the following practical tips:
- Wear protective gloves when performing household chores, especially when handling cleaning agents or washing dishes.
- Avoid prolonged exposure to harsh household chemicals, which can dull the top coat and cause the colour to yellow or fade.
- Keep your cuticles and hands moisturised with nourishing oils and creams to maintain the overall neat appearance of your manicure.
Achieving a Flawless, High-Gloss Finish
The final step of any gel manicure is securing that glass-like shine that catches the light beautifully. After curing the top coat, if you are using a formula that leaves a sticky dispersion layer, wipe it away gently using a lint-free wipe saturated with a mild cleanser. Allow the nails to cool for a minute after curing before applying any oils, as touching them immediately can sometimes dull the glossy surface.
By mastering these simple, safe, and effective techniques, you can enjoy a brilliant, long-lasting neon manicure that remains vibrant, smooth, and chip-resistant. Proper preparation, a white base foundation, and a protective top coat are the key components to displaying flawlessly bright nails with confidence.




