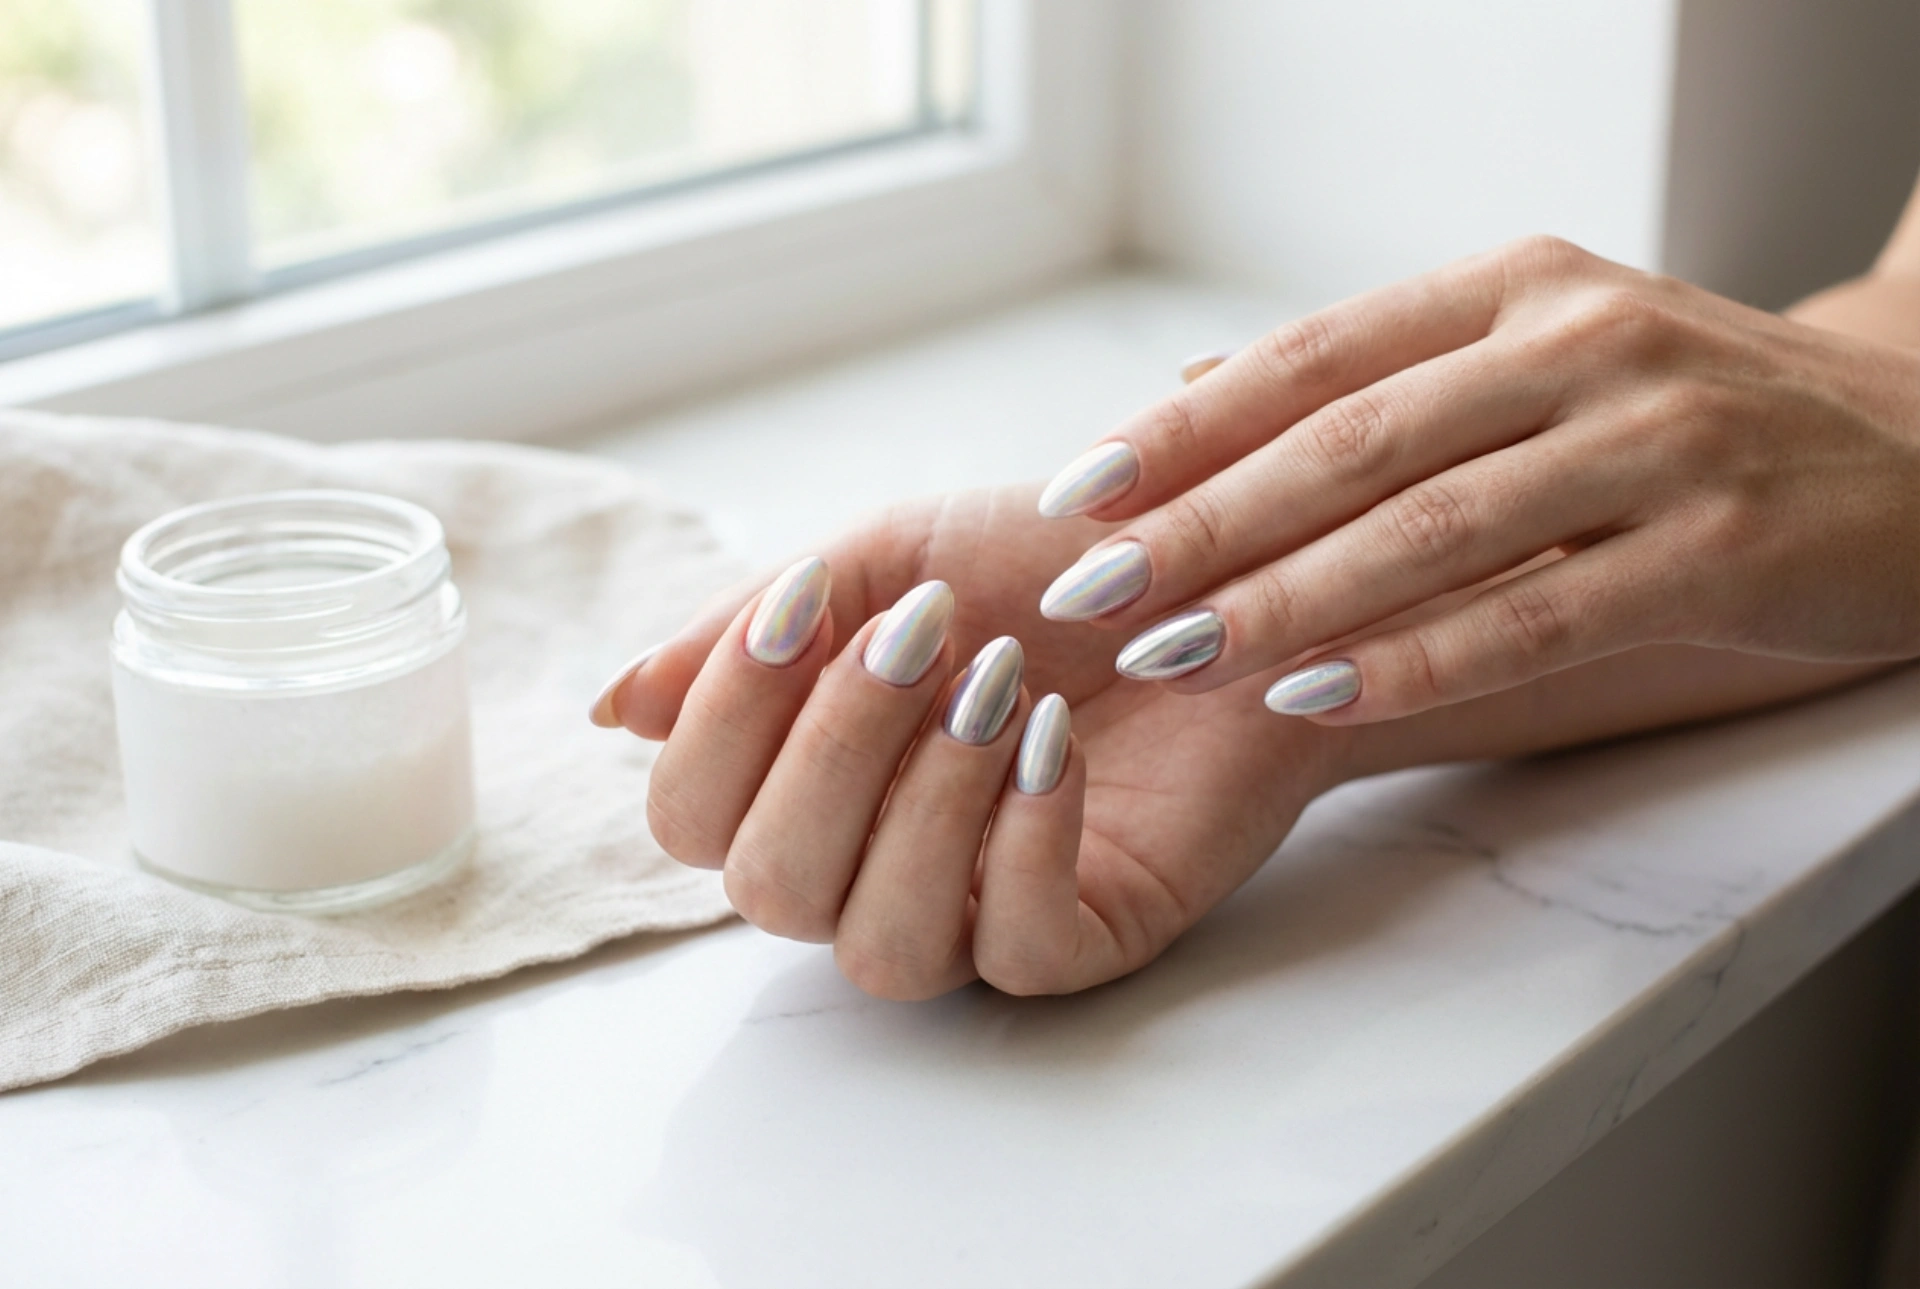


A flawless hybrid manicure is more than just a pop of colour; it is an expression of personal style and creativity. Among the most popular ways to elevate a standard manicure is the application of nail powders. In the soft, natural light, these powders catch the eye, revealing mesmerising shifts in tone, shimmering textures, and reflective finishes. From the liquid-metal look of mirror powder to the multi-dimensional sparkle of holographic particles and the subtle glaze of the mermaid effect, these finishes offer endless possibilities. However, achieving a professional, streak-free look at home requires understanding the exact techniques and physics behind these delicate pigments.
Understanding the Powders: Mirror, Mermaid, and Holographic
Each type of nail powder interacts with light in a unique way, and knowing what to expect helps you choose the perfect look for any occasion:
- Mirror Powder (Chrome): This ultra-fine pigment creates a highly reflective, metallic surface that mimics polished metal. It works best over a dark base, such as black, which makes the metallic sheen pop, although lighter bases can produce a softer, pearlescent finish.
- Mermaid Powder: This powder features slightly larger, iridescent particles that reflect shades of green, gold, pink, or blue depending on the angle of the light. It is usually applied over light or pastel bases to create a delicate, fairy-tale glow.
- Holographic Powder: Often called holo, this powder contains microscopic linear pigments that split light into a vibrant rainbow spectrum. When exposed to direct sunlight, it creates a striking, futuristic effect.
The Perfect Foundation: Preparing the Nail
The key to a smooth, streak-free powder application lies in the preparation of the underlying hybrid layers. Powders will highlight every bump, ridge, or speck of dust on the nail plate. Start with a thorough dry manicure, gently pushing back the cuticles and shaping the nails. Buff the surface lightly to ensure the base coat adheres perfectly. Apply a thin layer of hybrid base coat and cure it according to your lamp's instructions. Next, apply your chosen background colour. For mirror and holo powders, a smooth black or dark grey offers the deepest reflection, while soft pinks and nudes complement mermaid powders beautifully. Ensure the colour layers are thin, even, and fully cured to prevent any pooling at the edges.
The Golden Rule: The No-Wipe Top Coat
Perhaps the most critical step in applying effect powders is selecting the right top coat. To achieve a true mirror or holographic shine, you must rub the powder into a cured "no-wipe" (or non-wipe) top coat. This type of top coat cures without leaving a sticky dispersion layer. If you try to rub mirror powder into a sticky layer, it will clump, smear, and create an uneven, glittery texture rather than a smooth reflection. On the other hand, if you are using certain types of mermaid powders for a textured, sugared look, a sticky layer might be preferred. For a smooth, glazed finish, however, the no-wipe top coat is absolute. Be mindful of the curing time: under-curing will cause the powder to sink and smudge, while over-curing will make the surface too hard for the powder to stick at all.
Step-by-Step Application for a Streak-Free Shine
Once you have cured your no-wipe top coat to the perfect point—usually slightly less than the maximum curing time—it is time to apply the pigment. Follow these precise steps for a flawless result:
- Select your tool: A silicone applicator or a soft eyeshadow sponge works best for transferring and buffing the powder.
- Apply light pressure: Pick up a small amount of powder on your applicator and gently pat it onto the nail surface to distribute the pigments evenly.
- Buff in circular motions: Once the nail is covered, use firm but gentle circular motions to rub the powder into the surface. Watch as the individual particles blend into a solid, seamless sheet of reflection.
- Clean up the excess: Use an incredibly soft, fluffy brush to sweep away any loose powder particles from the nail plate and surrounding skin. Any stray grains left behind will ruin the smooth finish when the final top coat is applied.
Securing the Finish: Preventing Chipping and Wearing
Because nail powders consist of loose pigments, they do not naturally bond to the hybrid layers. Without proper sealing, the powder can easily rub off or chip within a few days. To lock in the design, apply a thin, acid-free primer only to the very tip (free edge) of the nail. This creates a double-sided bond for the final sealant. Next, apply a generous layer of top coat, making sure to carefully cap the free edge of the nail to seal the powder completely. For maximum durability, many enthusiasts recommend a "double-bagging" technique: apply a thin layer of clear base coat or a flexible top coat, cure it, and then apply a final layer of high-gloss top coat over the top.
Common Pitfalls and How to Solve Them
If your powder application is not turning out as expected, consider these common troubleshooting tips:
- The powder rubs off during top-coating: This happens when the powder is not buffed in thoroughly enough or when the top coat brush is pressed too hard. Float the top coat brush over the nail rather than dragging it.
- The mirror effect looks grainy: This is usually a sign that the no-wipe top coat was over-cured before the powder was applied, or that the powder quality is coarse. Try reducing the curing time by five to ten seconds.
- Streaks and patches: Ensure your colour layers are perfectly level. Any unevenness in the colour or base coat will be magnified once the reflective powder is applied.




