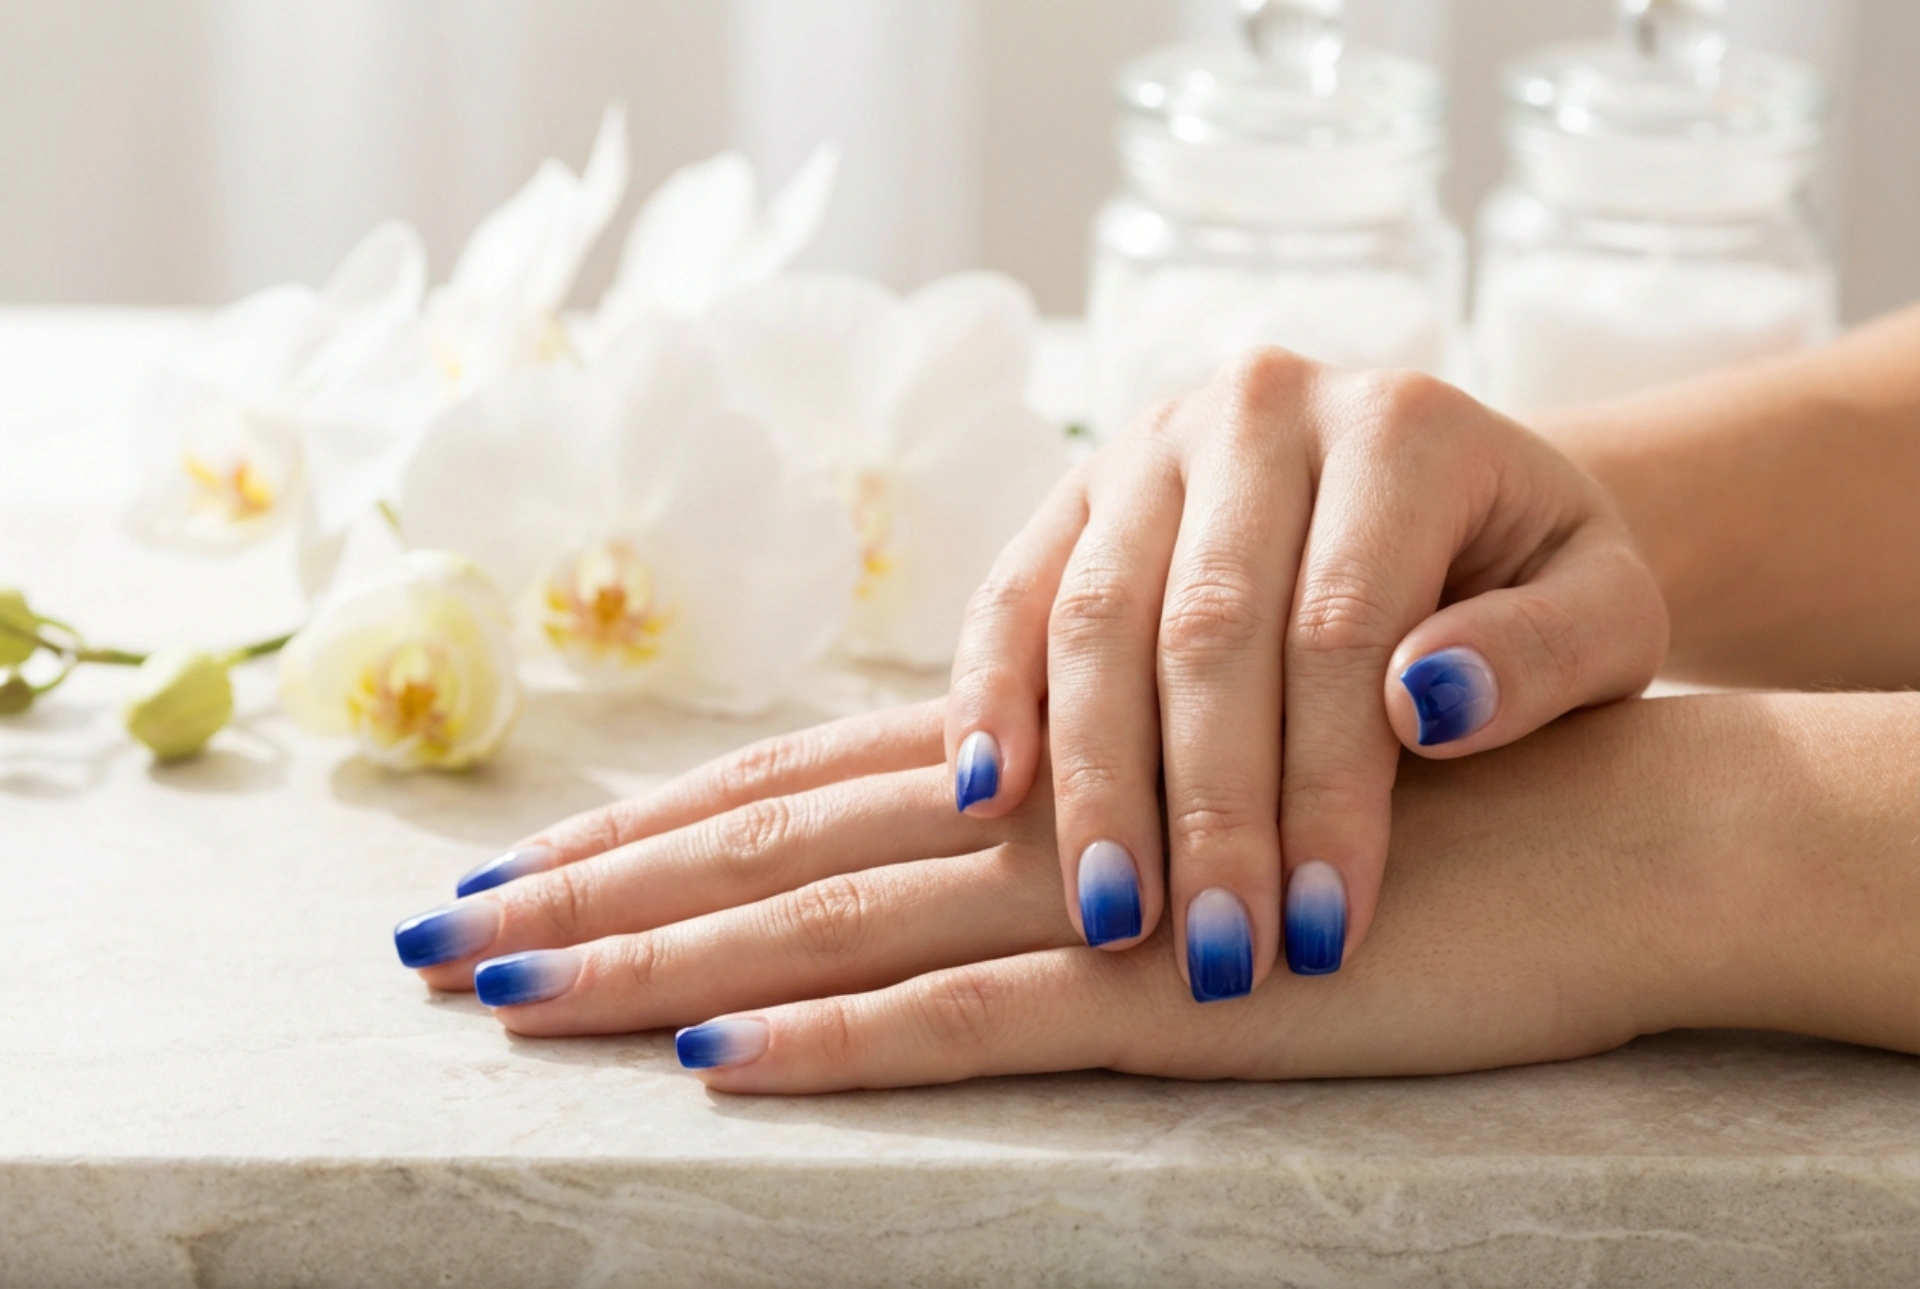


Elegant, well-groomed hands always draw attention, and a striking manicure is the perfect way to express your personal style. Among the most popular trends in modern nail design, cobalt ombre nails stand out as a bold yet sophisticated choice. Combining the depth of saturated cobalt blue with the delicate, artistic transition of the ombre technique creates a captivating gradient that looks stunning in any light. Whether for a special occasion or everyday wear, this style offers a fresh take on classic blue tones.
The Aesthetics of Cobalt Blue in Nail Design
Cobalt is a rich, vibrant shade of blue that symbolises depth, stability, and elegance. Unlike lighter pastels, it carries a strong visual presence that immediately elevates the appearance of the hands. However, a solid application of such an intense colour can sometimes feel heavy. This is where the ombre technique becomes highly beneficial.
By blending cobalt blue with lighter shades, such as sky blue, soft lavender, or a neutral nude base, the intense colour becomes more versatile. The transition can move from a deep, saturated tone at the tips to a lighter, subtle shade at the cuticle area, mimicking the natural look of a gradient. This soft transition not only lengthens the appearance of the fingers but also adds a modern, artistic flair that suits various nail shapes, from classic oval to contemporary almond.
Choosing the Perfect Complementary Shades
While cobalt blue is undoubtedly the star of this nail design, the shade you choose to pair it with can completely change the overall mood of your manicure. For a classic, high-contrast look, pairing cobalt with a crisp white or a very pale grey creates a striking, modern transition. If you prefer a softer, more delicate appearance, blending the vibrant blue into a sheer, warm nude or a soft peach base keeps the design elegant and understated near the cuticles, making any regrowth less noticeable over time. Alternatively, using a lighter sky blue or turquoise creates a harmonious monochromatic gradient that feels fresh and modern.
Essential Elements for a Flawless Gradient
Achieving a seamless ombre effect at home requires the right approach and a few simple accessories. Before starting, it is helpful to gather the necessary materials to ensure the blending process is smooth and mess-free. Here is what is typically needed for a successful DIY cobalt ombre manicure:
- A high-quality base coat: To protect the natural nail plate and ensure even adhesion of the coloured layers.
- Two contrasting shades: A deep cobalt blue and a lighter coordinating colour, such as a pale blue, sheer nude, or soft white.
- A makeup sponge or nail blending sponge: The key tool for creating the characteristic soft transition. A sponge with fine pores works best to avoid unwanted texture.
- A protective barrier: Liquid latex or a rich cream applied to the skin around the nail to make cleaning up excess polish much easier.
- A glossy top coat: Crucial for blending any remaining sponge texture and creating a smooth, glass-like finish.
Step-by-Step: Creating Cobalt Ombre Nails at Home
With a little patience, anyone can master the art of the gradient manicure. Following a structured process ensures a neat, durable finish that mimics professional results.
Step 1: Preparation of the Nail Plate
Begin by shaping the nails with a fine-grit file and gently pushing back the cuticles. Lightly buffing the nail surface helps remove natural oils, which improves the longevity of the manicure. Wipe the nails with a gentle cleanser and apply a thin layer of base coat, allowing it to dry completely.
Step 2: Applying the Base Colour
Apply one or two thin layers of the lighter shade over the entire nail. This acts as a bright background that makes the cobalt blue pop. A neutral nude or a very light pastel blue is highly recommended for this step. Ensure this base layer is completely dry before proceeding to the gradient.
Step 3: Creating the Ombre Effect
Apply stripes of both the light base colour and the deep cobalt blue directly onto a small piece of a makeup sponge, slightly overlapping them where they meet. Gently tap the sponge onto the nail, moving it slightly up and down to blend the transition. It is best to apply several thin layers, letting each layer dry slightly, rather than one thick layer which could create bubbles.
Step 4: Clean-Up and Sealing
Peel off the protective barrier around the cuticle or use a small brush dipped in remover to clean any stray polish. Finally, apply a generous layer of top coat. The top coat is the most important step in an ombre manicure, as it melts the two colours together, erasing any graininess from the sponge and leaving a perfectly smooth surface.
Caring for Your Vibrant Blue Manicure
An intense manicure like cobalt ombre deserves to be showcased on beautifully hydrated hands. Darker and more saturated colours can sometimes highlight dry skin or rough cuticles, so post-manicure care is essential.
Regularly applying a nourishing cuticle oil and a rich hand cream will keep the skin around the nails soft and healthy. To protect the manicure from chipping and fading, wear gloves when performing household chores or working with water. Applying a fresh layer of top coat every few days can also extend the life of your nail art, keeping the glossy finish intact and the cobalt blue looking as deep and vibrant as the day it was applied.




