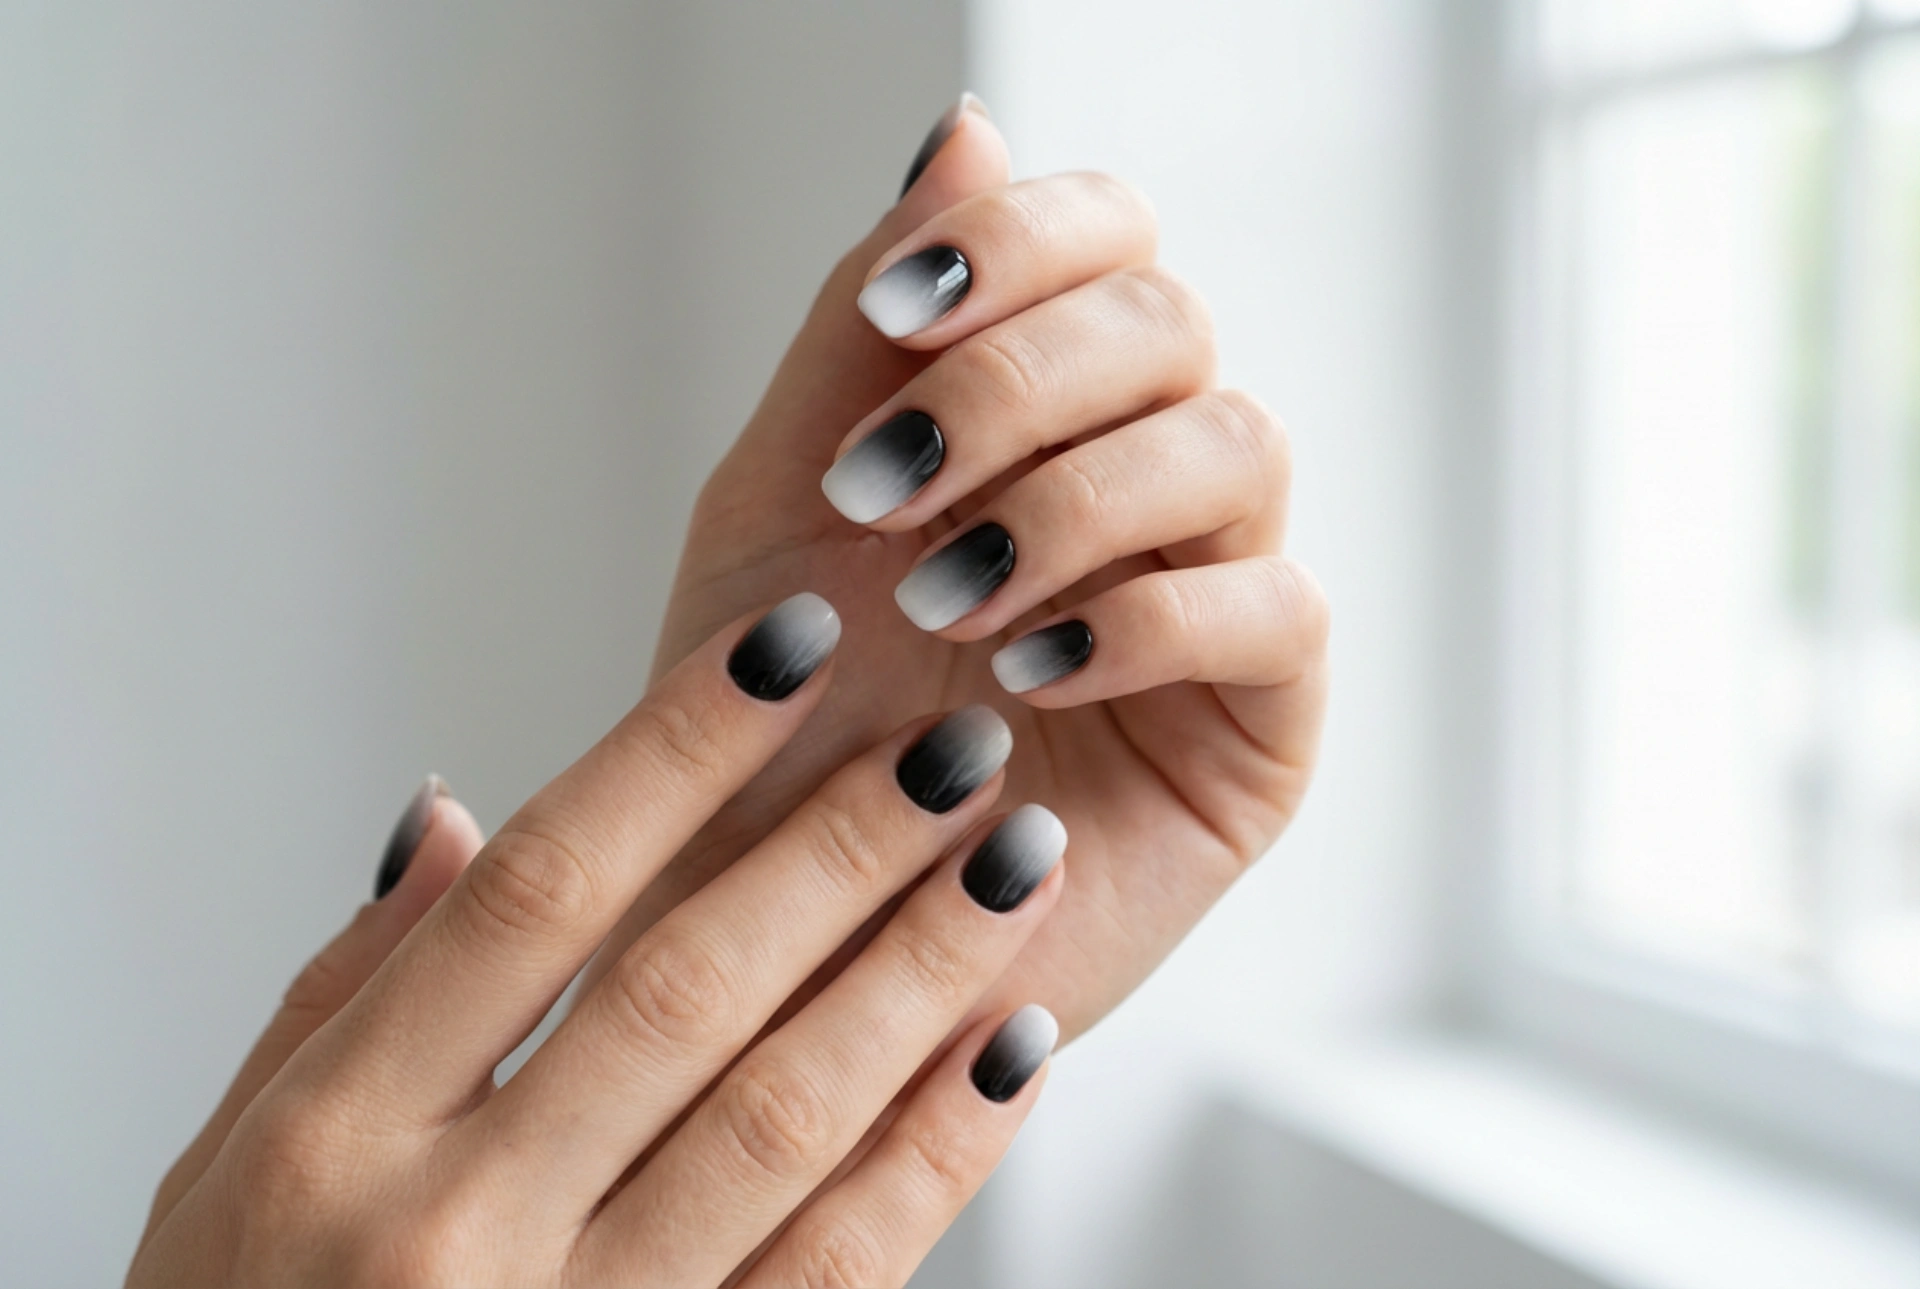


Elegant, beautifully manicured hands make a powerful style statement, particularly when adorned with a modern and sophisticated nail design. Among the most striking trends in contemporary nail art is the monochrome palette, specifically black and white ombre nails. This design offers a captivating blend of high-contrast drama and soft, diffused transitions. However, because black and white are polar opposites on the colour spectrum, creating a seamless, streak-free gradient between them requires patience and the right technique. By mastering a few simple steps at home, you can achieve a flawless transition that looks clean, professional, and beautifully minimalist.
The Elegance of the Monochrome Gradient
Monochrome nail designs have always held a special place in the world of beauty due to their timeless appeal and versatility. Unlike vibrant colours that might clash with certain outfits, black and white complement almost any wardrobe, adding an instant touch of sophistication. The ombre variation takes this classic combination to a new level. By softening the boundary where the two extremes meet, the gradient creates a visual effect reminiscent of soft, natural shadows and light. This smooth transition makes the high contrast wearable and refined, turning your hands into a subtle accessory that enhances a modern, clean aesthetic.
Preparing Your Nails for a Flawless Application
To achieve a professional-looking gradient, the preparation of the nail plate is just as important as the painting process itself. Any unevenness on the nail surface will be magnified by the high contrast of black and white polishes. Start by shaping your nails into your preferred style; rounded, squoval, or almond shapes work exceptionally well with ombre designs, as they soften the overall look. Gently push back your cuticles to ensure a clean canvas, and use a buffer to smooth out any ridges on the nail plate.
Once your nails are shaped and smoothed, apply a high-quality base coat. The base coat serves a dual purpose: it protects your natural nails from the deep pigments of the black polish and creates a smooth, receptive surface that helps the subsequent layers of polish adhere better. Allow the base coat to dry completely before moving on to the colour application.
The Sponge Method: Step-by-Step to a Perfect Blend
The most effective and accessible way to create a streak-free gradient at home is by using a dense cosmetic wedge or makeup sponge. This tool allows you to deposit the polish in tiny, overlapping dots, mimicking the airbrushed finish seen in professional salons. To begin, apply a solid, opaque layer of white polish to all your nails. This acts as a bright undercoat, ensuring that the gradient colours look vibrant and clean. Let this base colour dry thoroughly.
Next, prepare your makeup sponge. A crucial tip is to slightly dampen the sponge with water and squeeze out any excess before applying the polish. This prevents the sponge from absorbing too much product, saving your polish and allowing for a smoother transfer. Paint a strip of white polish, a strip of grey polish, and a strip of black polish directly onto the flat edge of the sponge, ensuring they slightly overlap. The inclusion of grey as a middle transition shade is the secret to avoiding a harsh or muddy line where the black and white meet.
Gently press the sponge onto your nail, moving it slightly up and down to blend the boundaries between the colours. Do not press too hard, as this can tear the sponge or create unwanted textures. Apply the polish in several thin layers, letting each layer dry for a minute or two before repeating the process to build up the desired opacity.
Overcoming Common Ombre Challenges
One of the most frequent issues when attempting a black and white ombre is the appearance of small air bubbles or a patchy, streaky finish. This usually happens when the polish on the sponge begins to dry before it is applied to the nail, or when too much pressure is exerted during the dabbing process. To avoid this, work relatively quickly once the polish is applied to the sponge, and keep your dabbing motion light and bouncy.
If you notice the gradient starting to look patchy, it is often a sign that the sponge is too dry. Reapply a small amount of polish to the sponge, making sure the colours are still wet, and lightly dab over the uneven areas. Patience is key; it is far better to apply three or four very thin, delicate layers than to attempt to get full coverage in a single, heavy layer.
The Crucial Role of the Top Coat
The real magic of a seamless ombre design happens during the final step: the application of the top coat. While the sponge method creates a beautiful gradient, it can leave behind a slightly textured, matte surface. A generous layer of a glossy top coat acts as a blending agent, melting the tiny dots of colour together and erasing any visible boundaries or sponge textures.
For the best results, apply the top coat while the final layer of your gradient is still slightly damp. Guide the brush gently over the nail without pressing down too hard, allowing the top coat to float over the surface and smoothly blend the transition. Once dry, this protective layer not only locks in your design for days of wear but also provides a high-shine, glass-like finish that perfectly captures the sophisticated beauty of a modern monochrome manicure.




