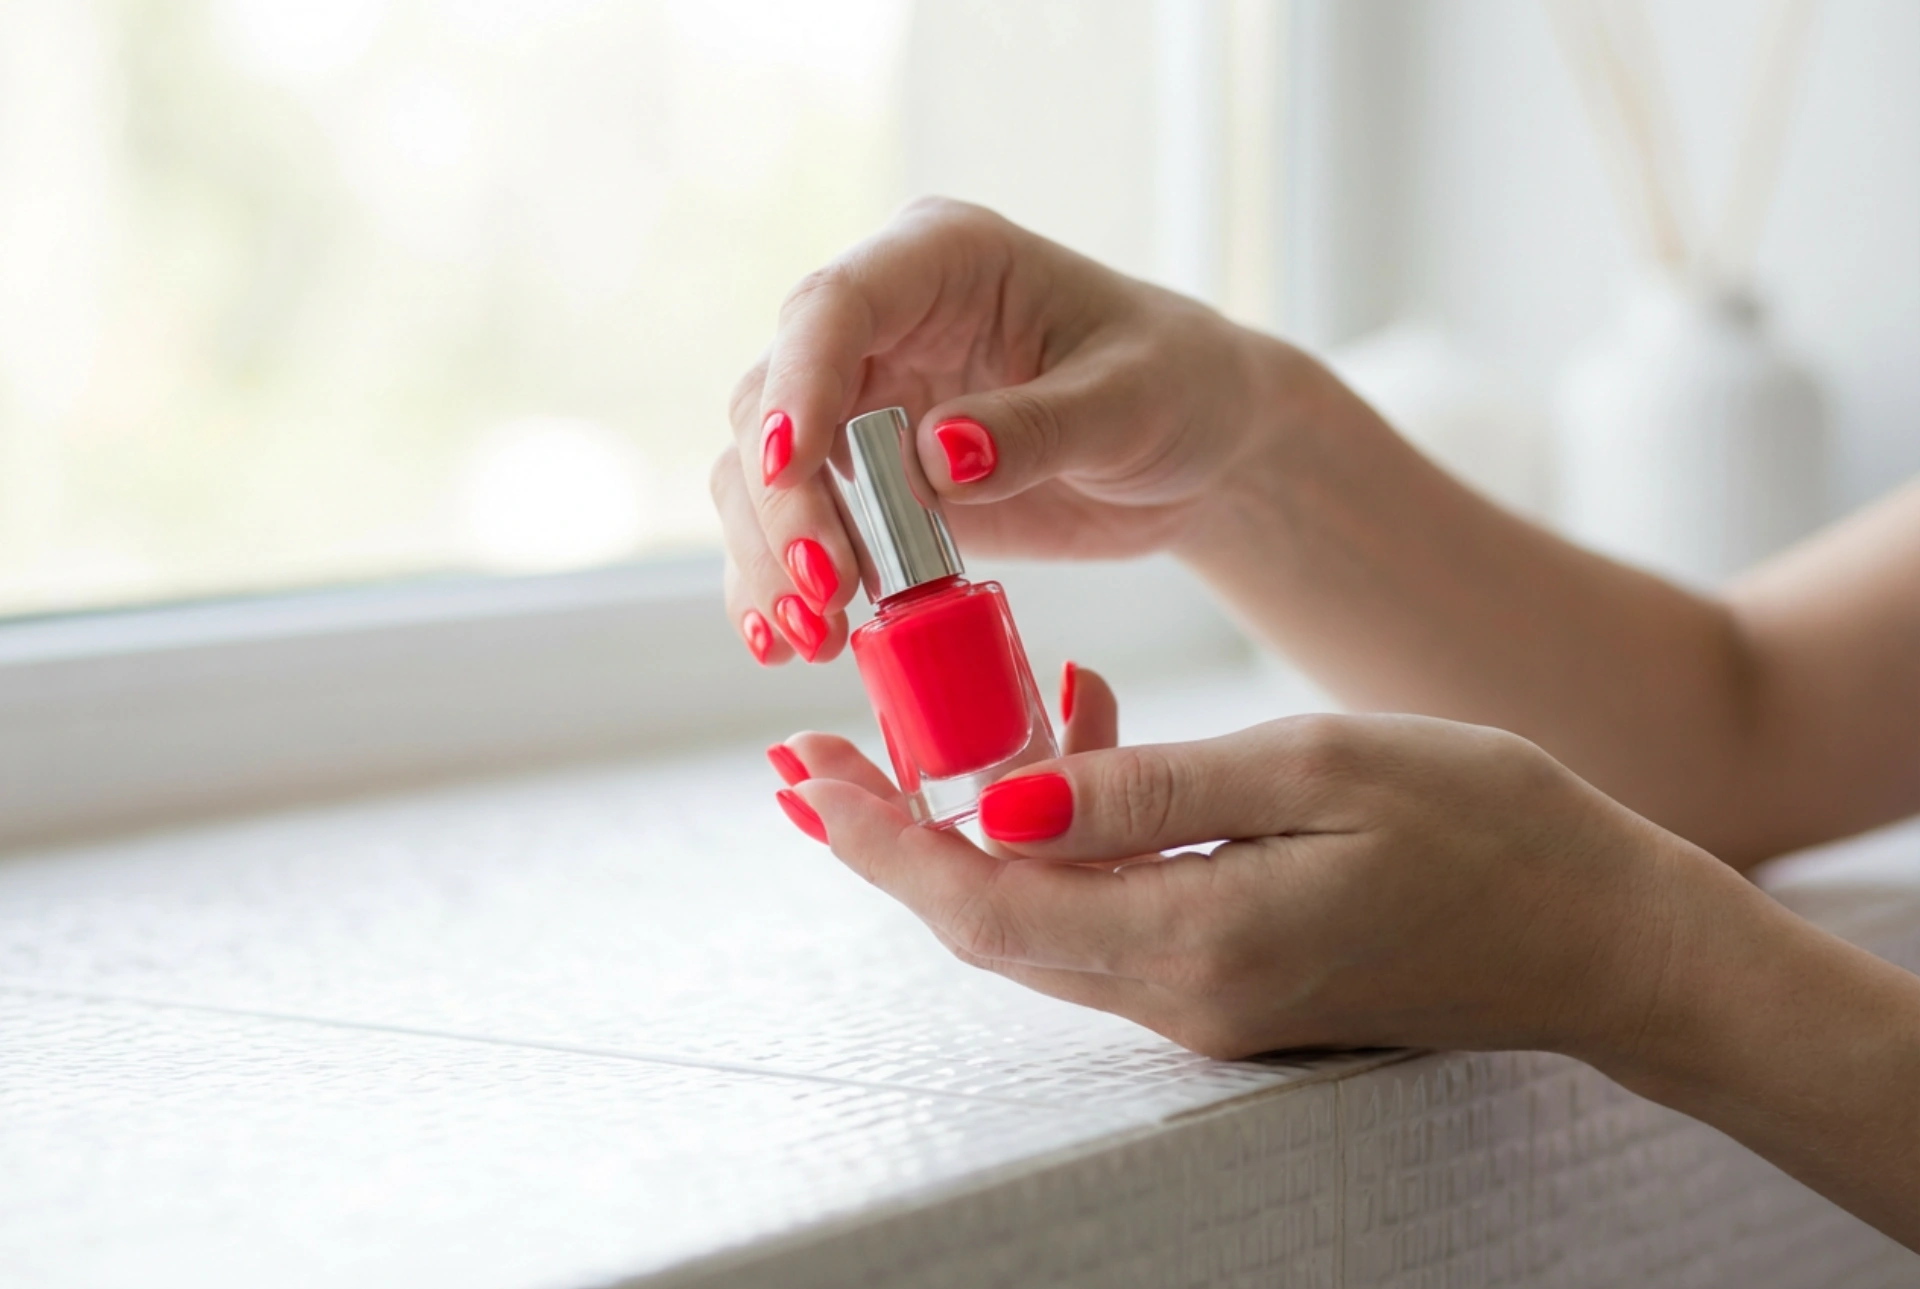


Neon red nails represent a bold fusion of classic elegance and contemporary vibrancy. When catching the soft, natural light, a glossy neon red polish elevates the look of the hands, creating a fresh, stylish aesthetic that commands attention. Unlike traditional reds, neon variations possess an electric energy that makes the manicure stand out, whether you are holding a sleek bottle of lacquer or simply showcasing your hands in daily interactions. Achieving this vibrant look at home requires an understanding of how to select the right undertone and apply the polish with precision to ensure a smooth, professional finish.
Selecting the Perfect Shade of Neon Red
The spectrum of neon red is surprisingly diverse, ranging from fiery coral-infused tones to deep, electrifying cherry shades. Choosing the right hue depends heavily on your skin's natural undertones. When you find the perfect match, the neon glow complements your hands beautifully rather than clashing with your complexion.
Understanding Skin Undertones
To determine which neon red will flatter you most, look at the veins on your wrist or consider how your skin reacts to gold and silver jewellery. If you have cool undertones (veins appear blue or purple, and silver jewellery suits you best), look for neon reds with a subtle pink or blue base. These cool-toned neons offer a striking contrast and look exceptionally clean. Conversely, if you have warm undertones (veins appear greenish, and gold jewellery is your preference), warm neon reds containing orange or coral pigments will illuminate your hands, adding a sun-kissed warmth to your overall style.
Opacity and Pigment Intensity
Neon pigments can sometimes be slightly sheer due to the formulation required to make them fluoresce. When choosing your polish, pay attention to the opacity. Some formulations work best over a white base coat to truly pop, while others are highly saturated and offer full coverage in two coats. Understanding the opacity of your chosen lacquer helps you plan your application steps accordingly.
Preparing the Nails for a Seamless Finish
A vibrant, glossy polish like neon red highlights every detail of the nail surface. Therefore, thorough preparation is key to achieving a flawless manicure that mirrors the professional aesthetic of a high-end beauty routine.
- Shaping and Smoothing: Begin by filing your nails into your preferred shape. Rounded or oval shapes lend an elegant, softer look that balances the boldness of neon, while square or squoval shapes provide a modern, edgy contrast. Use a fine-grit buffer to gently smooth the surface of the nail plate, removing any ridges that might disrupt the glossy reflection of the polish.
- Cuticle Care: Soften the cuticles using a gentle hydrating oil or remover, then gently push them back with a wooden stick. Clean, well-defined cuticles create a neat frame for the intense red lacquer, making the application look tidy and deliberate.
- Dehydrating the Nail Plate: Before applying any base products, wipe the nails with a lint-free pad soaked in a gentle dehydrating solution or regular rubbing alcohol. This removes natural oils and dust, ensuring maximum adhesion for your polish.
Step-by-Step Neon Red Application Guide
Applying neon polish requires patience and thin, even layers. Because of the bright pigment, any pooling or uneven thickness will be easily visible. Follow these steps for an immaculate finish:
1. The Essential Base Coat
Always start with a high-quality base coat. A base coat serves two main functions: it protects your natural nails from staining—which is particularly common with intense red pigments—and it provides a smooth, adhesive layer for the colour to cling to. For neon polishes, you might also consider using a ridge-filling base or even a thin coat of opaque white polish. A white background acts as a canvas, making the neon red appear significantly brighter and truer to the bottle colour.
2. Applying Thin Layers
When applying the neon red polish, wipe the brush against the neck of the bottle to remove excess product. Apply the polish in three quick strokes: one down the centre of the nail, and one on each side. Keep the layers as thin as possible. It is far better to apply three thin, even coats than two thick ones, which may trap air bubbles or fail to dry properly. Remember to cap the free edge of the nail with each coat to seal the polish and prevent premature chipping.
3. Sealing with a High-Gloss Top Coat
The ultimate key to the fresh, stylish aesthetic of neon red nails is the top coat. A thick, glossy top coat plumps up the manicure, mimicking the depth of professional gel finishes. Apply the top coat once the colour layers are touch-dry, ensuring you seal the edges. If your neon polish dries to a semi-matte or satin finish—which is common for neon pigments—a glossy top coat will instantly transform it, bringing out the dazzling brilliance of the red.
How to Maintain the Vibrancy and Shine
Once you have achieved the perfect neon red manicure, you will want to preserve its glossy sheen and prevent wear. Neon pigments can be sensitive to environmental factors, so protective habits are essential.
- Daily Hydration: Apply a drop of nourishing cuticle oil to each nail daily. This keeps the surrounding skin soft and prevents the polish from becoming brittle.
- Reapplying Top Coat: Every two to three days, apply a fresh, thin layer of top coat. This restores any lost shine and adds an extra layer of protection against daily wear and tear.
- Protecting Hands: Wear gloves when performing household chores, washing dishes, or working with cleaning agents. Gentle care ensures your neon red nails remain pristine and vibrant for as long as possible.




