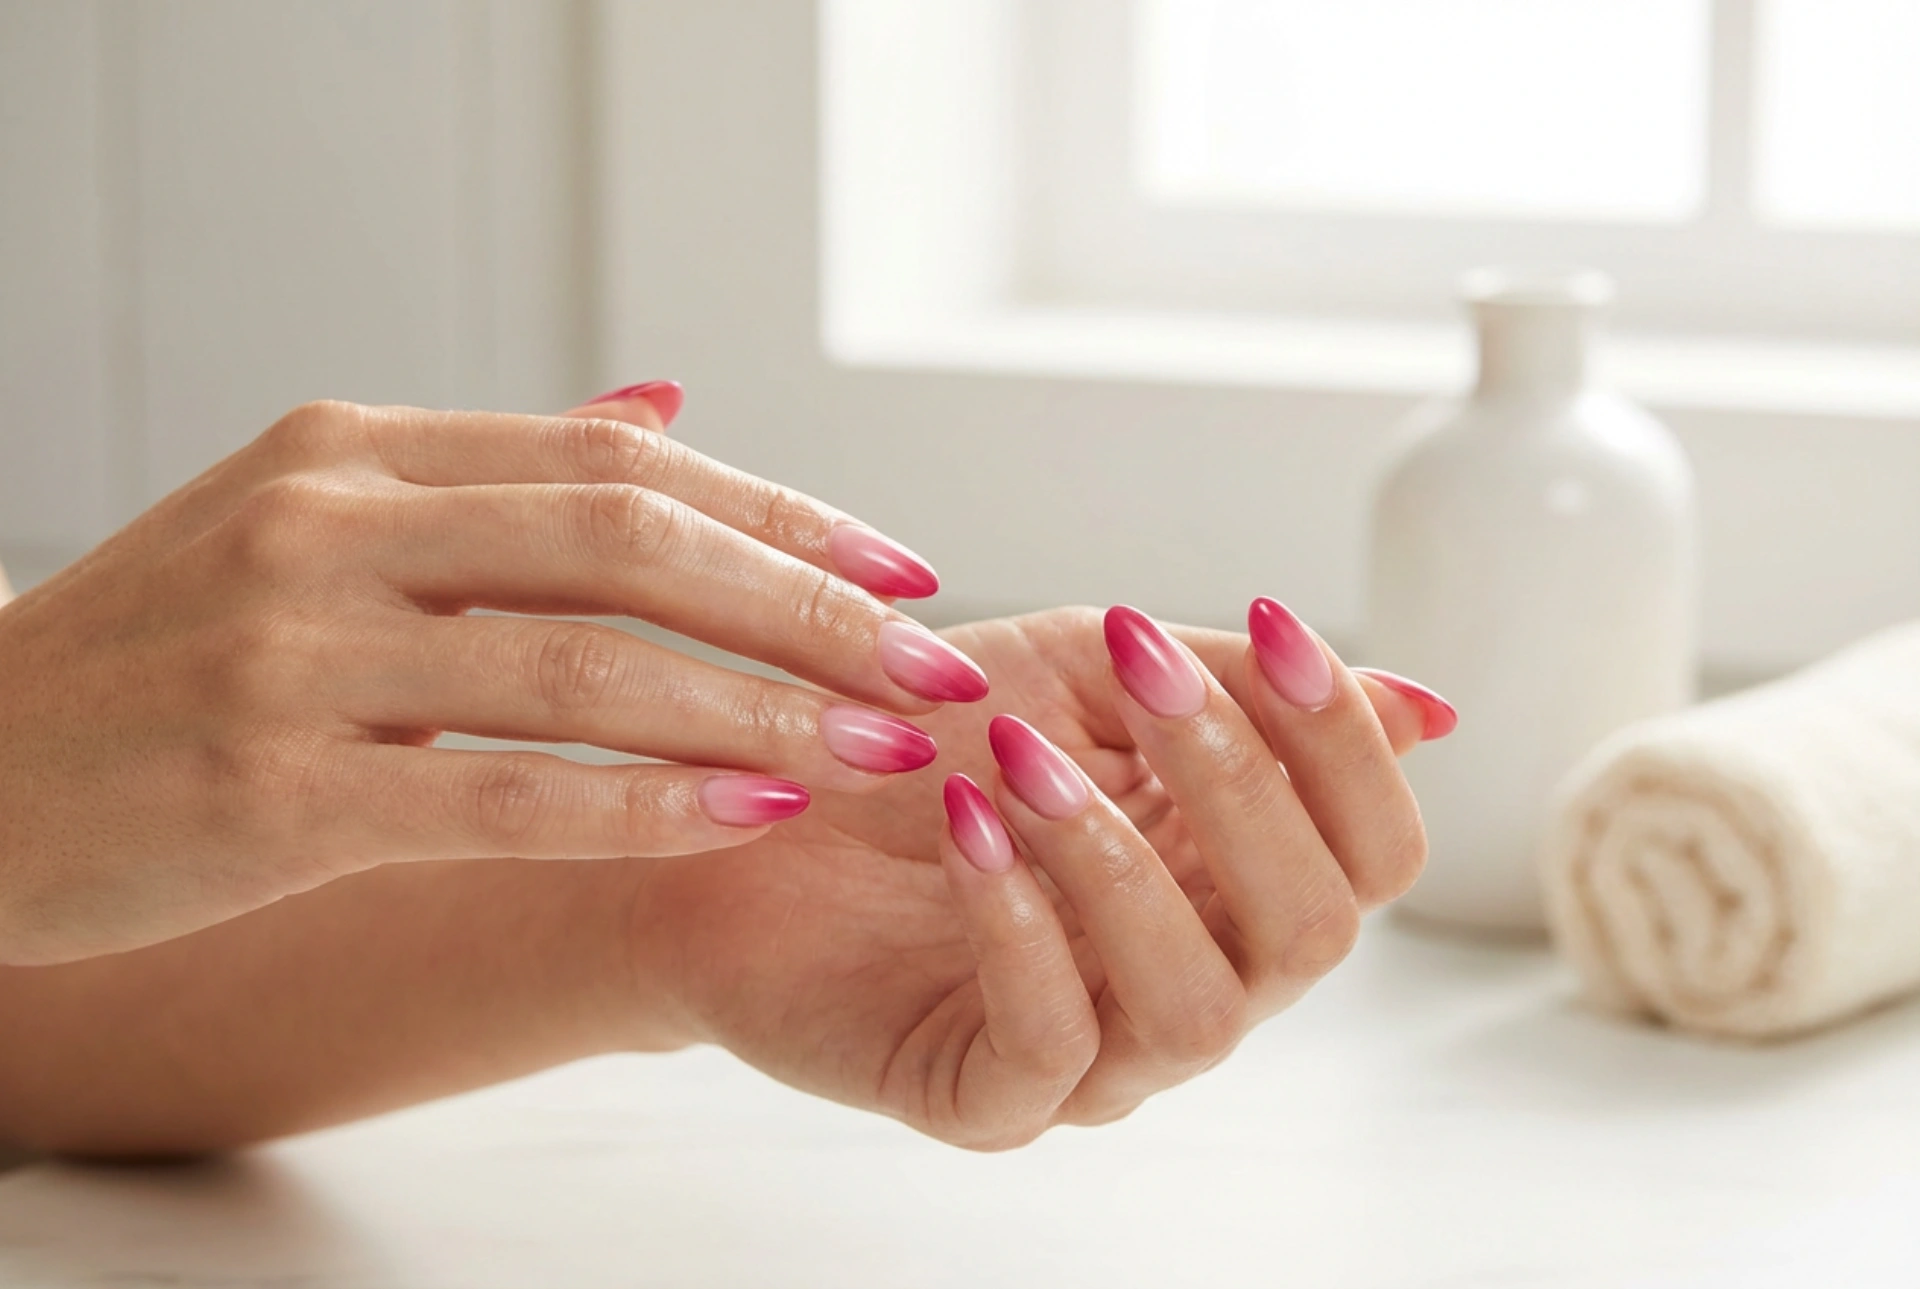


Beautifully manicured hands are a universal symbol of refined elegance and personal care. Among the endless array of nail designs, the raspberry ombre manicure stands out as a vibrant yet sophisticated option. Featuring a seamless transition from a soft, natural blush at the nail bed to a rich, juicy raspberry pink at the tips, this style offers a fresh and modern twist on traditional gradients. When captured in soft, natural light, the high-gloss finish of this design highlights the health and shape of the nails, making it a perfect choice for those who appreciate minimalist beauty with a touch of playful colour.
The Appeal of Raspberry Ombre
The ombre technique has remained a favourite in the beauty world due to its versatility and visual depth. Unlike solid colours, a gradient creates an illusion of length and movement across the nail plate. Raspberry pink is a particularly flattering hue; it sits perfectly between a bright, energetic summer pink and a deep, sophisticated berry tone. This makes it highly versatile, transitioning effortlessly from daytime casual wear to formal evening events.
By blending this juicy pink with a softer, neutral blush base, the overall look remains grounded and elegant. The gradient minimises the stark line of regrowth, allowing the manicure to look fresh for longer. This practical benefit, combined with the striking aesthetic of the colour transition, makes the raspberry ombre an ideal choice for anyone looking to refresh their classic manicure routine. It suits all skin tones, offering a warm, healthy glow to the hands without overpowering your overall style.
Preparing Your Nails for a Flawless Gradient
A perfect ombre design requires a smooth and healthy canvas. Any unevenness on the nail surface can disrupt the blending process, preventing that seamless transition. To prepare your nails at home, follow a simple, gentle routine:
- Shaping: Use a fine-grit glass or emery board to shape your nails. A rounded, oval, or almond shape works beautifully with ombre designs, as the natural curves complement the soft flow of the gradient.
- Cuticle Care: Soften the cuticles using a gentle oil or warm water, then gently push them back with a wooden stick. Avoid cutting the cuticles to protect the nail matrix from irritation and preserve the natural barrier.
- Buffing and Cleaning: Lightly buff the nail surface to remove natural oils and create a smooth base. Wipe the nails with a gentle cleanser to ensure no dust or residue remains, allowing the polish to adhere properly.
- The Base Coat: Apply a high-quality base coat. This step is essential to protect your natural nail from staining, even out any minor ridges, and ensure the subsequent colour layers adhere perfectly.
How to Create the Gradient Transition at Home
Achieving a smooth, seamless transition between the soft blush base and the vibrant raspberry pink can be easily done at home using simple tools. The most common and accessible method involves using a clean, fine-pored cosmetic sponge.
The Sponge Method Step-by-Step
Start by applying two thin coats of your base colour—a soft, semi-sheer blush pink or neutral nude. Allow this base layer to dry completely. Next, take your cosmetic sponge and apply a stripe of the blush base colour followed immediately by a stripe of the raspberry pink polish, slightly overlapping them where they meet. Gently tap the sponge onto a piece of paper first to remove excess product and blend the seam.
Gently dabbing the sponge onto your nail, moving it slightly up and down to diffuse the transition line. It is always better to work in thin layers, building up the intensity of the raspberry pink gradually. Allow each layer to dry for a few minutes before applying the next. This prevents the polish from bubbling and ensures a smooth, even texture. For a more intense look, you can repeat this process two or three times.
Refining the Look
If you prefer a more subtle gradient, you can use a fine nail art brush to lightly sweep the wet raspberry polish down towards the base of the nail. This freehand technique requires a steady hand but offers excellent control over where the colour transitions. Whichever method you choose, cleaning up the surrounding skin with a small brush dipped in non-acetone remover will instantly elevate the neatness of your manicure, giving it that professional touch.
Securing the Glossy Finish
The key to a truly elegant raspberry ombre is the final glossy coat. A top coat not only seals the design and prevents chipping but also blends any remaining texture left by the sponge, pulling the gradient together into one smooth surface. Apply a generous layer of a high-shine top coat, ensuring you cap the free edge of the nail to lock in the colour and prevent premature peeling.
To maintain the health of your hands and keep the skin around your nails looking soft and hydrated, apply a nourishing cuticle oil daily. Massaging a rich hand cream into your skin will further enhance the elegant, refined look of your hands, making your raspberry ombre manicure shine beautifully in any light. Protecting your hands during household tasks by wearing gloves will also keep your fresh gradient looking pristine for days.




