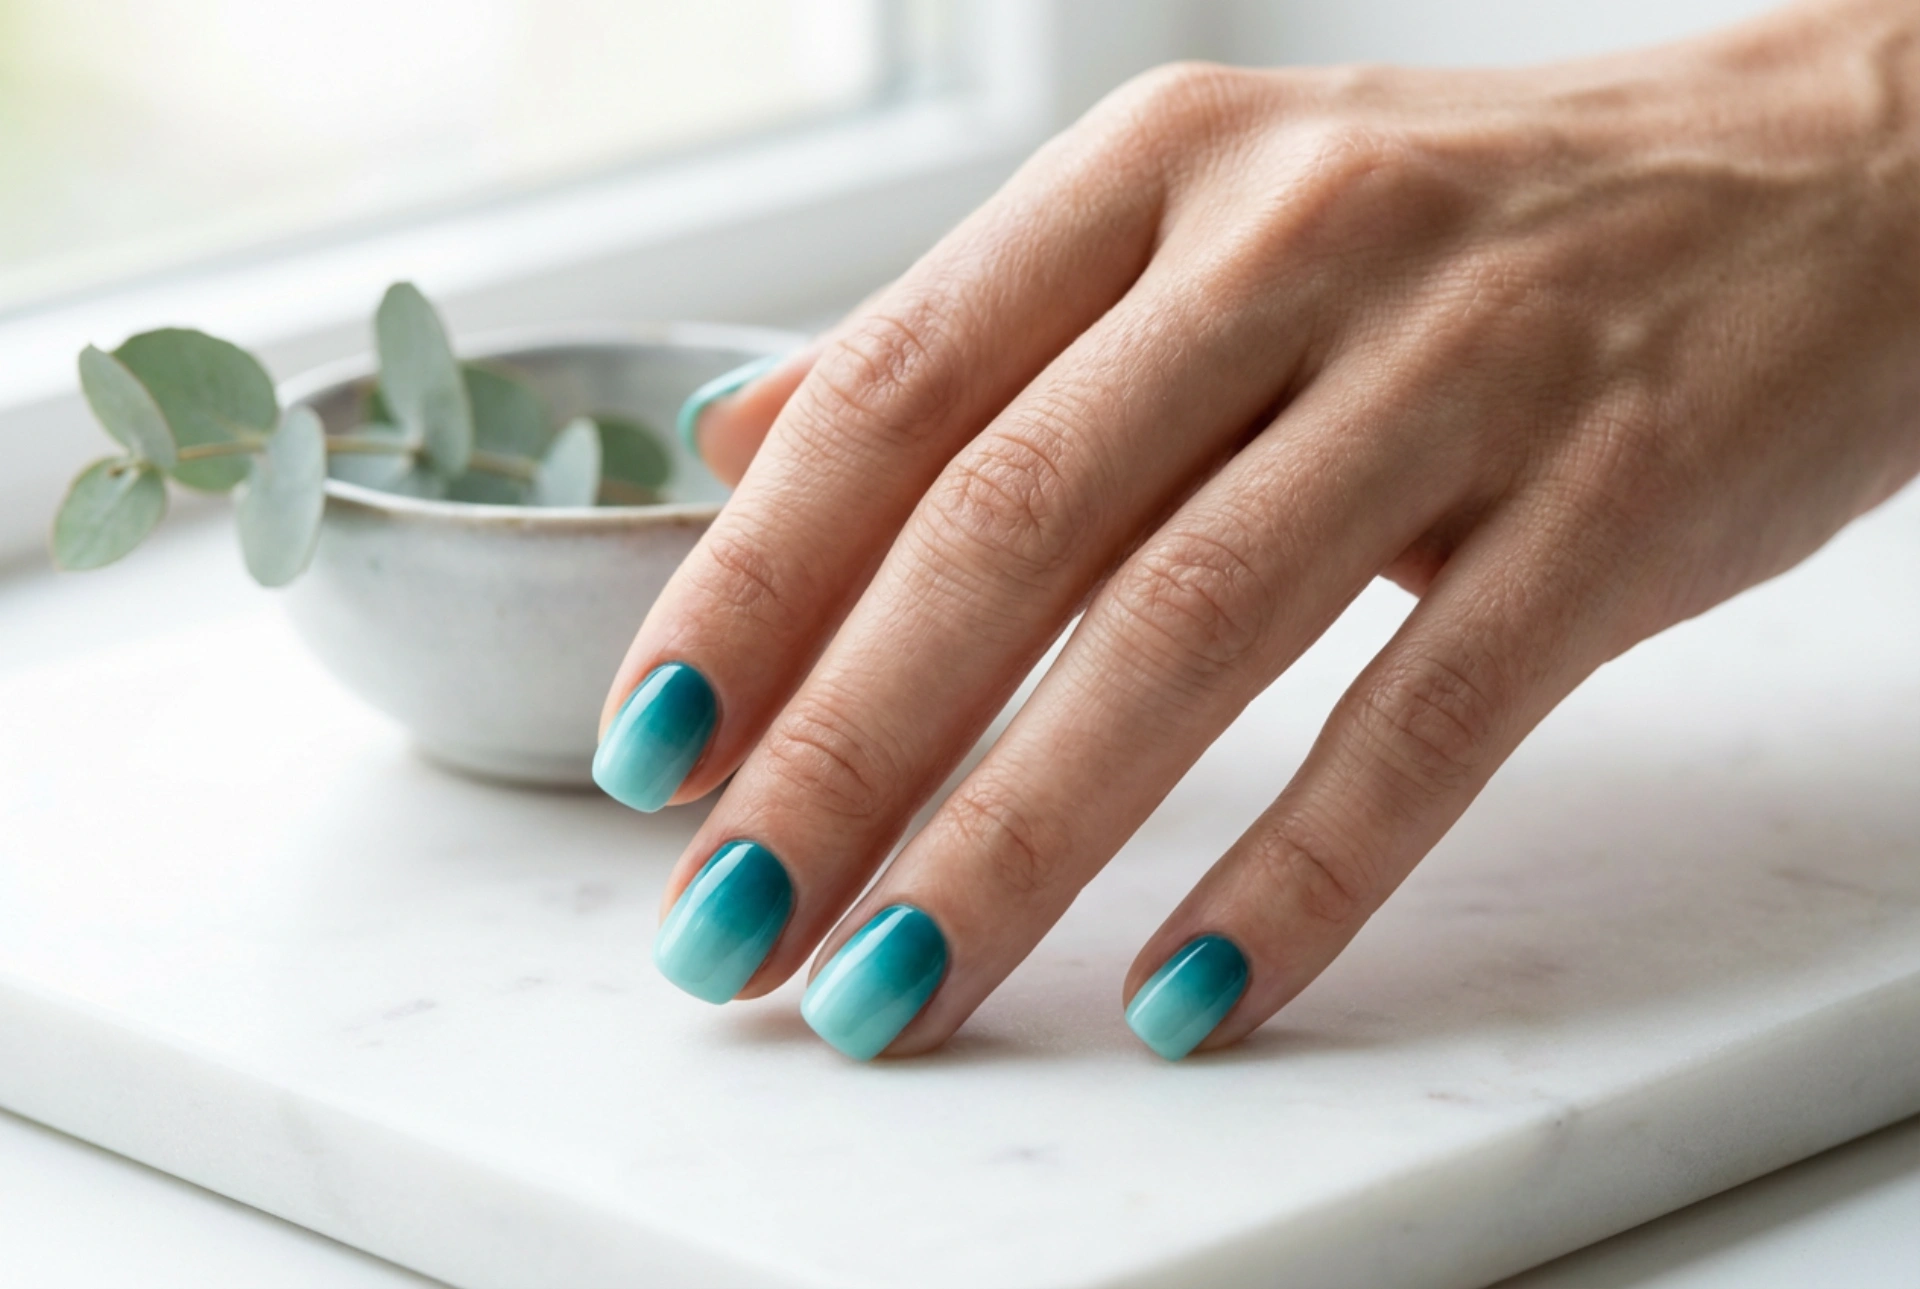


A beautifully executed manicure can effortlessly elevate any style, serving as an elegant accessory of self-expression. Among the most popular contemporary nail art designs, turquoise ombre stands out with its striking blend of deep teal transitioning seamlessly into light aqua. This fluid combination of sea-inspired hues captures the essence of modern sophistication, offering a fresh, vibrant aesthetic that suits various skin tones and occasions. Creating a perfect gradient requires understanding the blending process and selecting the right products to achieve a flawless, glossy finish. With a few simple tools and a bit of patience, you can easily replicate this stunning transition at home.
Selecting the Right Turquoise Palette
The success of an ombre design depends heavily on the colours you choose to combine. To achieve a seamless transition, it is best to select two or three shades that belong to the same colour family but differ in depth. For a classic turquoise ombre, you might want to choose:
- A deep, rich teal or forest green-blue for the base or the tips, adding depth to the design.
- A medium turquoise or classic aqua that acts as the transition colour.
- A light mint or pastel seafoam shade to create a bright, fresh contrast.
When selecting your polishes, ensure they have a similar formula and opacity. Mixing a highly sheer polish with a heavily pigmented one can make blending difficult and may result in an uneven texture. Using cream finishes generally yields the smoothest transition, though a subtle shimmer can add a beautiful dimensional effect.
Preparing Your Nails for the Gradient Design
Before applying any colour, preparing your natural nails is essential for achieving a professional finish. Start by shaping your nails with a gentle file. A rounded or almond shape works exceptionally well for ombre designs as it mimics the natural curve of the colour transition, though square shapes can also look incredibly modern and clean.
Next, gently push back your cuticles to create a clean canvas. Lightly buff the surface of the nail to remove any natural oils, which helps the polish adhere better. Always apply a high-quality base coat first. The base coat protects your natural nail from staining—which is particularly common with highly pigmented blue and green shades—and provides a smooth surface for the subsequent layers of colour.
Step-by-Step Sponge Blending Method
The sponge method is one of the most reliable and accessible ways to create a smooth gradient at home. You will need a clean, dense makeup wedge sponge, a small brush, and some nail polish remover for clean-up.
Applying the Base Colour
Start by applying two thin coats of your lightest shade (such as a light aqua or mint) over the entire nail. Allow this base layer to dry completely. This step ensures that the lighter colour remains vibrant and prevents the natural nail from showing through the gradient.
Preparing the Sponge
Lightly dampen your makeup sponge with water and squeeze out any excess. Dampening the sponge prevents it from absorbing too much polish, allowing more product to transfer onto your nail. Paint horizontal stripes of your chosen shades directly onto the edge of the sponge. Ensure the stripes overlap slightly to begin the blending process on the sponge itself.
Dabbing the Gradient
Gently press the sponge onto your nail, moving it slightly up and down to blur the lines between the colours. Do not press too hard, as this can create air bubbles or lift the polish. It is better to build up the intensity gradually. Apply a thin layer, let it dry for a minute, and then repeat the process with a freshly painted sponge. Usually, two to three rounds of dabbing are sufficient to achieve a vibrant, seamless gradient.
Choosing the Right Top Coat for the Perfect Finish
Once you are satisfied with the gradient, the transition may look slightly textured or matte from the sponge. This is completely normal. The magic of a flawless ombre lies in the top coat, which blends the colours together and smooths out the surface.
A glossy top coat is highly recommended for a turquoise ombre. It enhances the depth of the teal and aqua tones, giving the nails a glass-like, professional appearance that catches the light beautifully. Apply a generous layer of top coat while the gradient is still slightly damp, as this helps to melt the colours into each other for an incredibly smooth finish. If you prefer a modern, velvet-like effect, you can opt for a matte top coat instead, which gives the turquoise shades a sophisticated, muted look.
Maintaining Your Ombre Manicure at Home
To keep your turquoise ombre looking fresh and vibrant, simple daily maintenance is key. Apply a hydrating cuticle oil every evening to keep the skin around your nails soft and healthy. This not only prevents dry skin but also helps to keep the nail plate flexible, reducing the likelihood of chipping. When performing household chores or working with water, wear protective gloves to shield your manicure from harsh chemicals and excess moisture, ensuring your beautiful turquoise gradient lasts as long as possible.




