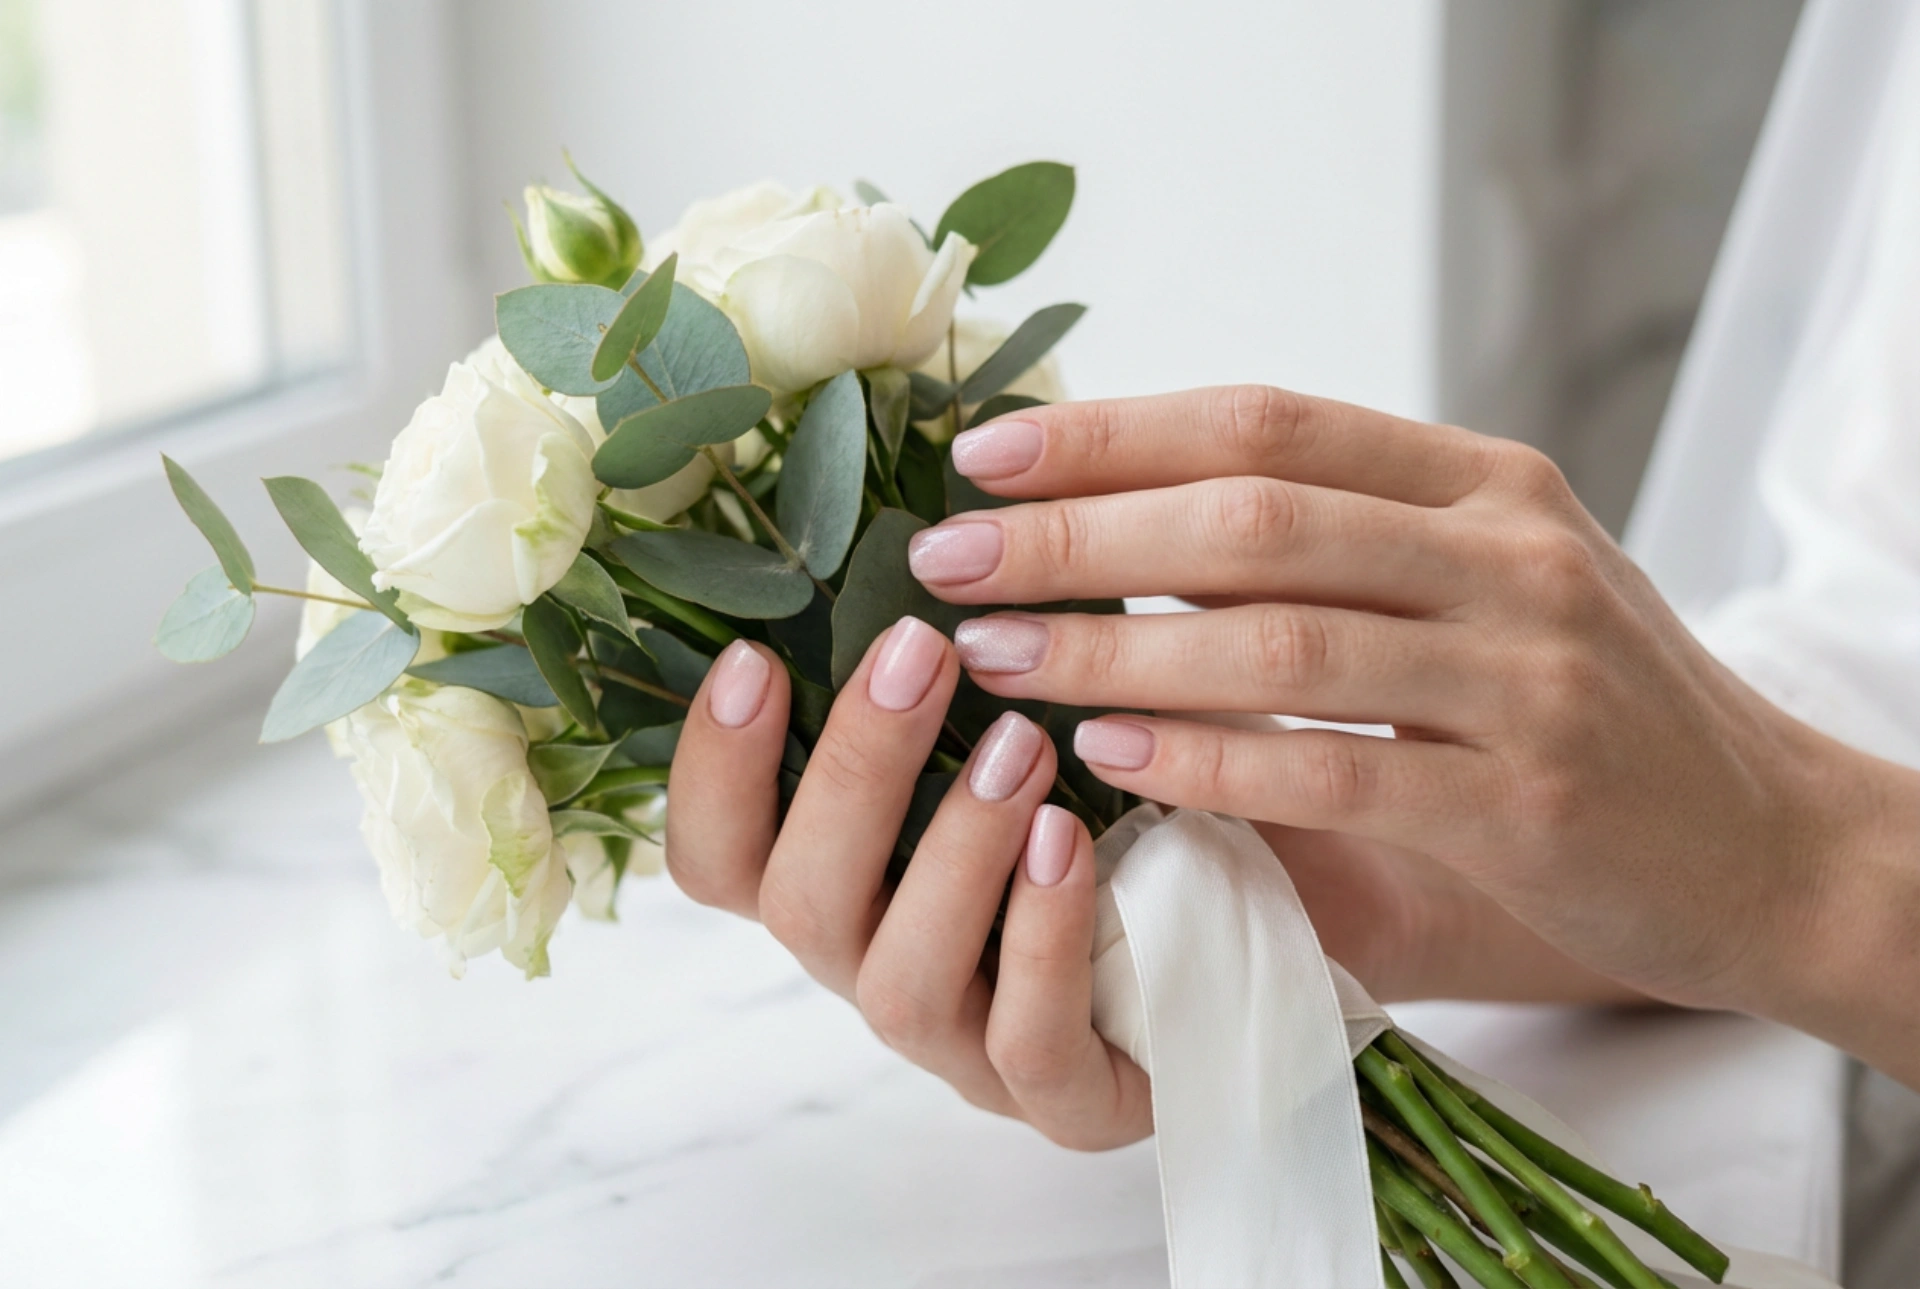


Your wedding day is a collection of beautiful, intimate moments, many of which focus on your hands. From the exchange of rings to holding a delicate bouquet of white roses, your hands are constantly in the spotlight. A close-up of a bride's hands with perfectly manicured, soft pink nails holding her bouquet captures a sense of serene beauty and effortless elegance. To achieve this level of lasting perfection without last-minute panic, a structured plan is essential. Crafting the ideal bridal manicure involves careful timing, trial runs, proper home care, and effective preservation techniques.
The Timeline: When to Begin Your Bridal Hand Care Routine
A flawless manicure relies on the health and condition of your natural nails and the surrounding skin. Starting your preparation early ensures that your hands are smooth, hydrated, and ready for the big day. It is highly recommended to begin a dedicated hand care routine at least four to six weeks before the wedding. This gives your nails ample time to grow stronger and allows any dry skin or cuticle issues to be gently resolved.
- Daily Hydration: Apply a nourishing hand cream several times a day, especially after washing your hands. Look for ingredients that lock in moisture and protect the skin barrier.
- Cuticle Care: Massage a rich cuticle oil into the base of your nails every evening. This softens the skin, prevents painful hangnails, and promotes healthy nail growth.
- Gentle Filing: Avoid using harsh metal files. Instead, opt for a high-quality glass file to shape your nails gently, filing in one direction to prevent peeling and splitting.
The Manicure Trial: Finding Your Signature Bridal Style
Just as you would schedule a hair or makeup trial, a manicure trial is a crucial step in your wedding planning. It eliminates the guesswork and ensures that the final look aligns perfectly with your overall bridal aesthetic. The trial should ideally take place three to four weeks before the wedding, allowing you to test different nail shapes, colours, and finishes in natural light.
During your trial, consider how the nail colour complements your skin tone, your wedding gown, and even your floral arrangements. Soft pinks, classic nudes, and sheer milky white shades are timeless choices that offer a clean, modern aesthetic with a hint of romantic elegance. You can also experiment with a subtle shimmer that catches the light beautifully without overpowering your rings. Take photos of the results in different lighting conditions to see how they will appear in your wedding photographs.
Choosing the Right Formula for Lasting Perfection
When it comes to the execution of your bridal manicure, selecting the right type of polish or technique is key to ensuring it lasts through the ceremony, reception, and beyond. There are several safe, home-friendly options to consider depending on your preference for durability and ease of application.
Classic nail polish is wonderful for its ease of removal and natural feel, but it is more prone to chipping. If you choose standard polish, ensure you use a high-quality base coat to prevent staining and a durable, fast-drying top coat to seal in the colour. For those seeking maximum longevity, long-wear hybrid polishes or gentle gel options provide a high-shine, chip-resistant finish that can easily last for two weeks. Whichever formula you choose, ensure that the application is done in thin, even layers, allowing each layer to dry thoroughly to prevent bubbling.
At-Home Care and Preparation Steps
The day before your manicure application is the perfect time to perform a gentle at-home hand treatment. This prepares the canvas, ensuring that the polish adheres smoothly and lasts as long as possible. Start by gently exfoliating your hands with a mild sugar scrub to remove dead skin cells and reveal a soft, glowing complexion. Rinse thoroughly with warm water and follow with a deeply hydrating hand mask.
Before applying any base coat or colour, it is vital to dehydrate the nail plate slightly. Any residual oils from creams or scrubs can prevent the polish from bonding correctly. Wipe each nail with a clean pad soaked in a gentle nail cleanser. Once the nails are completely clean and dry, you can proceed with your chosen base coat, colour, and protective top coat.
Protecting Your Investment: Post-Manicure Longevity Tips
Once your wedding manicure is complete, the goal is to protect it from any potential damage leading up to the ceremony. Simple daily habits can make a significant difference in preserving that pristine, freshly-polished look.
- Wear Gloves: Always wear protective gloves when doing any household chores, washing dishes, or gardening. Water exposure and household cleaners can weaken the polish and cause premature lifting.
- Apply Top Coat: If you opted for a classic polish, apply a thin layer of clear top coat every two days to refresh the shine and add an extra layer of protection against chips.
- Avoid Using Nails as Tools: Be mindful of how you use your hands. Avoid opening cans, peeling labels, or typing forcefully with the tips of your nails. Use the pads of your fingers instead.
- Moisturise Constantly: Keep your hand cream and cuticle oil nearby. Well-hydrated cuticles look neat and prevent the polish from lifting at the edges.
By following a structured timeline and focusing on consistent, gentle hand care, you can step into your wedding day with complete confidence. Your beautifully manicured hands will not only feel wonderful but will also serve as a serene, elegant detail captured beautifully in your cherished wedding photographs.




