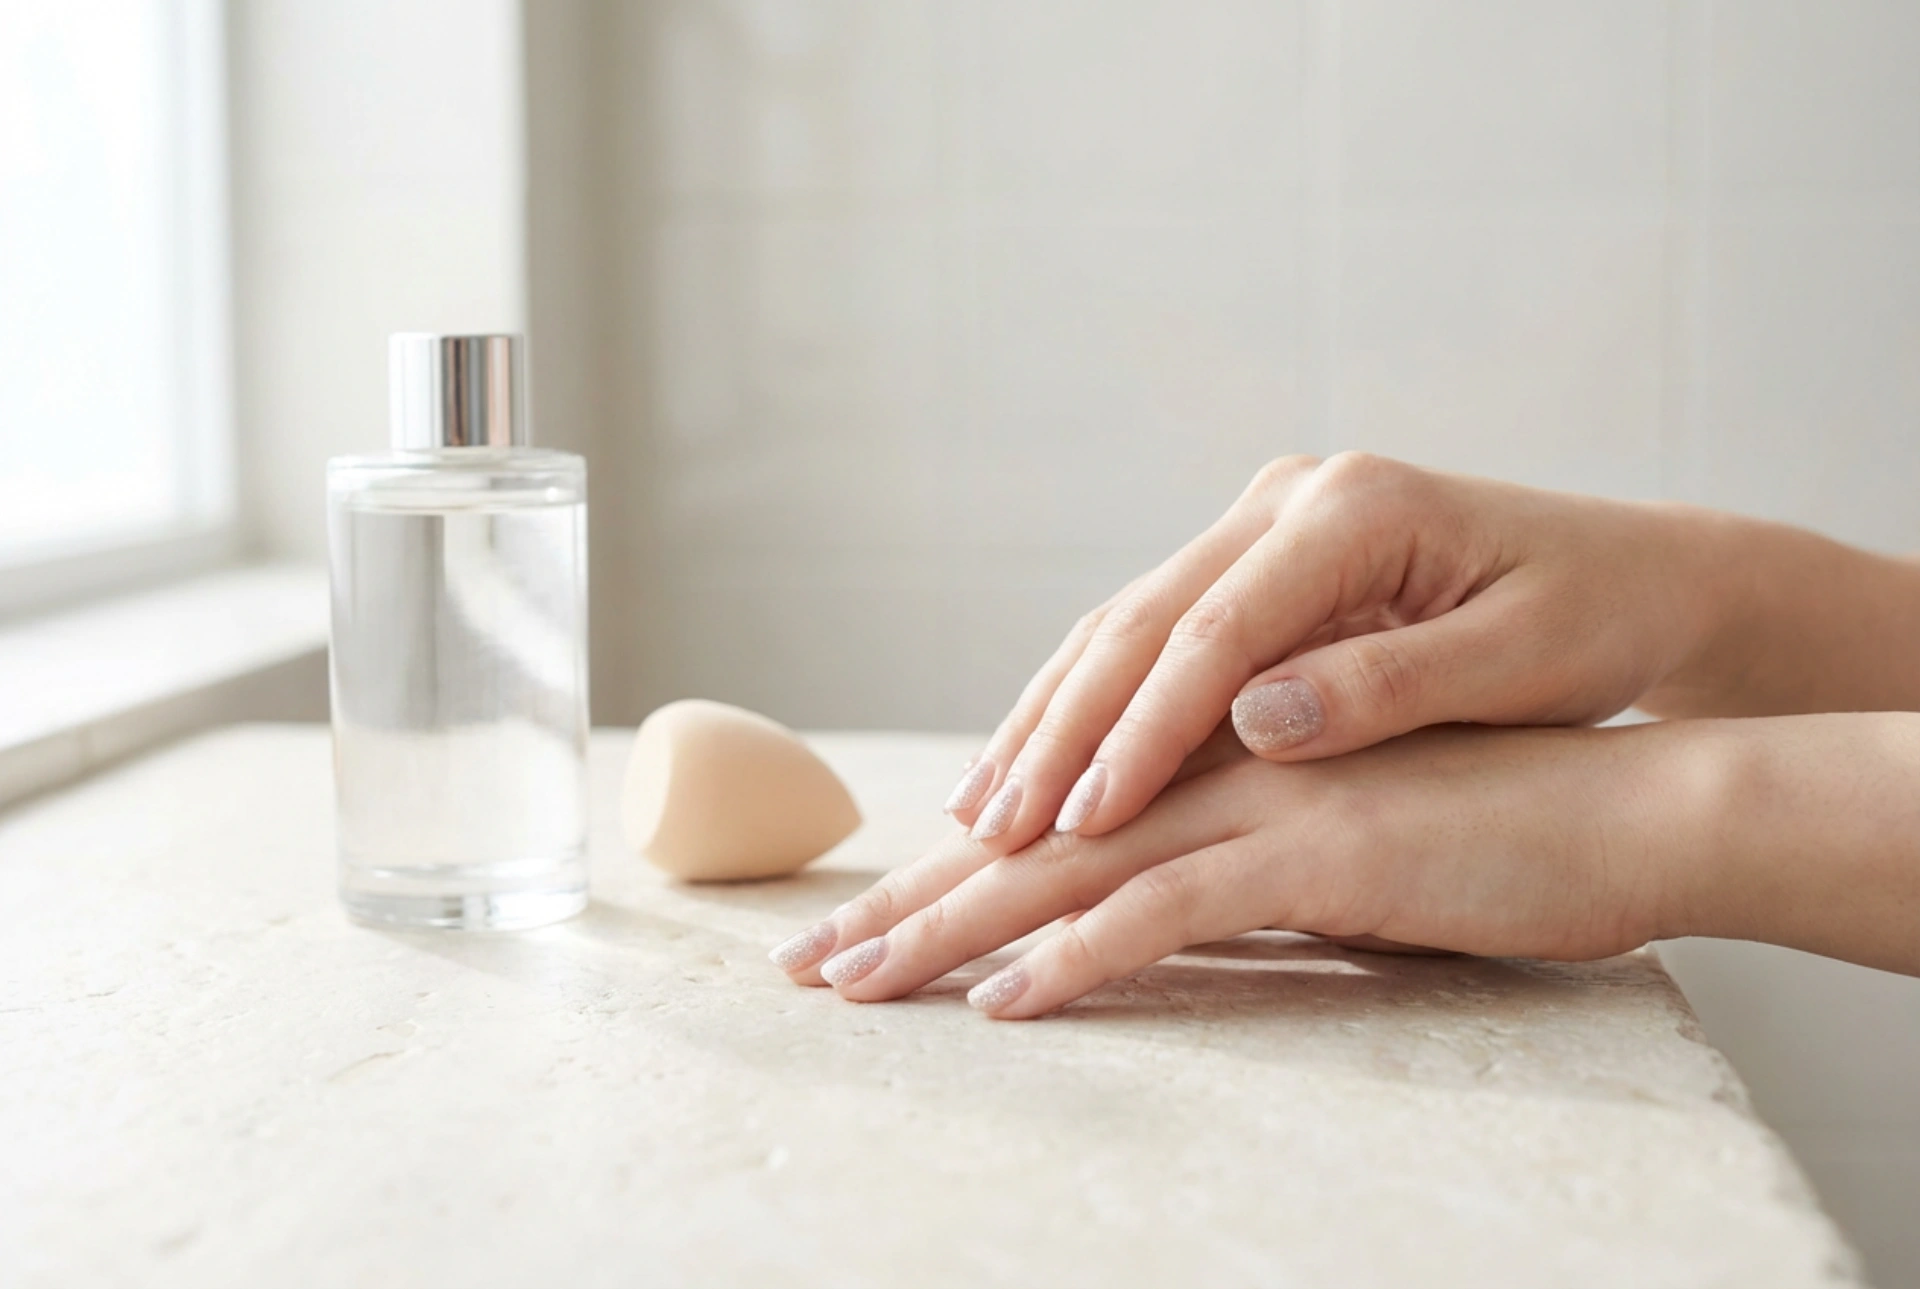


A beautifully executed manicure can instantly elevate your style, adding a touch of sophistication to your daily look. Among the various nail art trends, glitter nail polish remains a timeless favourite for its ability to catch the light and create a dazzling effect. However, achieving a professional, smooth finish with glitter polish at home can sometimes be challenging. Often, the glitter can appear sparse, or the layers can become too thick and uneven. By mastering specific application techniques, such as the sponge method, strategic layering, and proper smoothing, you can achieve a flawless, salon-quality shimmer from the comfort of your own home.
The Sponge Method for Maximum Density
When applying glitter polish straight from the bottle with a brush, the clear base liquid often outweighs the glitter particles. This can result in a patchy finish that requires multiple coats, leading to a bulky and easily chipped manicure. To overcome this, the makeup sponge method is a highly effective alternative that ensures maximum glitter density with minimal effort.
To try this technique, you will need a small, clean beauty sponge or a makeup wedge. Start by applying a protective base coat to your natural nails to prevent staining and to create a smooth surface. Once the base coat is dry, apply a generous amount of glitter polish directly onto the corner of the sponge. The porous material of the sponge will absorb the excess liquid base, leaving a highly concentrated layer of glitter on the surface.
Gently press and dab the glitter-laden sponge onto your nail. Repeat this process until you achieve the desired coverage. Because the sponge removes the excess wet polish, you can build up a dense layer of sparkle without the drying time associated with thick coats of traditional liquid polish.
The Classic Layering Technique
If you prefer a more subtle, delicate shimmer rather than a solid metallic effect, the classic layering technique is the ideal approach. This method allows you to customise the intensity of the glitter and can create a beautiful depth of colour.
- Choose a Base Colour: Apply one or two coats of a solid, opaque nail polish as your base. Neutral tones, soft pinks, or deep shades work exceptionally well to make the glitter stand out.
- Apply Thin Glitter Layers: Once the base colour is dry, wipe most of the polish off the glitter brush and apply a thin, even layer across the nail. This scattered placement creates a sophisticated, understated sparkle.
- Focus on Placement: For a modern twist, you can concentrate the glitter at the tips of the nails for an ombré effect, or near the cuticles for a reverse French manicure look.
Achieving a Perfectly Smooth Finish
One of the main drawbacks of glitter nail polish is its textured, rough surface when dry. This rough texture can snag on clothing and easily catch on daily items, causing the polish to chip prematurely. Achieving a smooth, glossy finish requires the correct sealing technique.
The key to smoothing out textured glitter is the application of a high-quality top coat. Traditional top coats may sink into the crevices of the glitter as they dry, so applying a slightly thicker, gel-effect top coat can help to fill in the gaps. For highly textured glitters, you may need to apply two layers of top coat, ensuring the first layer is completely dry before applying the second.
For an ultra-smooth finish, some beauty enthusiasts recommend a gentle buffing process. Once the glitter and a single layer of top coat are thoroughly dry, you can very lightly buff the surface of the nail with a fine-grit buffer to remove any protruding glitter edges. After wiping away any dust, apply a final, glossy top coat to lock in the shine and protect your manicure.
Safe and Easy Removal at Home
While glitter polish is incredibly durable, removing it can often feel like a chore. Scraping or picking at the glitter can damage the top layers of your natural nail plate. A safe, non-invasive removal method is essential for maintaining nail health.
To remove stubborn glitter easily, soak small pieces of cotton wool in standard nail polish remover. Place a soaked cotton pad over each nail, and wrap the fingertip in a small piece of aluminium foil to keep it in place. Leave the foil wraps on for about five to ten minutes. This allows the remover to break down the polish base completely. When you gently slide the foil and cotton off, the glitter should slide off smoothly without any harsh scraping required.




