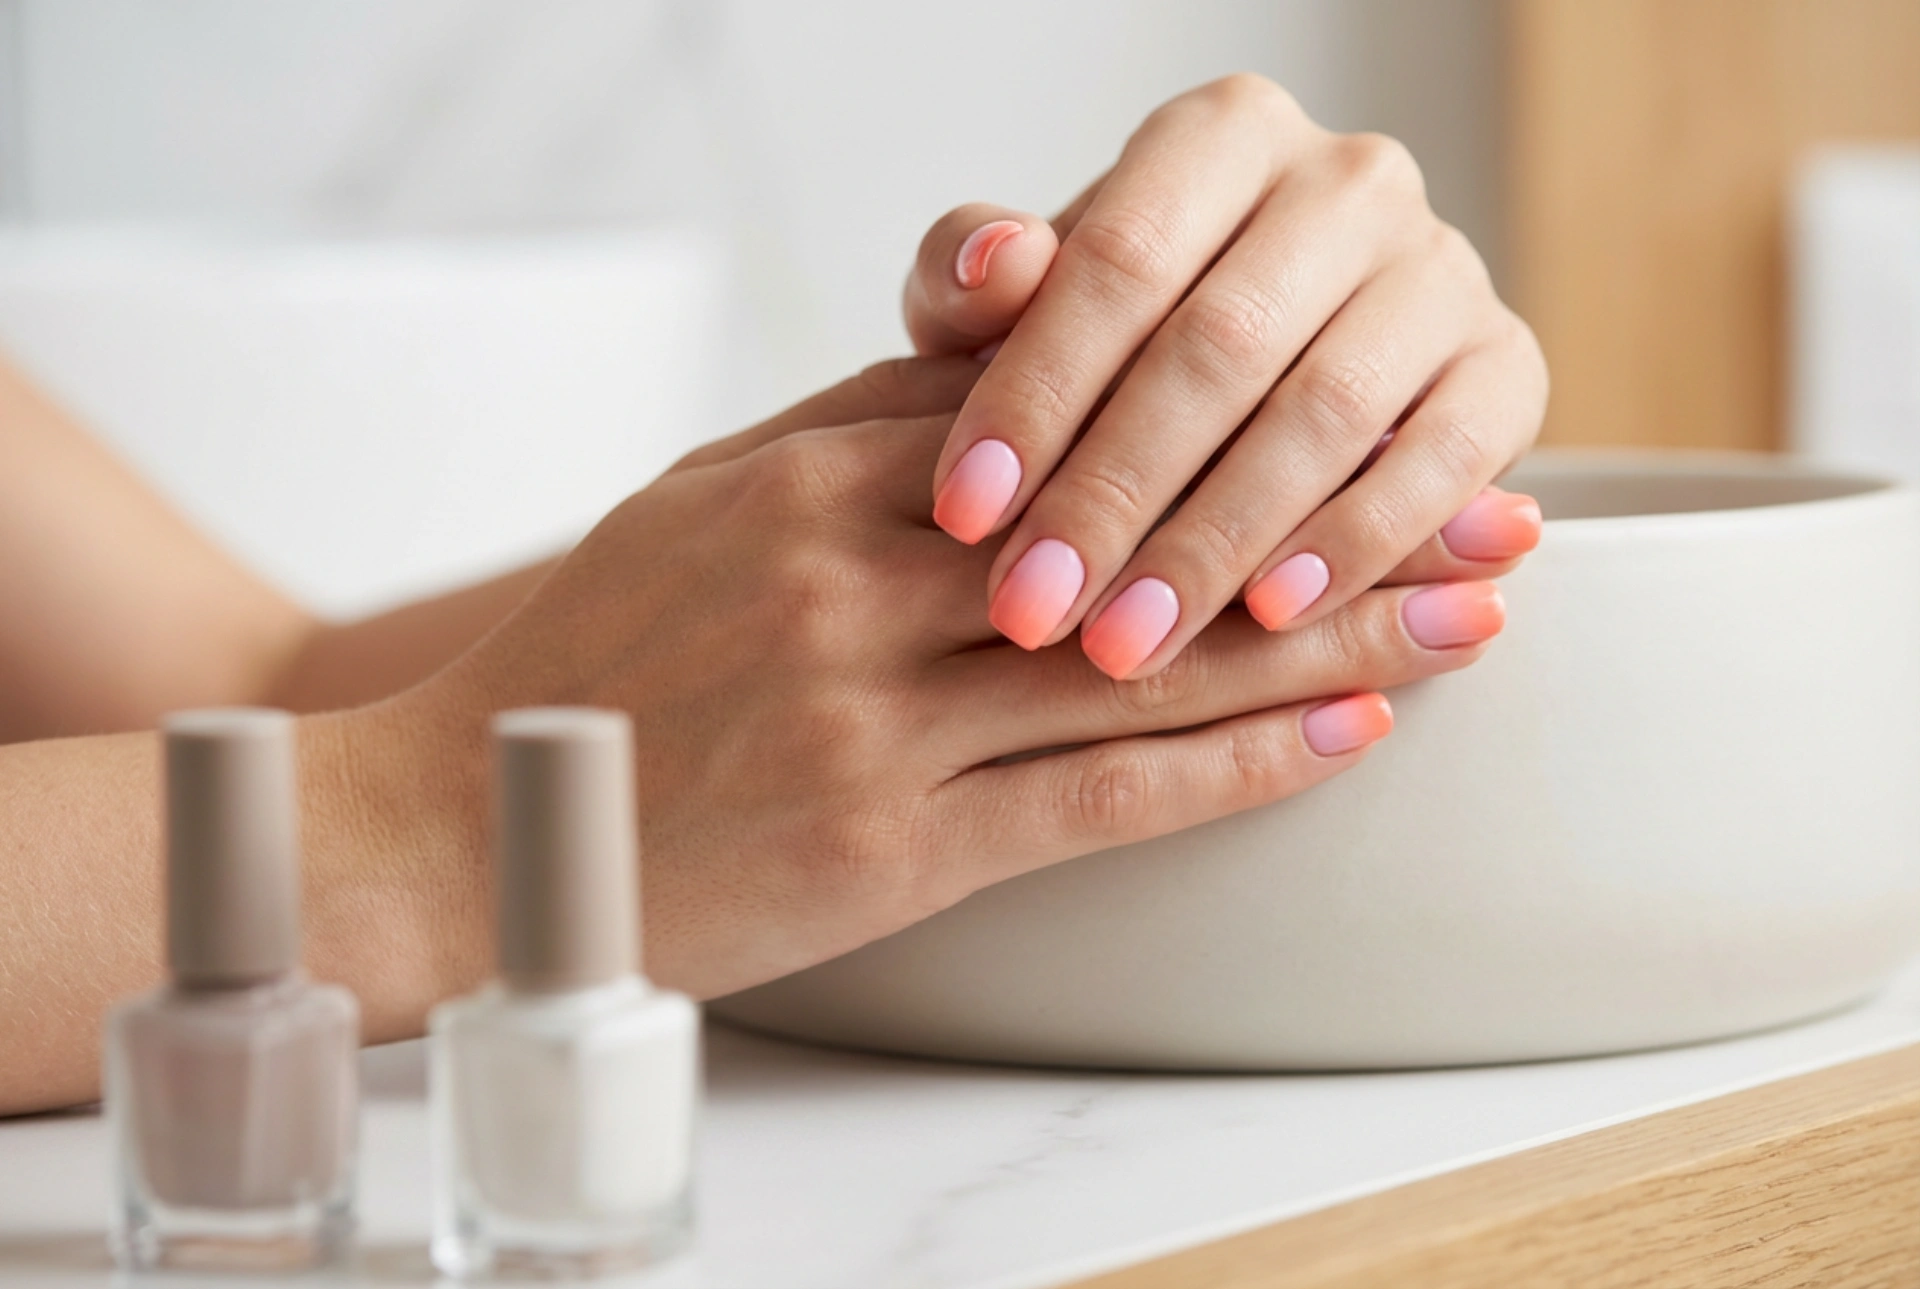


A beautiful summer manicure is the perfect way to express your seasonal style, especially when featuring a vibrant blend of warm, sunny shades. Imagine the seamless transition from a delicate pastel pink to a radiant, sunny coral, perfectly captured under soft natural light. This effortless, stylish look has made ombre nails a staple of summer beauty. Achieving this gradient effect at home is much simpler than it seems, allowing you to enjoy salon-quality results without complex tools.
The Magic of Summer Ombre Nails
Ombre nails, also known as gradient nails, involve blending two or more shades together to create a smooth transition from one colour to another. During the warmer months, this technique becomes particularly popular as it allows for playful combinations of bright, pastel, and neon tones. The beauty of the summer ombre lies in its versatility. It can look incredibly elegant and subtle with muted pastels, or bold and eye-catching with highly saturated hues. Unlike solid colours, a gradient manicure adds depth and dimension to your nails, making them a focal point of any summer outfit.
Unlike complicated nail art designs that require a steady hand and hours of precision, the ombre technique is highly forgiving. Minor imperfections can easily be blended away, making it an excellent project for beginners and seasoned DIY enthusiasts alike. With just a few basic tools and a bit of patience, you can create a professional-looking finish that perfectly complements the sunny season.
Fresh Colour Combinations for the Season
Choosing the right colour palette is key to creating a harmonious ombre effect. While you can mix almost any shades, some combinations naturally evoke the spirit of summer. Here are a few fresh and stylish pairings to try at home:
- Pastel Pink and Sunny Coral: This is a classic, ultra-feminine combination that mimics the warm glow of a summer sunset. The softness of the pink blends beautifully into the richness of the coral, creating an elegant yet vibrant look.
- Mint Green and Lemon Yellow: A refreshing and energetic pairing that feels incredibly cool on hot days. It resembles a delicious summer sorbet and looks fantastic against sun-kissed skin.
- Soft Lilac and Sky Blue: If you prefer cooler tones, this dreamy combination offers a serene, cloud-like aesthetic. It is perfect for those who want a subtle yet stylish manicure.
- Peach and Warm Nude: For a more understated look, blending a soft peach with a neutral nude base creates a sophisticated gradient that is suitable for both professional environments and beach holidays.
When selecting your colours, try to choose formulas with similar consistencies and opacity. This ensures that the two polishes blend together smoothly rather than sitting in distinct, uneven layers on the nail plate.
A Quick Step-by-Step Sponge Technique
The most accessible and effective way to achieve a seamless gradient at home is by using a simple makeup sponge. This technique distributes the polish evenly and helps blur the boundary between the two shades. Follow these simple steps for a flawless application:
Step 1: Prep and Base Coat
Start by preparing your nails. Shape them with a file, gently push back the cuticles, and clean the nail plate with a gentle cleanser to remove any natural oils. Apply a thin layer of protective base coat to shield your natural nails and ensure long-lasting wear. Once dry, apply one or two layers of your lighter choice of polish as the base colour. Letting this base dry completely is crucial for the next steps.
Step 2: Preparing the Sponge
Take a small, clean makeup sponge (a latex wedge works best). Lightly dampening the sponge with water and squeezing out the excess can prevent it from absorbing too much polish. Paint two horizontal stripes of your chosen colours directly onto the edge of the sponge, slightly overlapping them where they meet. This overlap is where the magic of the transition happens.
Step 3: Transferring the Gradient
Gently dab the sponge onto your nail, moving it slightly up and down to blend the transition line. Do not press too hard, as this can create air bubbles or strip away the base polish. It is better to build up the intensity in thin layers. Apply the first layer, let it dry for a minute, then reapply polish to the sponge and dab again. Usually, two to three thin layers are sufficient to achieve a vibrant, opaque finish.
Step 4: Cleanup and Top Coat
Using a sponge can be slightly messy, as polish will likely get onto the surrounding skin. You can protect your skin beforehand with a barrier cream or simply clean up afterwards using a small brush dipped in mild polish remover. To finish, apply a generous layer of high-shine top coat. The top coat is the most important step in an ombre manicure, as it melts the colours together, smoothing out any texture left by the sponge and creating a glass-like finish.
Essential Tips for a Flawless Gradient
To ensure your summer ombre looks professional and lasts as long as possible, keep these practical tips in mind. Firstly, always work in thin layers. Heavy layers of polish take a long time to dry and are highly prone to smudging and bubbling. Secondly, ensure your top coat is applied while the gradient layers are slightly tacky but not completely wet; this helps the colours fuse together more seamlessly. Lastly, always seal the free edge of your nail with both the base colour and the top coat to prevent premature chipping during summer activities.




