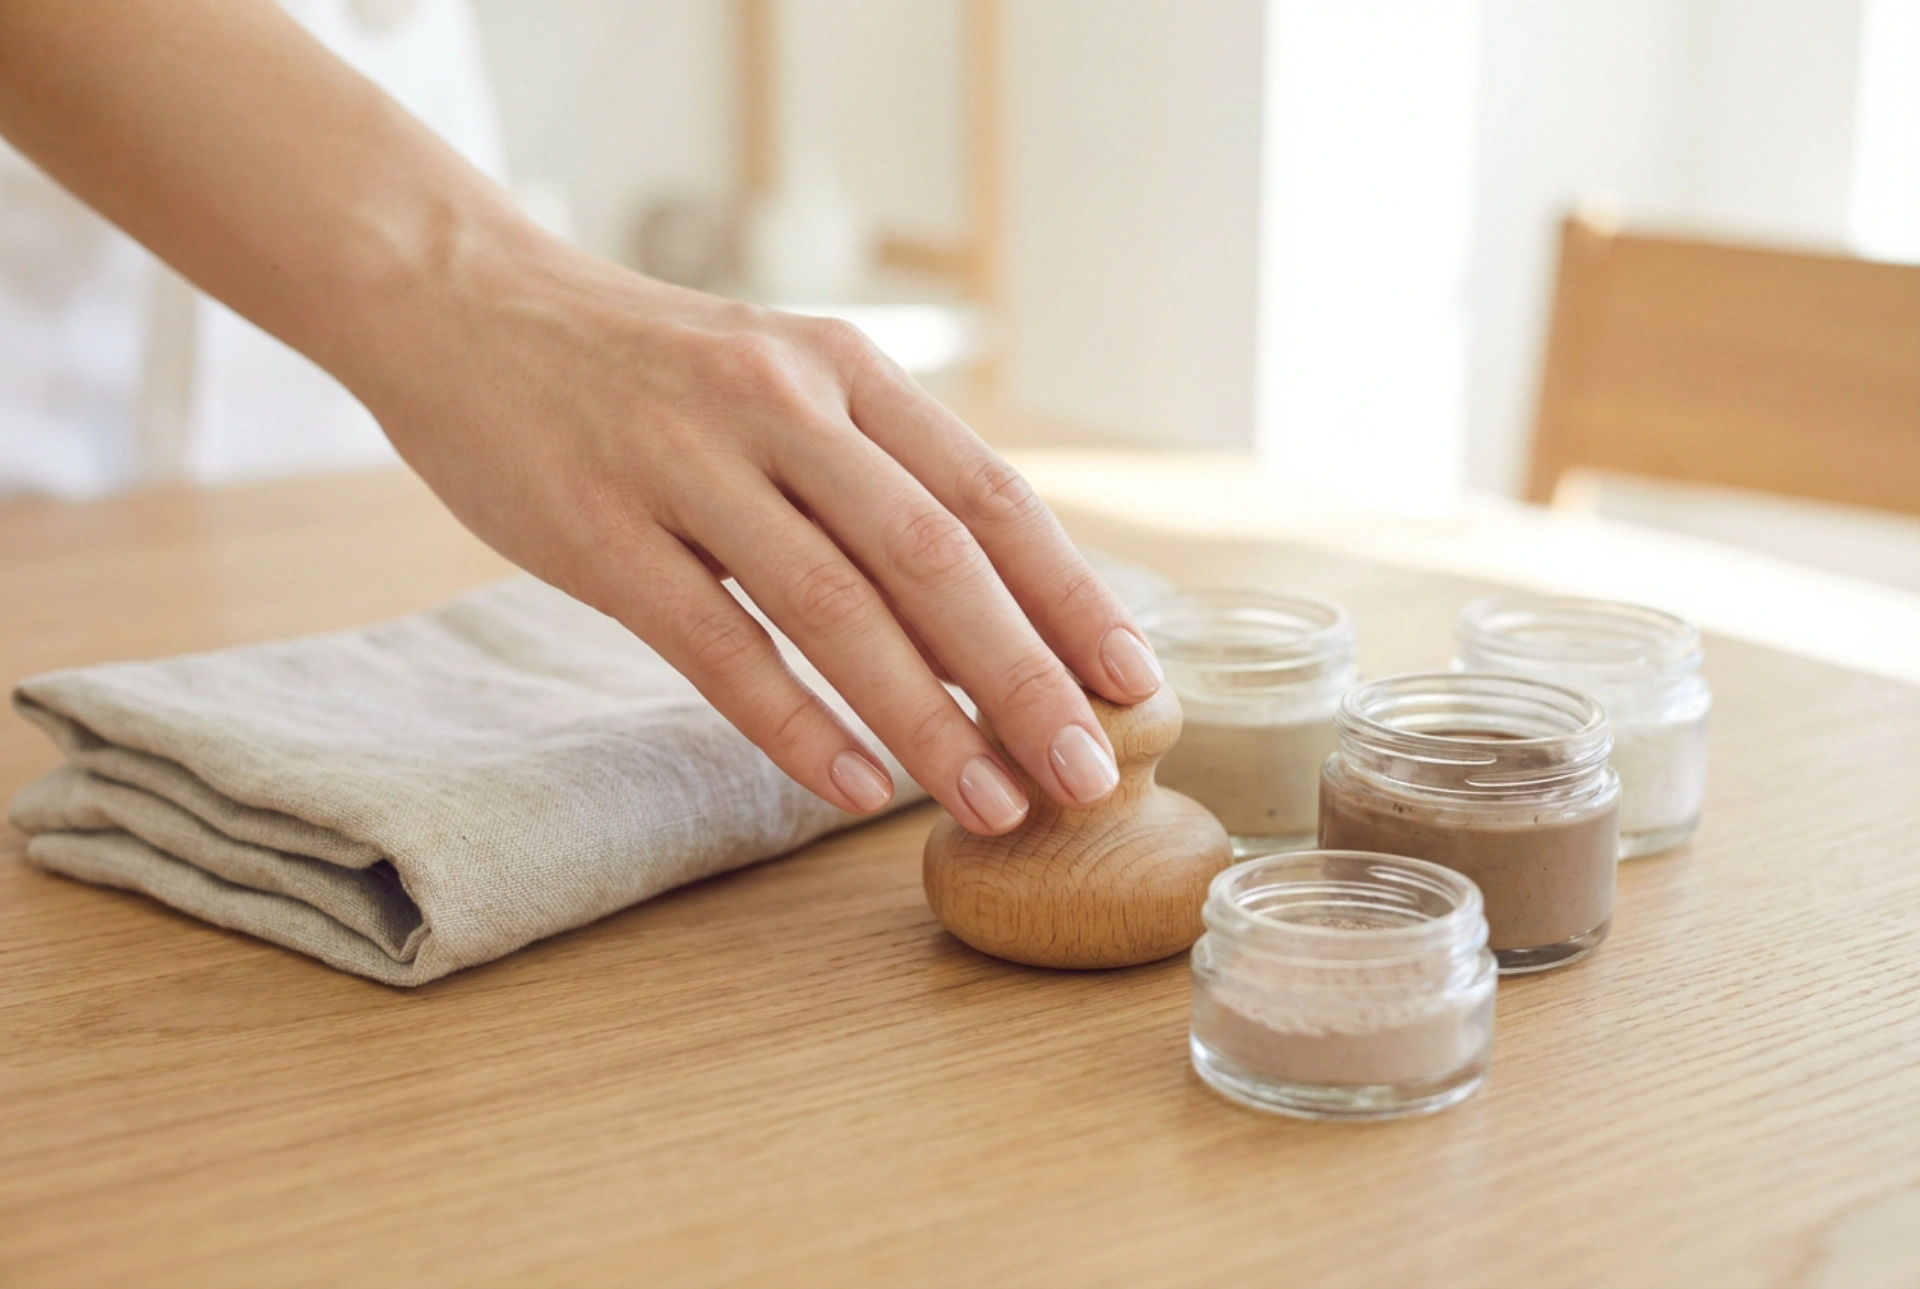


The pursuit of healthy, naturally radiant nails has brought traditional care rituals to the forefront of modern beauty. Among these, the Japanese manicure stands out as a highly effective method to enhance the natural appearance of the nail plate without relying on synthetic varnishes or harsh chemicals. This elegant technique focuses on deep nourishment and gentle polishing, resulting in a unique, pinkish-pearl gloss. Performing this ritual at home is remarkably simple with the right kit, but achieving the best results requires understanding the correct order of product application and the precise role of each tool.
What is a Japanese Manicure?
Originating from ancient traditions, this beauty method was designed to strengthen weak, brittle, or uneven nails. Instead of masking imperfections with layers of colour, it focuses on feeding the nail plate with essential nutrients. The core of the treatment lies in buffing natural ingredients, such as beeswax, silica, diatomaceous earth, and keratin, directly into the nail surface. This process smooths out ridges, seals micro-damage, and stimulates local circulation, promoting healthy-looking nail growth.
The Core Components of an At-Home Kit
A standard Japanese manicure kit is instantly recognizable by its minimalist and refined packaging. Inside, you will find specific tools and formulations that work in tandem to transform your nails:
- Nourishing Paste: Often green in colour, this rich paste contains minerals, vitamins, and wax. It is designed to penetrate deep into the nail plate to nourish and smooth its surface.
- Polishing Powder: Usually pink or white, this fine powder is applied after the paste. Its primary function is to seal the nutrients inside the nail plate and create a protective, water-resistant barrier.
- Specific Buffers: The kit typically includes two distinct buffing tools, often covered in high-quality deer hide or delicate leather, specifically designed to apply the paste and powder without scratching the nail.
- Double-Sided Files and Spatulas: Used for gentle shaping of the free edge and pushing back the cuticles before the main treatment begins.
Step-by-Step Order of Application
To enjoy the maximum benefits of this natural treatment, it is vital to follow the correct sequence of steps. Rushing the process or skipping a stage can diminish the longevity of the glossy effect.
Step 1: Preparation and Shaping
Begin by thoroughly washing and drying your hands. Use a gentle file to shape your nails to the desired length and curve. Next, use a wooden spatula or cuticle pusher to gently push back the cuticles. It is recommended to lightly roughen the surface of the nail plate with a fine-grit buffer. This step is crucial because it gently lifts the nail scales, allowing the nourishing ingredients in the paste to penetrate deeply.
Step 2: Rubbing in the Paste
Using the spatula, apply a very small amount of the green nourishing paste onto the nail plate. Take the dedicated buffer (typically the one matching the paste colour) and begin rubbing the product into the nail. Always buff in one direction rather than back and forth, as this aligns the nail fibres and ensures a smoother finish. Continue until the paste has completely vanished into the plate, leaving a smooth, slightly satin surface.
Step 3: Sealing with the Powder
Once all nails have been treated with the paste, it is time to seal the moisture and nutrients. Apply a small quantity of the polishing powder to the nail. Use the second buffer to polish the powder into the plate. Again, work in one direction. You will quickly notice a brilliant, glassy sheen developing. This step locks in the vitamins and creates a protective shield that keeps the shine intact for up to three weeks.
The Immediate and Long-Term Results
Immediately after the treatment, your nails will showcase a stunning, natural glow resembling a clear topcoat. They will feel remarkably smooth to the touch and appear visibly healthier. Over time, consistent use of a Japanese manicure kit helps to rebuild damaged structures, prevent splitting, and reduce brittleness. It is an excellent recovery treatment for nails that require a break from long-term cosmetic enhancements, allowing them to regenerate naturally while maintaining a highly polished and professional appearance.
Maintaining the Lustre and Frequency
To keep your nails in optimal condition, the treatment should be repeated every two to three weeks. This frequency aligns with the natural growth cycle of the nail. During subsequent sessions, you only need to apply the paste and powder to the newly grown part of the nail plate, as the polished tip will retain its beautiful shine. Avoid applying traditional nail polishes or removers immediately after the treatment, as the protective wax layer will prevent the polish from adhering properly and the chemicals may strip away the nourishing oils. Embrace this natural, minimalist approach to hand care and enjoy a truly radiant, elegant look.




