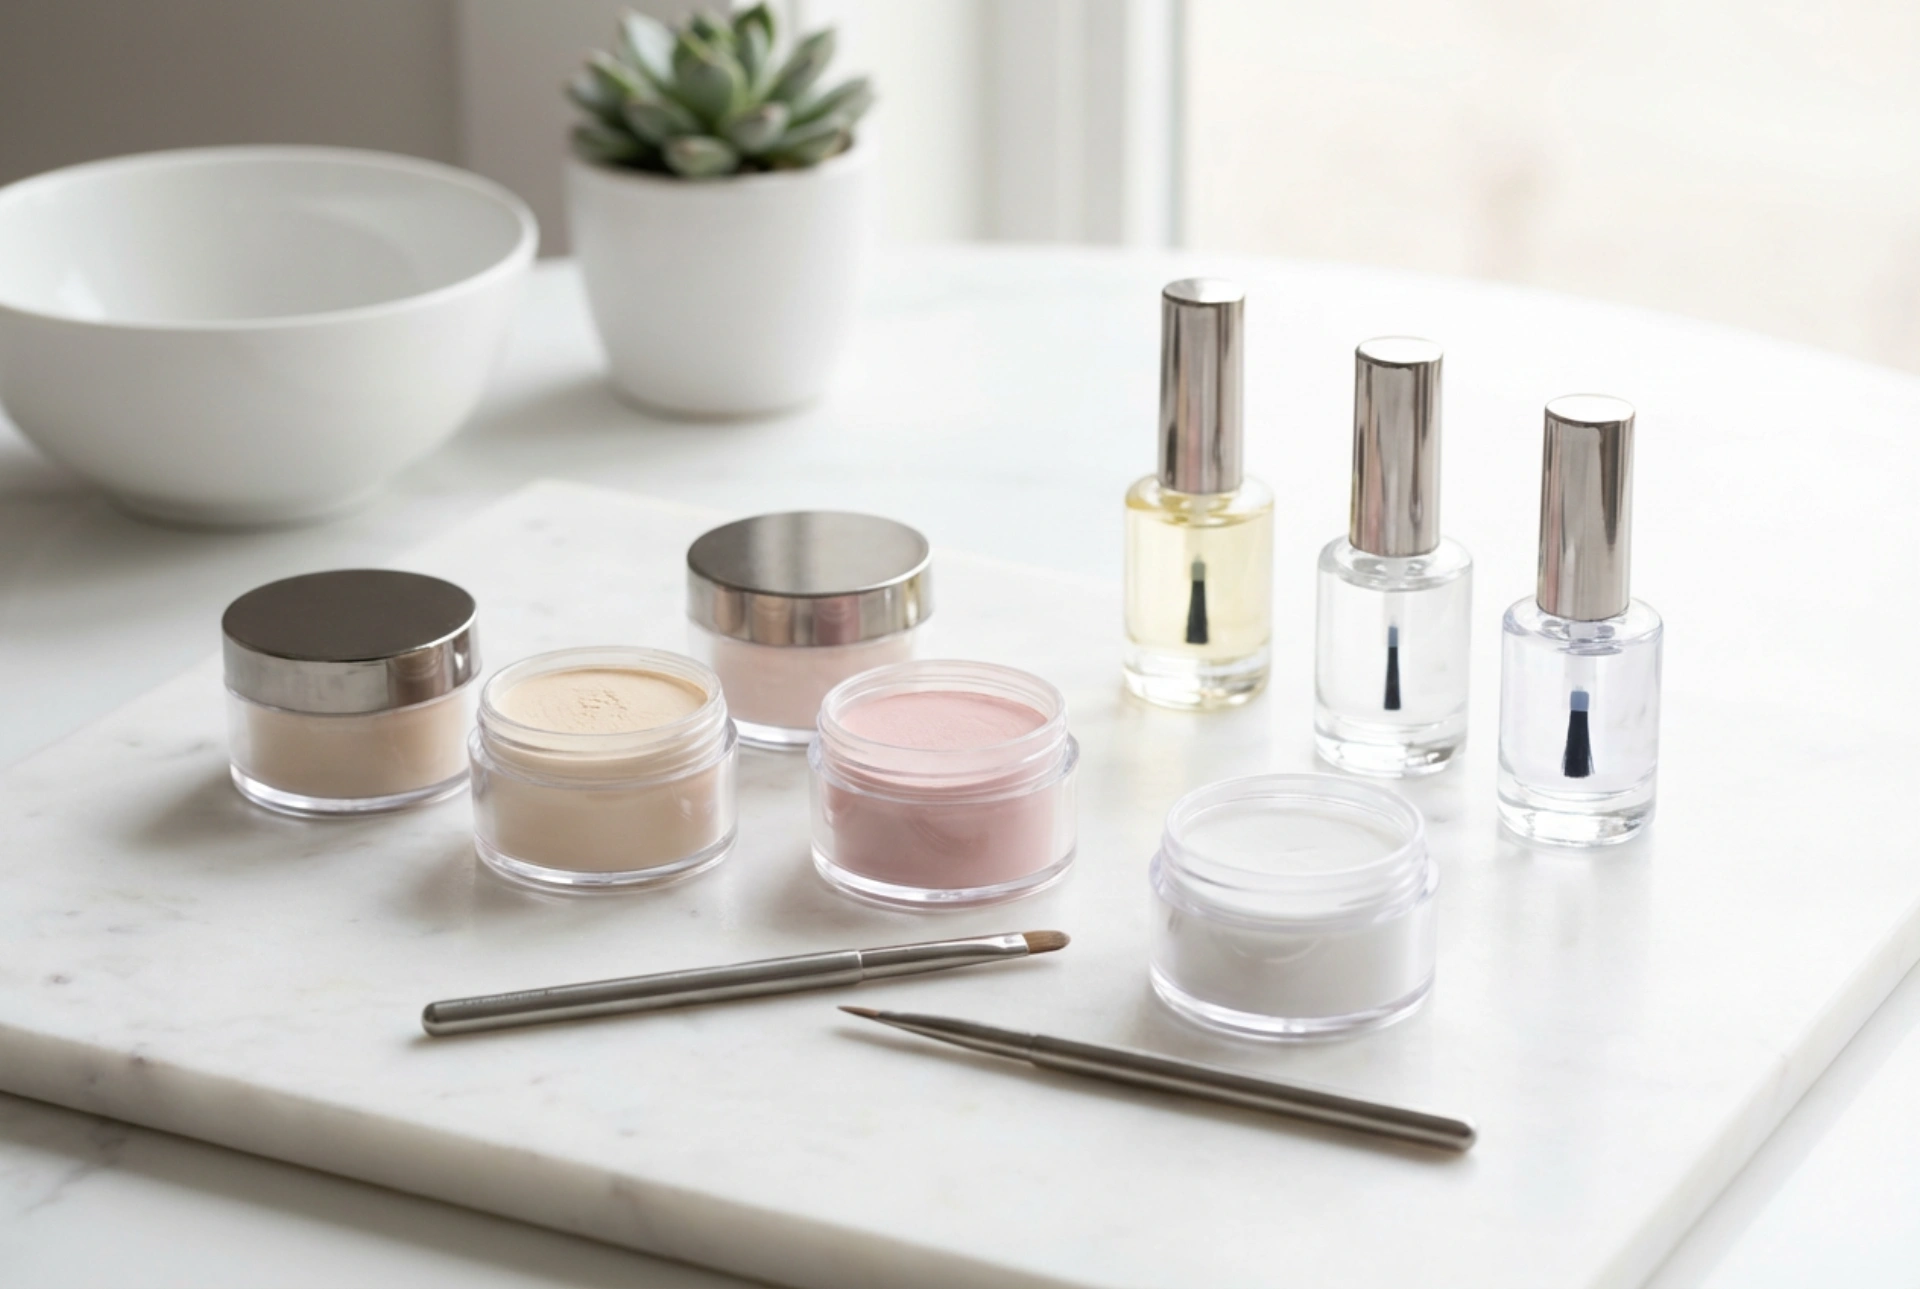


Creating a peaceful, dedicated space for personal grooming can turn a routine task into a calming, mindful beauty ritual. When you look at a beautifully arranged set of neutral-toned powders, delicate bonding liquids, and sleek application tools basking in soft natural light, it is easy to see why the modern home manicure has become so popular. Among the various techniques available today, the titanium manicure—commonly referred to as the dip powder method—has gained immense appreciation for its durability, simplicity, and the lack of a need for UV light curing. Starting your journey with a home kit allows you to achieve elegant, salon-like results in the comfort of your own living room.
What is a Titanium Manicure?
The titanium manicure is an innovative nail-styling technique that relies on finely milled acrylic powders enriched with nourishing compounds like calcium and vitamins. Unlike traditional gel or hybrid manicures, this process does not require exposure to ultraviolet (UV) or light-emitting diode (LED) lamps to dry. Instead, the layers are hardened through a chemical reaction between the liquid base, the powder itself, and a specialised activator solution. This unique application method provides a highly durable layer that protects the natural nail plate from mechanical damage, while delivering a lightweight, natural-looking finish that can last for several weeks.
What Does a Complete Starter Kit Contain?
When you open an elegant, unbranded starter set for the first time, you will find an assortment of carefully designed liquids and powders. Understanding the role of each component is the key to achieving a flawless and long-lasting finish. A standard kit typically includes the following essential items:
1. The Preparatory and Bonding Liquids
A series of numbered or clearly labelled bottles forms the backbone of the entire application process. First, there is the primer or dehydrator, which prepares the nail surface by removing excess oils and moisture. Next is the base gel, a strong adhesive liquid designed to hold the fine powder particles. The activator or catalyst is a crucial solution that initiates the curing process, instantly hardening the combined base and powder layers. Finally, the top coat seals the entire structure, providing a high-gloss or matte protective shield that prevents chipping and fading.
2. The Colour and Base Powders
The heart of the kit lies in the jars of specialised polymer powders. A basic set usually contains a translucent base powder, which is used as a foundation to build strength and protect the nail plate, along with several jars of coloured pigments. These powders are exceptionally fine, allowing them to adhere smoothly and evenly to the wet base liquid without creating unwanted lumps or an excessively thick profile.
3. Essential Application Tools
To ensure a precise application, starter kits also feature a selection of practical accessories. You will find a soft dusting brush used to sweep away excess powder between coats, a fine-grit nail file for shaping, and a buffer to smooth out the surface before applying the final top coat. Many sets also include a brush saver liquid, which helps clean and restore the delicate bristles of your base and top coat brushes if they accidentally become stiff during application.
A Step-by-Step Guide to Your First Application
Starting your first titanium manicure at home is a simple process that requires patience and attention to detail. By following these steps, you can ensure a professional, clean result that lasts:
- Preparation: Begin by gently pushing back your cuticles and shaping your nails with a file. Use a buffer to lightly remove the natural shine from the nail surface, as this helps the liquids adhere properly. Cleanse the nails thoroughly to remove any dust.
- Applying the Base and Powder: Apply a thin, even layer of the base gel to about three-quarters of the nail plate, avoiding the cuticle line. Gently dip the nail into the clear base powder at a forty-five-degree angle, tap off the excess, and sweep away any loose particles with the soft brush. Repeat this process with the coloured powders, moving closer to the cuticle with each layer to create a natural, tapered thickness.
- Activating: Once you have achieved the desired opacity and thickness—usually after two coats of colour—apply a generous layer of the activator liquid. Allow it to air-dry completely for a couple of minutes until the surface feels hard.
- Refining and Sealing: Use your nail file and buffer to smooth out any unevenness and refine the shape of your nails. Wipe away any filing dust, apply a second light layer of activator, and wait for it to dry. Finish by applying two thin layers of the protective top coat to lock in the shine.
Caring for Your Tools and Ensuring a Gentle Removal
To keep your kit in pristine condition and protect your natural nails, proper maintenance and safe removal practices are essential. Always wipe the necks of your liquid bottles clean before sealing them, as any leftover residue can glue the caps shut permanently. When it is time to change your style, avoid the temptation to peel or scrape off the product, as this can damage the underlying nail layers. Instead, gently buff the shiny top coat off, and soak your fingertips in standard cosmetic acetone for fifteen to twenty minutes. The hardened powder will soften into a gel-like consistency, allowing you to wipe it away gently without causing any unnecessary stress to your natural nails.




