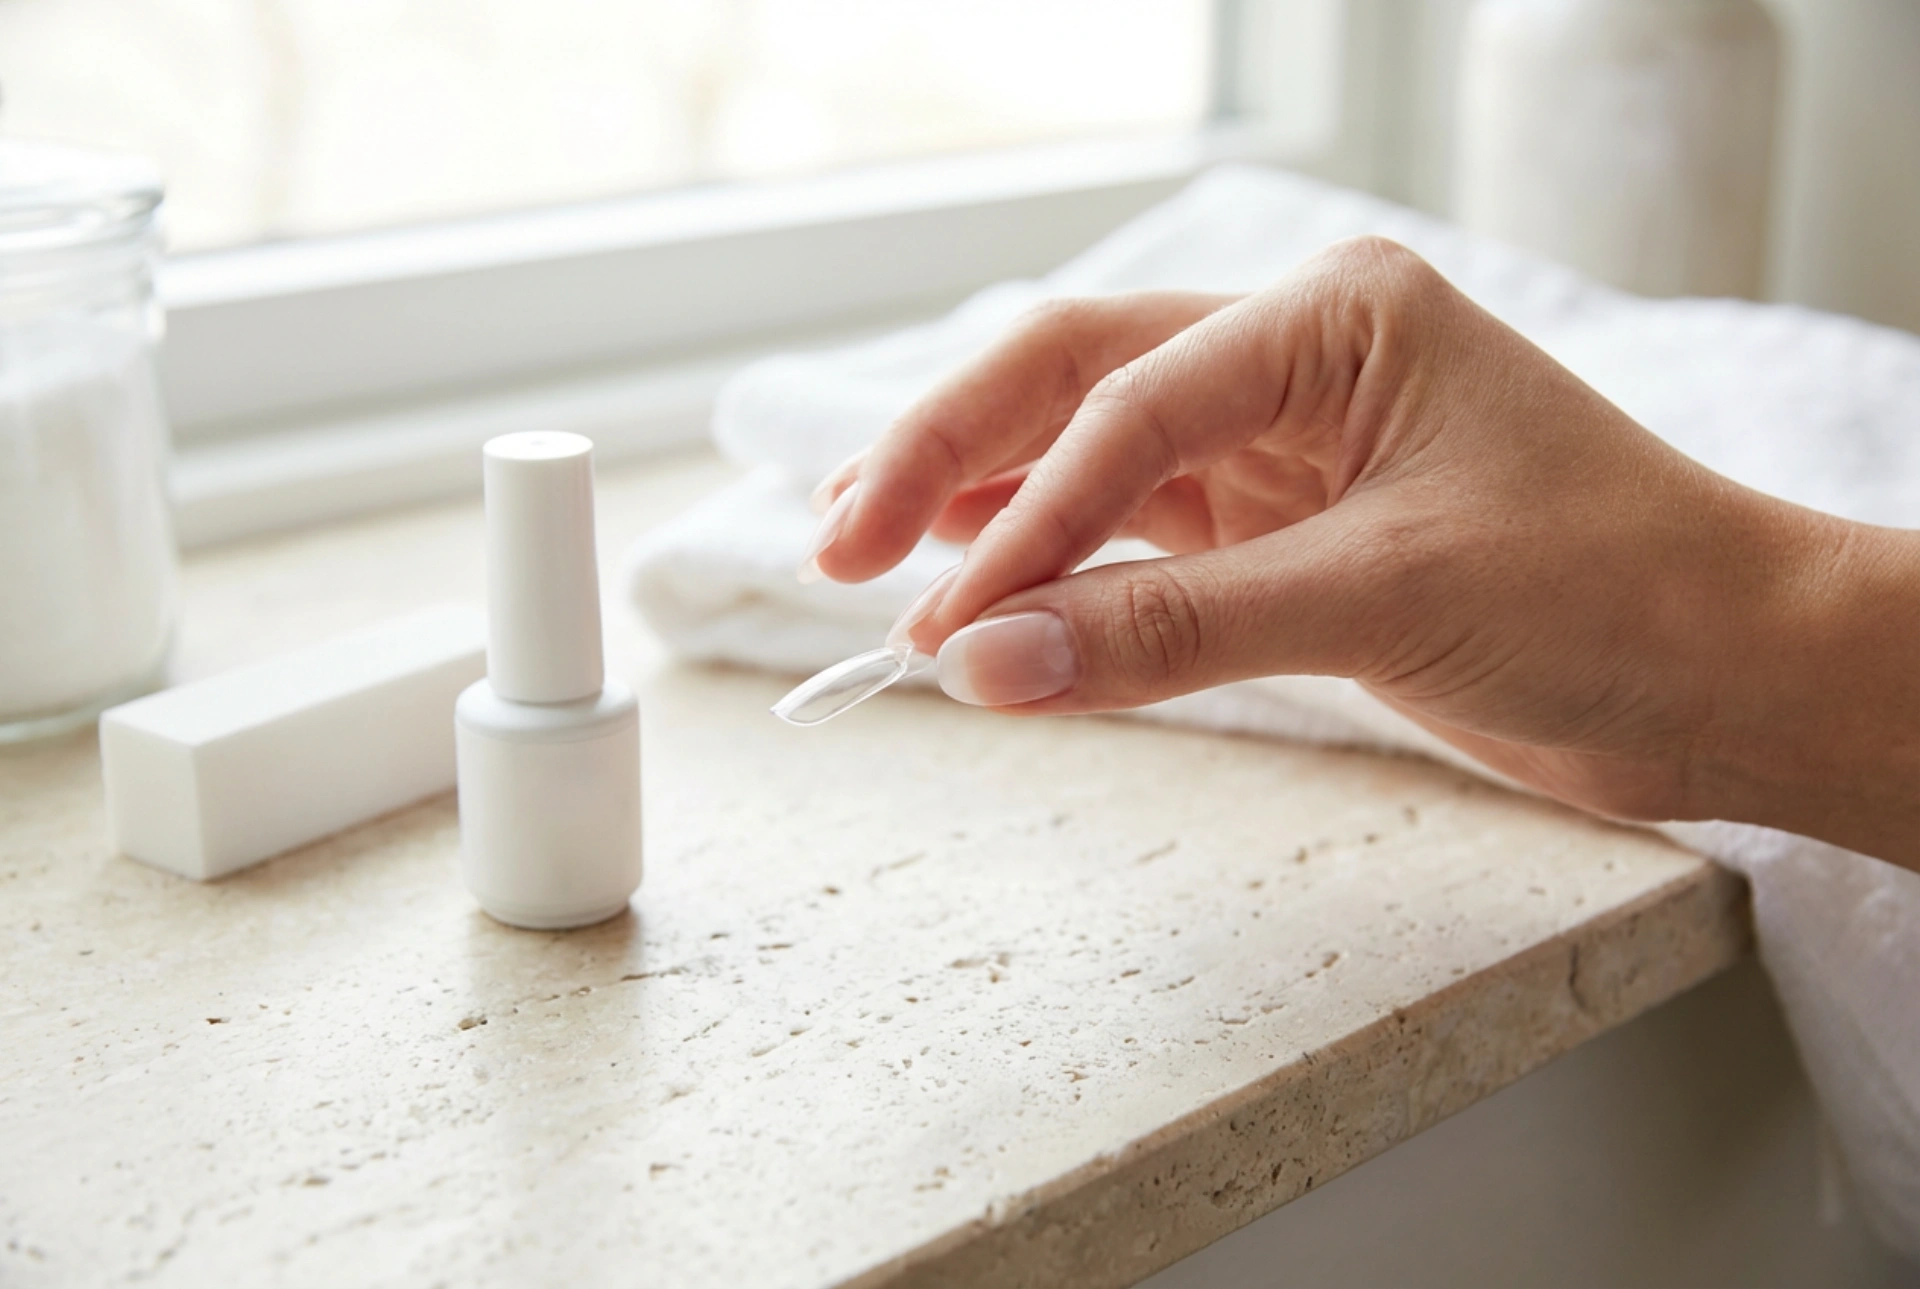


In the world of modern manicures, clear nail tips have become a popular choice for achieving an elegant, glass-like aesthetic. The beauty of transparent tips lies in their versatility, offering a clean, minimalist canvas that highlights the natural elegance of the hands. Applying these tips meticulously, surrounded by simple tools such as a gentle buffer and clear adhesive under soft light, turns nail care into a soothing, mindful ritual. However, getting a seamless, long-lasting finish requires understanding the technical steps, from shaping and preparing the nail to safe application and sealing.
Selecting the Ideal Shape for Clear Nail Tips
Choosing the right shape is the foundation of any successful manicure. Because clear tips reveal the natural nail underneath, selecting a style that complements both your hands and your nail beds is essential for a harmonious look. There are several classic shapes to consider:
- Oval and Almond: These shapes are highly versatile and universally flattering. They elongate the fingers and mirror the natural curve of the cuticle, providing a soft and sophisticated look.
- Square: Featuring straight edges and a flat top, the square shape offers a modern, structural appearance. It works exceptionally well for individuals with long nail beds.
- Squoval: A blend of square and oval, this shape provides the strength of a square nail with softened, rounded corners, making it highly durable for daily activities.
- Coffin or Ballerina: Tapered towards the top with a flat tip, this contemporary shape is perfect for those who prefer longer nails with a touch of drama.
When selecting your tips, always ensure each piece fits precisely from one side of the nail wall to the other. A tip that is too small will pinch the nail and lift prematurely, while a tip that is too large will look bulky and require excessive filing.
Preparation and Gentle Buffing: The Key to Longevity
The longevity of your clear tips depends almost entirely on how well you prepare the natural nail plate. Skipping or rushing this step often leads to lifting and trapped moisture. To begin, gently push back the cuticles using a wooden stick or a dedicated cuticle pusher. This step ensures that the adhesive is applied only to the nail plate and not to the surrounding skin.
Next comes the crucial process of buffing, or matting. Using a gentle, high-grit buffer, lightly swipe across the surface of the natural nail to remove the natural shine. The goal is not to thin the nail plate, but rather to create a slightly textured surface that allows the adhesive to grip effectively. Always buff in the direction of nail growth and avoid using coarse files, which can cause damage. Once buffed, thoroughly clean the nails with a lint-free wipe soaked in a dehydrating solution to remove any dust and surface oils.
The Art of Bubble-Free Gluing
Applying clear nail tips demands a steady hand and a precise technique, as any air bubbles trapped under the transparent material will be highly visible. To achieve a flawless, crystal-clear finish, follow a careful gluing method. Apply a small, controlled amount of clear nail adhesive to the well of the tip or directly to the free edge of your natural nail.
Hold the tip at a 45-degree angle against the free edge of your nail, then slowly rock it down onto the nail plate. This motion helps push out any air, preventing bubble formation. Apply firm, even pressure for about ten to fifteen seconds until the adhesive sets. If any excess glue squeezes out around the edges, gently wipe it away immediately with a clean tool before it hardens. Patience during this step ensures a secure bond and a visually perfect transition.
Buffing the Transition and Securing the Manicure
Once the adhesive is completely dry, you must blend the step where the tip meets the natural nail. Using a fine-grit file, gently buff the boundary line of the clear tip until it lies flush with your natural nail plate. Be careful to only file the plastic tip and not your natural nail underneath. This seamless transition is vital for making the extension look natural and preventing water from seeping underneath.
The final stage is securing and sealing the entire creation. To protect the tips from scratches, yellowing, and daily wear, apply a generous layer of clear gel or a high-quality top coat. Ensure you seal the free edge of the nail by running the brush along the very tip. This creates a protective shield that locks in the clarity, giving your hands a pristine, high-shine finish that lasts for weeks.




