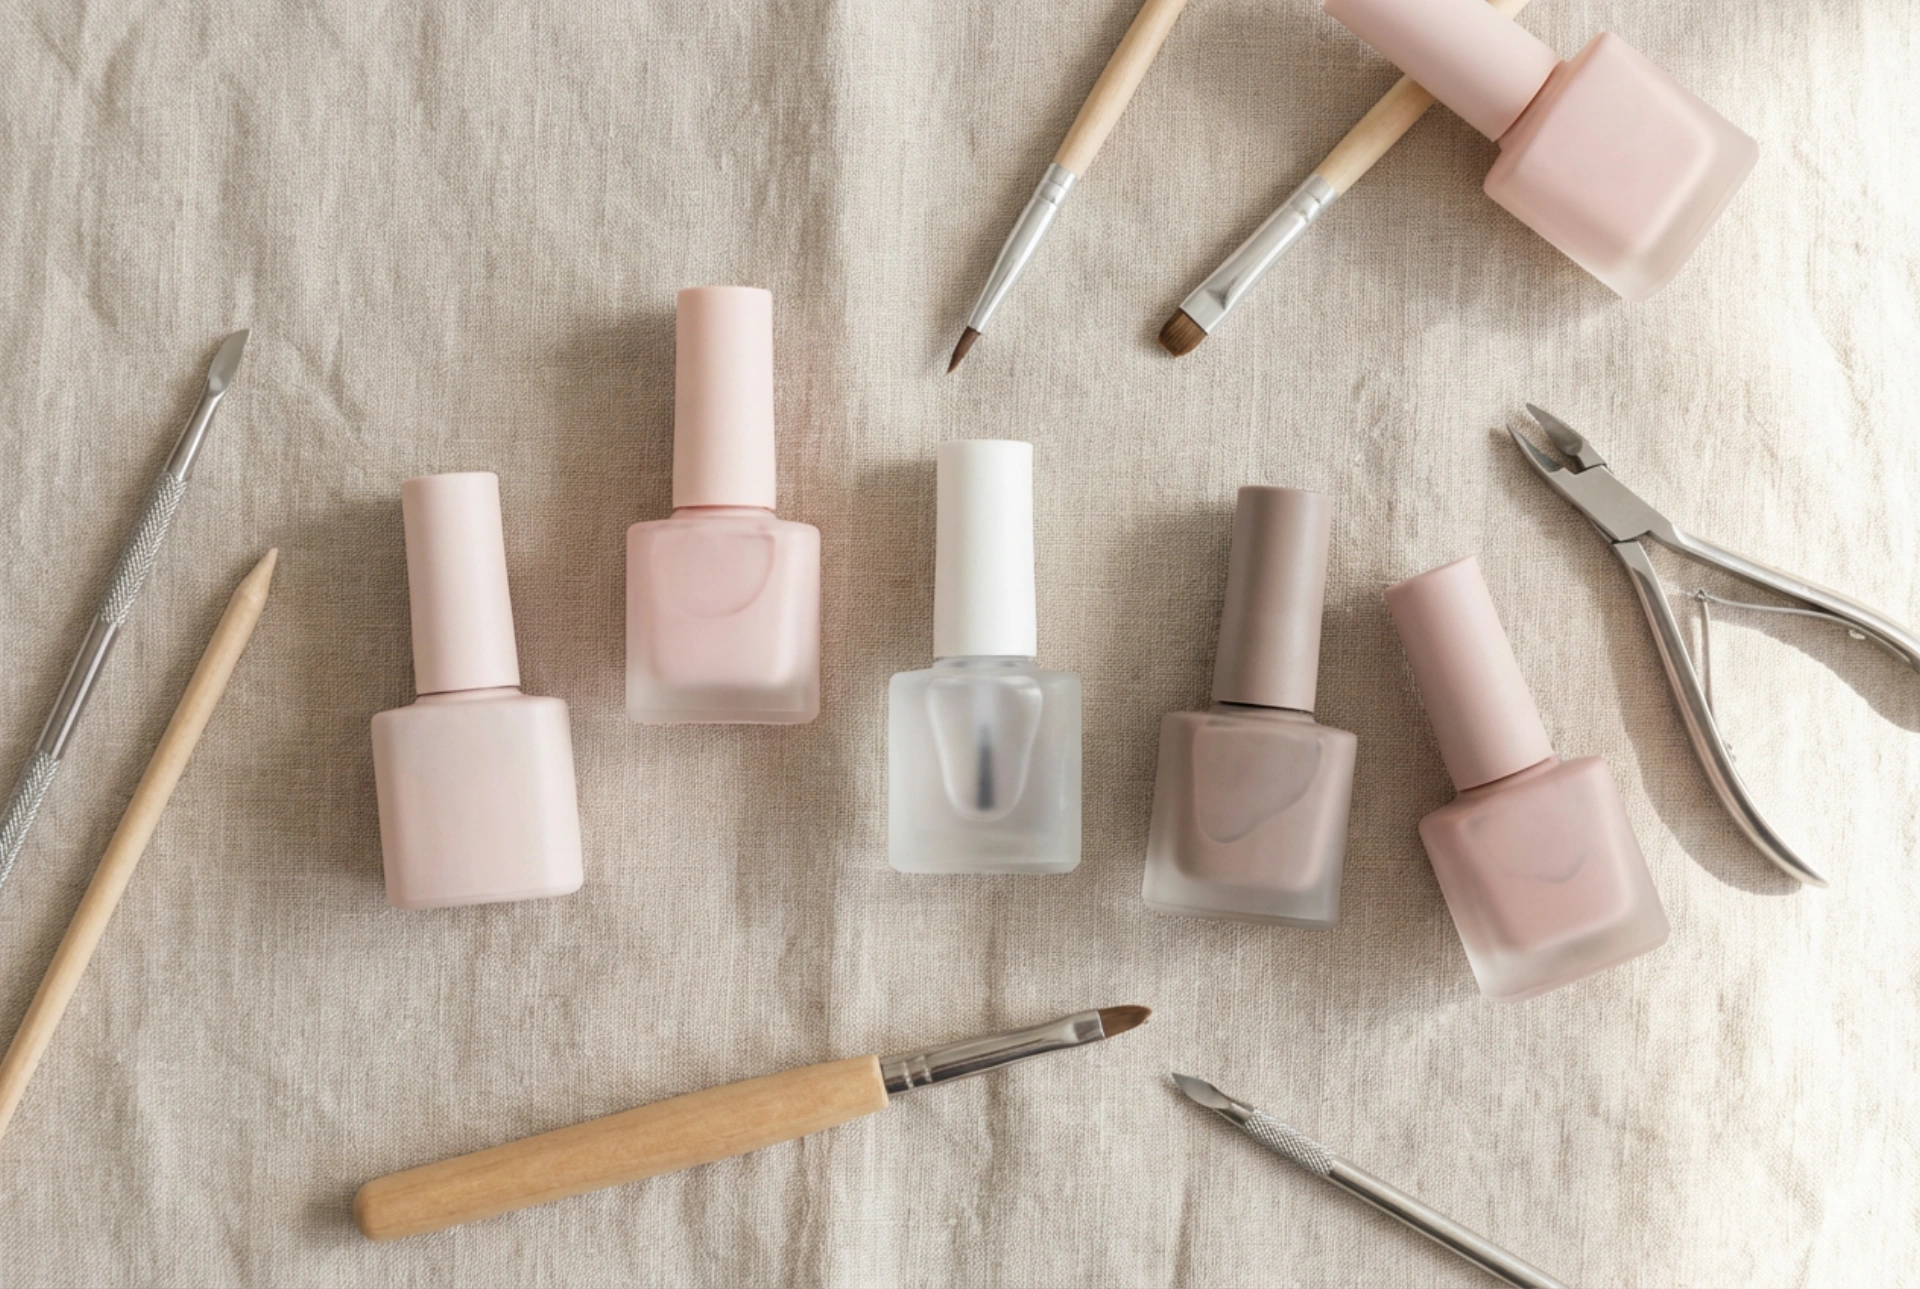


A beautifully styled manicure is more than just a routine; it is an elegant ritual of self-care. Modern nail enhancement techniques have evolved to offer high-quality results from the comfort of home, with minimalist tools and versatile formulas paving the way for flawless results. Among these innovations, builder gel in a bottle has emerged as a revolutionary product, combining the strength of traditional builder gels with the ease of a brush-on polish. Achieving a perfect, long-lasting finish requires precise technique and a clear understanding of the correct application process.
Understanding Builder Gel in a Bottle
Builder gel in a bottle, often referred to as brush-on builder gel, is a versatile product designed to add strength, structure, and moderate length to natural nails. Unlike traditional hard gels that require pot application and separate brushes, this modern formulation comes in a convenient bottle with a built-in brush. It offers a self-levelling consistency that makes it incredibly user-friendly for both beginners and experienced nail enthusiasts. This product is ideal for reinforcing weak, brittle nails, creating overlays, and even sculpting short extensions. By understanding how to manipulate this medium, you can achieve a refined, natural-looking manicure that withstands daily wear and tear.
Preparation: The Foundation of Longevity
Before applying any product, proper nail preparation is essential to ensure maximum adhesion and prevent lifting. Start by shaping the nails with a fine-grit file and gently pushing back the cuticles using a wooden stick or a dedicated cuticle pusher. It is vital to remove the invisible cuticle layer from the nail plate, as any remaining skin can cause the gel to lift early. Next, lightly buff the surface of the nail plate with a buffer block to remove the natural shine, creating a microscopic texture for the gel to grip onto. Finally, cleanse the nails thoroughly with a professional dehydrator or alcohol-based wipe to remove dust, oils, and moisture. Avoiding touching the prepped nails is crucial to keep them pristine before the gel application.
Step-by-Step Guide to Applying Builder Gel
To achieve a flawless, smooth finish, follow these precise application steps:
- Apply a Base Coat: Start with a thin layer of a compatible base coat, curing it under an LED or UV lamp according to the manufacturer guidelines. This layer acts as an anchor for the builder gel.
- The Slip Layer: Apply a very thin, uncured layer of the builder gel over the entire nail. This is known as the slip layer, and it guides the larger bead of gel, allowing it to flow smoothly across the nail plate. Do not cure this layer yet.
- Placing the Bead: Take a larger bead of builder gel on the brush and place it near the cuticle area, leaving a small gap to avoid skin contact. Gently guide the gel down the centre of the nail and float it towards the free edge and side walls. Let the self-levelling property of the gel do most of the work.
- Creating the Apex: To ensure the strength of the nail, build a slight apex or arch in the centre. Turn your hand upside down for a few seconds to let gravity pull the gel into a perfect, natural dome shape before curing.
- Curing: Cure the nail under the lamp immediately. If you experience a heat spike, remove your hand from the lamp for a few seconds before finishing the full cure cycle.
- Refining and Top Coat: Wipe away the sticky inhibition layer with a cleanser, refine the shape with a file if necessary, and finish with a high-shine top coat to seal and protect your work.
Common Mistakes to Avoid
Even with a high-quality product, minor errors during the application process can affect the durability and appearance of your manicure. One of the most frequent errors is flooding the cuticles. Allowing the gel to touch the surrounding skin or cuticles guarantees lifting within a few days. Always leave a tiny margin of safety around the edges. Another issue is applying layers too thickly. Attempting to build the nail in one single, heavy layer can lead to incomplete curing, heat spikes, and premature peeling. It is always better to build structure using two thinner layers rather than one thick one. Additionally, skipping the prep and dehydration process leaves natural oils on the nail plate, which prevents the builder gel from bonding securely. Finally, incorrect apex placement can lead to breakage. If the bulk of the gel is placed too close to the tip or the cuticle instead of the stress point, the nail will be weak and highly prone to snapping.
Aftercare and Maintenance Tips
Once your builder gel manicure is complete, maintaining the health of your hands and nails will prolong its pristine look. Apply nourishing cuticle oil daily to keep the skin hydrated and prevent peeling around the nail walls. When performing household chores or using cleaning agents, always wear protective gloves to shield your nails from harsh substances. Never peel or pick at the gel if it begins to lift, as this can tear away the natural layers of your nail plate. Instead, file down the edge carefully or use safe removal techniques to protect the underlying natural nail.




