

Creating a flawless manicure at home often involves experimenting with unique textures and eye-catching details. Among the most popular decorative techniques is the use of shimmering metallic nail foil, which allows you to achieve a striking, reflective finish that mimics professional nail art. When applied correctly under natural light, a perfectly transferred foil pattern can elevate elegant hands with a brilliant, wrinkle-free design. However, mastering the transfer process requires patience, the correct technique, and a solid understanding of how nail foils behave on different surfaces.
Understanding Nail Transfer Foil
Nail transfer foil is an ultra-thin decorative material that features a metallic or patterned design on one side and a transfer backing on the other. Unlike traditional stickers, foil does not have its own self-adhesive backing. Instead, it relies on a sticky layer created by specialised nail adhesives or cured gel products to transfer the design onto the nail plate. The beauty of this technique lies in its versatility; you can cover the entire nail for a mirror-like finish or apply it selectively to create abstract accents, delicate lines, or distressed metallic effects.
To achieve a seamless transfer, the foil must be pressed onto a perfectly tacky surface. If the surface is too dry, the foil will not adhere; if it is too wet or uncured, the design will smudge, wrinkle, or slide off. Therefore, understanding the curing and drying times of your base products is the first step toward a successful manicure.
Preparing the Nail Surface for Optimal Adhesion
The secret to a wrinkle-free foil application lies in the preparation of the nail plate. Any unevenness on the nail surface will be magnified once the highly reflective foil is applied. Follow these essential preparation steps:
- Nail shaping and buffing: Start by shaping your nails and gently buffing the surface to remove any natural oils and smooth out ridges. A level surface ensures the adhesive cures evenly.
- Dehydrating the nail: Wipe the nail with a gentle dehydrating solution to remove dust and residue. This step is crucial for ensuring that your base coat adheres properly without lifting.
- Applying the base colour: Apply a thin, even coat of your chosen background colour. For metallic foils like gold or silver, using a matching base colour underneath is highly recommended. If any tiny gaps occur during the transfer, the matching background will make them virtually invisible.
Step-by-Step Application Guide
Once your base colour is dry or fully cured, you are ready to apply the foil adhesive. Whether you are using an air-drying foil glue or a UV/LED curable foil gel, the application technique remains similar.
1. Applying the Adhesive Layer
Apply a very thin, uniform layer of foil adhesive over the area where you want the design to appear. It is vital to avoid pooling, especially near the cuticles and sidewalls. If using air-dry glue, wait until the milky white liquid turns completely clear and becomes extremely tacky. If using a curable foil gel, cure it in your lamp according to the product guidelines, ensuring it achieves the perfect sticky layer.
2. Positioning the Foil
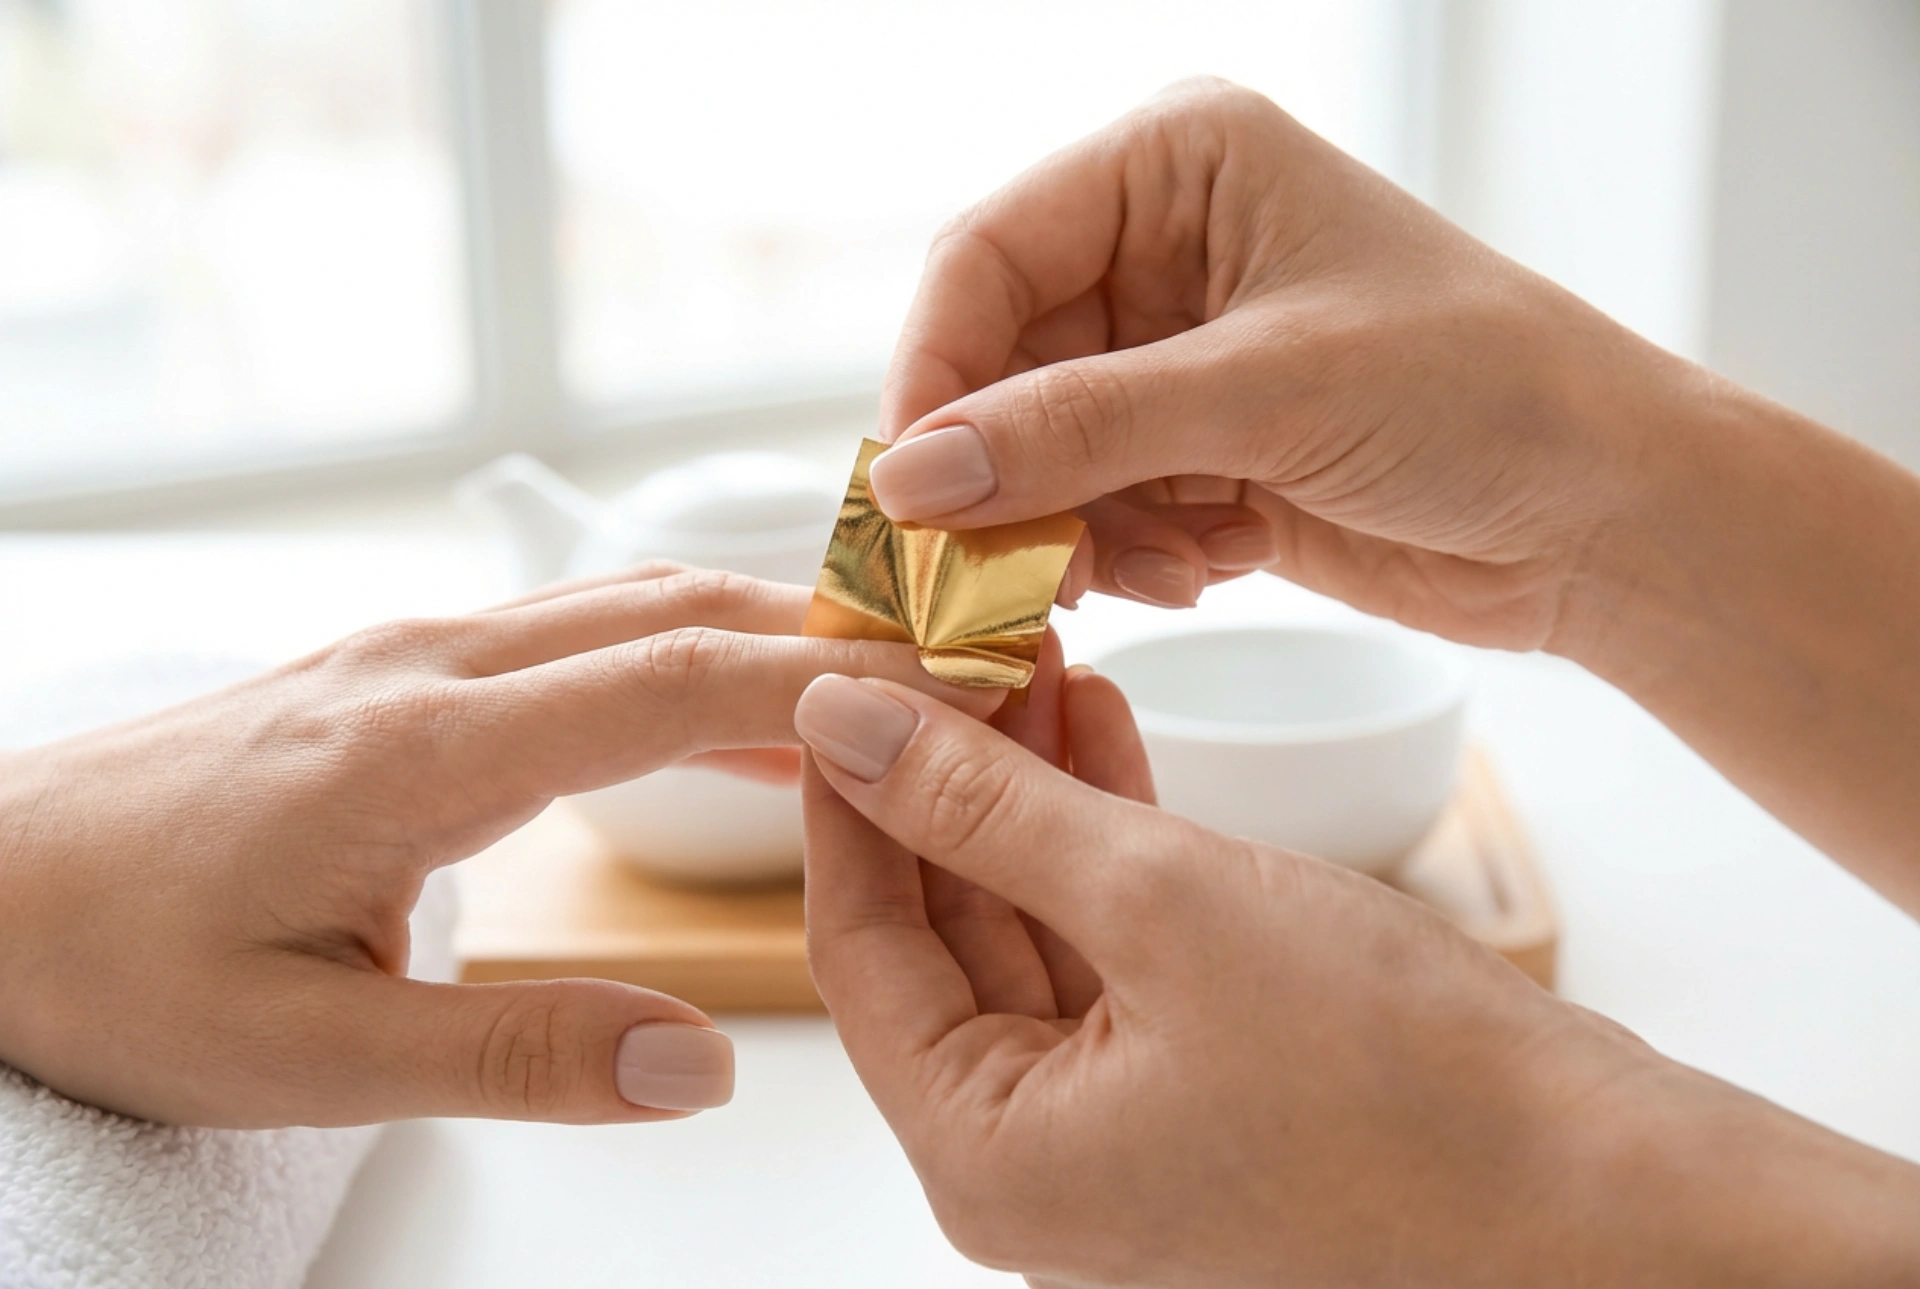
Cut a small piece of nail foil from the roll, ensuring it is slightly larger than the nail surface. Hold the foil firmly between your fingers and position it over the nail with the patterned or shiny side facing upwards. Gently drop it onto the centre of the nail plate.
3. Smoothing Out the Wrinkles
To avoid wrinkles and air bubbles, start smoothing the foil from the centre of the nail outward. Use a soft tool, such as a silicone corrector brush or a cotton bud, to press the foil firmly into the nail plate. Pay close attention to the curved areas near the cuticles and side folds, pressing the foil into the grooves to ensure a complete transfer.
4. Revealing the Design
Once you are confident the foil has adhered completely, grip one corner of the backing sheet. With a swift, decisive motion, peel the foil away from the nail. If done correctly, the metallic design will remain perfectly flat on the nail, leaving the backing film completely clear.
Common Troubleshooting Tips
If your foil transfers unevenly or develops unwanted wrinkles, consider the following troubleshooting steps to perfect your technique:
- The foil did not transfer at all: This usually means the adhesive layer was either not cured long enough or cured for too long, losing its stickiness. Adjust your lamp times in small increments.
- The transfer is patchy: Patchiness occurs when the adhesive layer is uneven or when insufficient pressure was applied during the smoothing stage. Focus on applying the adhesive in consistent, thin strokes.
- The foil is wrinkling: Wrinkles happen when the foil is pressed onto an adhesive layer that is still too wet, or if the foil was not smoothed out from the centre to the edges. Ensure you use a soft silicone tool to push out any trapped air before peeling.
Sealing and Protecting Your Foil Manicure
Metallic foils are delicate and can easily rub off or lose their shine if not protected correctly. To seal your design and maintain its lustrous finish, apply a high-quality top coat. Be aware that some traditional top coats can cause metallic foils to crinkle or lose their mirror-like appearance. To prevent this, consider applying a very thin layer of a gentle, water-based top coat or a dedicated foil-sealing top coat first, followed by your standard glossy top coat for maximum durability. Ensure you seal the free edge of the nail to protect the design from daily wear and tear.




