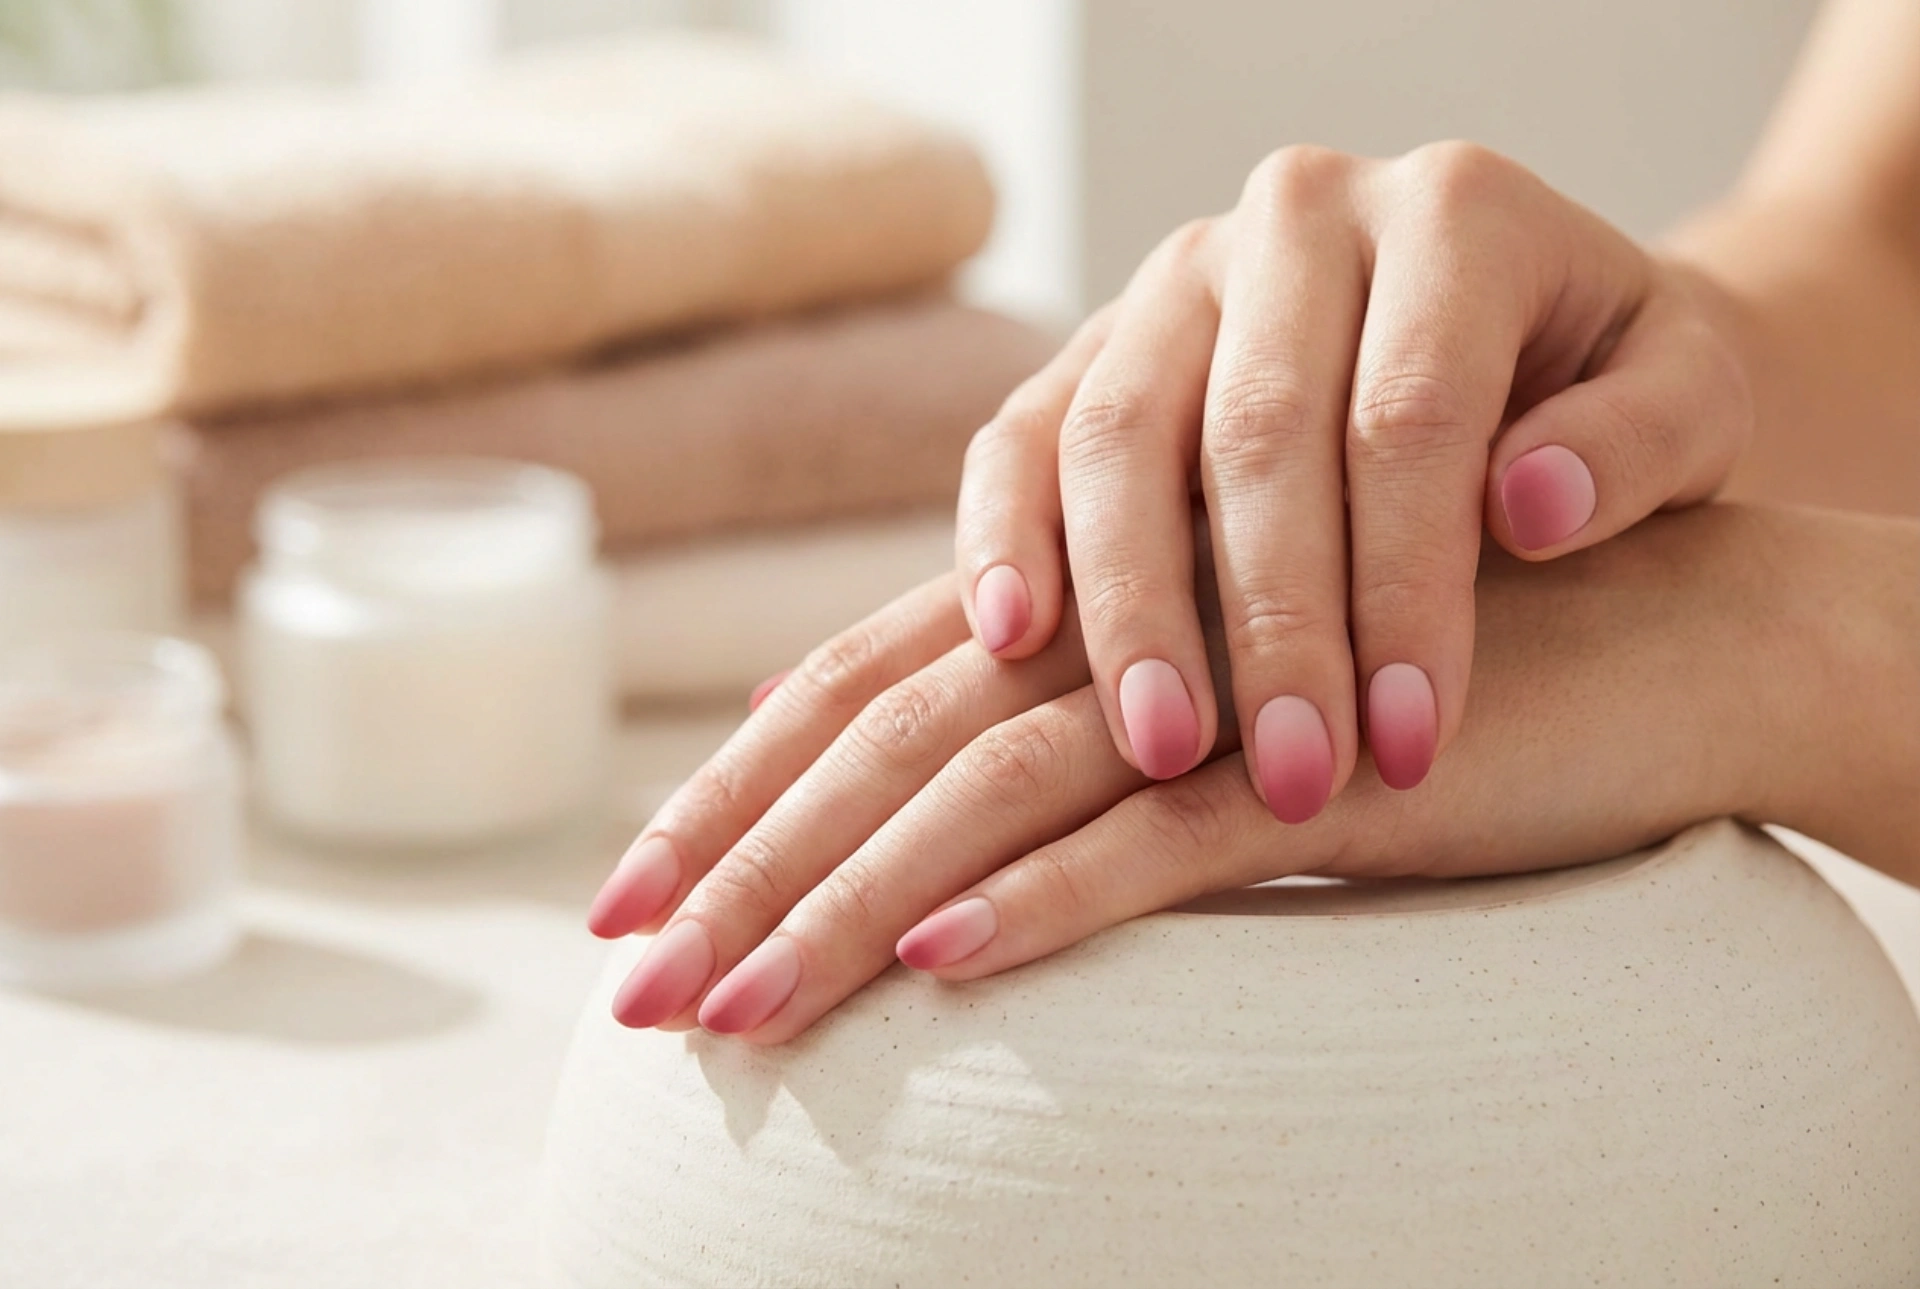


Elegant hands showcasing a beautiful pink ombre manicure instantly elevate any look with an understated touch of sophistication. Transitioning smoothly from a delicate, whispered blush to a deep, warm rose, perfectly shaped nails featuring a soft, diffused gradient capture natural light in a way that feels incredibly clean and modern. Pink ombre nails have established themselves as a beloved classic in the world of beauty, bridging the gap between absolute minimalism and creative self-expression. Because pink is incredibly versatile, this style suits almost every skin tone and hand shape, offering a polished aesthetic for any occasion.<\/p>
Choosing the Perfect Pink Shades for Your Ombre<\/h2>
The success of a beautiful ombre gradient lies in selecting the right shades that harmonise together. When working with pink, the options are virtually endless, allowing you to customise the look from subtle and natural to bold and expressive. To achieve a seamless transition, you need at least two shades of polish: a lighter base and a deeper accent colour.<\/p>
- Blush and Dusty Rose:<\/strong> This is the ultimate sophisticated pairing. A very pale, milky pink transitioning into a muted, dusty rose offers a soft, romantic finish that is ideal for daily wear and formal occasions alike.<\/li>
- Baby Pink and Magenta:<\/strong> For those who prefer a more vibrant look, combining a bright, youthful baby pink with a rich magenta or deep raspberry shade creates an eye-catching contrast that feels fresh and energetic.<\/li>
- Nude-Pink and Deep Rose:<\/strong> If you love a classic French manicure but want a modern twist, starting with a warm nude-pink base and fading into a rich, deep rose at the tips creates an elegant, elongated effect on the fingers.<\/li><\/ul>
When selecting your colours, consider your skin's natural undertones. Cool undertones look spectacular with icy, blue-based pinks and berry shades. Warm undertones, on the other hand, are beautifully complemented by peachy pinks, salmon tones, and warm, golden-rose hues. If you are unsure, neutral rose shades are universally flattering and create an effortless transition.<\/p>
Essential Tools for the Perfect Gradient<\/h2>
Achieving a flawless gradient at home does not require complicated equipment, but having the right tools makes the process much smoother. Before you begin, gather the following essentials:<\/p>
- A high-quality base coat to protect the natural nail plate and ensure even adhesion.<\/li>
- Your chosen pink nail polishes (at least two shades).<\/li>
- A makeup sponge or a specialized wedge sponge with a fine texture. Sponges with very small, dense pores work best for a smooth blend.<\/li>
- Nail polish remover and a small, flat brush for precise clean-up around the cuticles.<\/li>
- A glossy top coat, which is the secret weapon for blending the colours together and erasing any textured sponge marks.<\/li><\/ul>
Step-by-Step Sponge Application Technique<\/h2>
Applying an ombre design requires a gentle touch and a bit of patience. Follow these simple steps to master the technique at home:<\/p>
Step 1: Prep and Base Colour<\/h3>
Start by shaping your nails and gently pushing back the cuticles to create a clean canvas. Apply a thin layer of base coat and let it dry completely. Next, apply one to two layers of your lighter pink shade over the entire nail. This acts as the background colour, making the gradient look richer and more opaque.<\/p>
Step 2: Preparing the Sponge<\/h3>
Take your clean wedge sponge. Lightly moisten it with a little water and squeeze out the excess; a slightly damp sponge prevents the polish from absorbing too quickly into the foam. Directly onto the edge of the sponge, paint two horizontal stripes of your chosen polishes, slightly overlapping them where they meet. The first stripe should be the lighter pink, and the second should be the deeper rose shade.<\/p>
Step 3: Dabbing the Gradient<\/h3>
Gently press and roll the sponge onto your nail, aligning the lighter shade near the cuticle and the darker shade towards the tip. Use light, bouncing motions. Do not drag the sponge, as this will smudge the colours instead of blending them. For the first layer, the coverage may look sheer, which is completely normal.<\/p>
Step 4: Building Intensity<\/h3>
Allow the first layer to dry for a minute. Reapply the polish stripes onto the sponge and repeat the dabbing process. Typically, two to three thin layers are required to build a rich, seamless gradient. With each layer, slightly shift the sponge up and down by a millimetre to help diffuse the boundary line between the two shades.<\/p>
Step 5: Sealing and Cleaning<\/h3>
Once you are satisfied with the colour intensity, apply a generous layer of top coat while the gradient is still slightly wet. The top coat will magically melt the two shades together, smoothing out any texture left by the sponge. Finally, dip a small brush into polish remover and carefully clean up any excess paint on the skin surrounding your nails.<\/p>
Tips for a Flawless, Long-Lasting Finish<\/h2>
To ensure your pink ombre manicure looks professionally done, keep a few expert tips in mind. First, always work in thin layers. Thick layers of sponged-on polish take a very long time to dry and are prone to bubbling or peeling. Second, protect the skin around your nails beforehand by applying a barrier cream or liquid tape; this makes the clean-up process incredibly fast and satisfying.<\/p>
Additionally, do not skip the top coat. A plump, high-shine top coat is what transforms a textured, sponge-dappled surface into a glassy, modern work of art. If you prefer a velvety, contemporary finish, you can apply a matte top coat over the dried glossy layer for a chic, frosted-rose look.<\/p>
- Baby Pink and Magenta:<\/strong> For those who prefer a more vibrant look, combining a bright, youthful baby pink with a rich magenta or deep raspberry shade creates an eye-catching contrast that feels fresh and energetic.<\/li>




