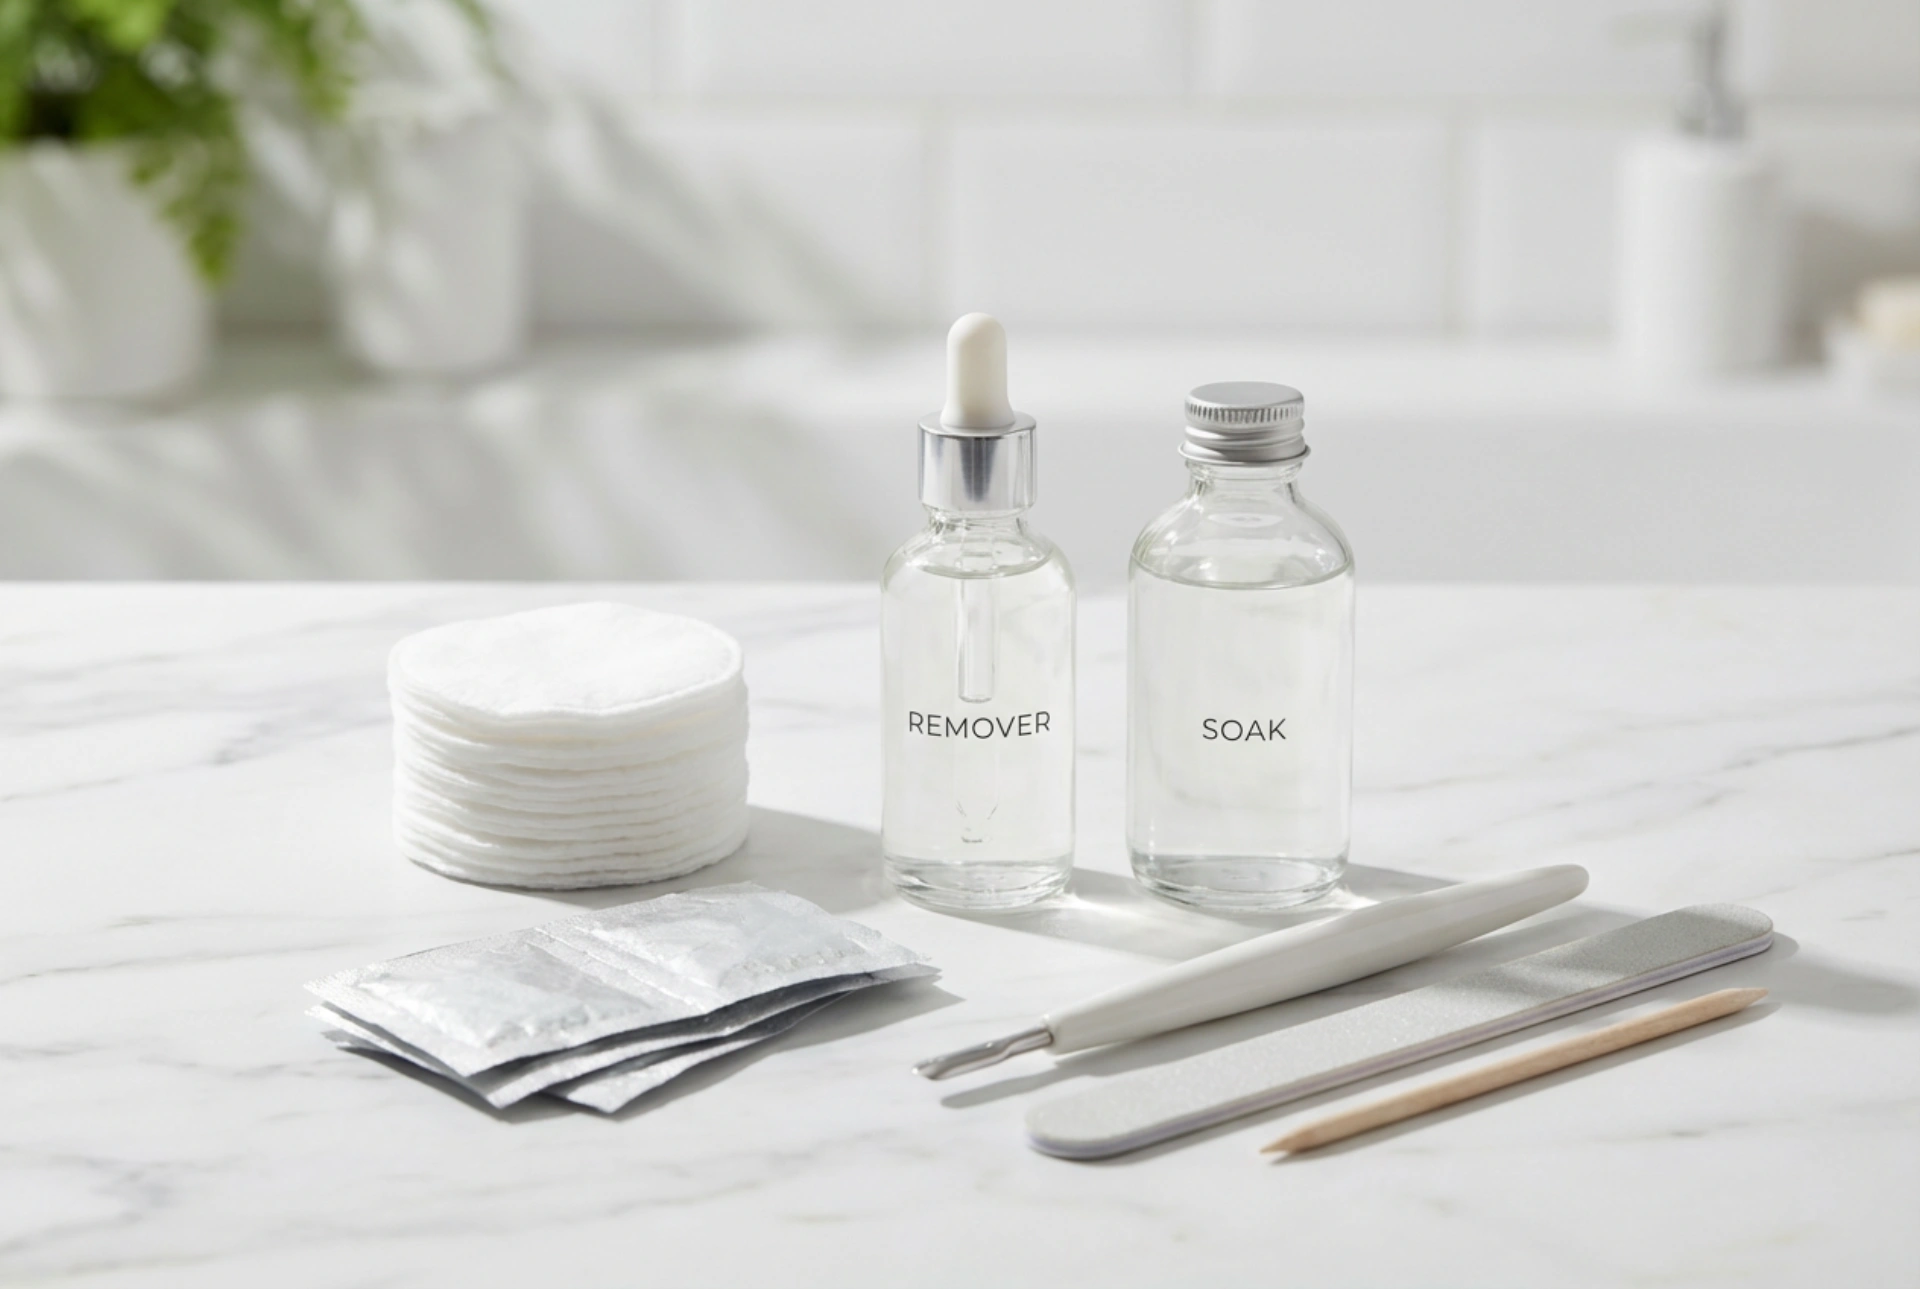


Creating a dedicated space for nail care at home can turn a routine chore into a soothing, spa-like experience. When looking at a tidy arrangement of soft cotton pads, delicate foil wraps, and minimalist bottles of remover laid out on a clean surface, it is clear that nail health starts with the right preparation. Removing gel polish does not have to be damaging to the natural nail plate. With the correct selection of accessories, gentle liquids, and a patient approach, you can maintain strong, beautiful nails between your manicures.
Selecting the Ideal Gel Polish Remover
The foundation of any successful and safe gel removal process is the liquid used to dissolve the product. Traditional cosmetic acetone is highly effective at breaking down the chemical bonds of gel polish, allowing it to slide off the nail easily. However, because pure acetone can have a drying effect on the skin and nails, many modern formulations are enriched with nourishing additives. Look for removers that contain caring ingredients such as lanolin, vitamin E, or almond oil. These ingredients help to counteract the drying nature of the solvent, protecting the delicate cuticle area and keeping the nail plate hydrated during the process.
While acetone-free alternatives exist, they are often less effective for traditional gel polishes and may require prolonged exposure, which can also dry out the skin. Therefore, using a high-quality, professionally formulated cosmetic acetone enriched with moisturising agents is generally the preferred choice for a swift and gentle removal process.
Essential Accessories for a Gentle Routine
Having the right tools at hand is crucial to ensure you do not cause mechanical damage to the nail surface. A professional-grade removal routine relies on a few simple yet effective accessories:
- Soft cotton pads: Opt for lint-free cotton pads or pre-cut pieces that fit the nail size perfectly. These hold the liquid close to the nail without absorbing excessive amounts of product.
- Aluminium foil wraps: Foil is used to wrap each finger, sealing in the warmth and preventing the remover from evaporating. This accelerates the softening process.
- Wooden manicure sticks: Also known as orange wood sticks, these are far gentler than metal pushers. Their soft wooden texture minimises the risk of scratching or scraping the delicate layers of the natural nail.
- Nail buffers and files: A medium-grit file (around 180 grit) is needed to gently break the shiny top coat before applying the liquid, while a soft buffer helps smooth the nail plate afterwards.
Reusable Silicone or Plastic Nail Clips
As an alternative to traditional aluminium foil, reusable plastic or silicone clips have gained popularity. These clips clamp securely over the soaked cotton pad on each fingertip. They are not only an eco-friendly option that reduces waste, but they also apply even pressure across the nail plate, ensuring the cotton pad remains in constant contact with the gel polish. This can result in a more uniform softening process.
Step-by-Step Gel Polish Removal Technique
To achieve excellent results without compromising the strength of your nails, follow a precise and methodical technique. The key is patience; rushing the process is the primary cause of nail damage.
Step 1: Disrupting the Top Coat
Begin by using a medium-grit nail file to gently buff the surface of each nail. Your goal is to remove the shiny top layer of the gel polish. This allows the removal liquid to penetrate the lower layers of the gel more effectively. Be careful not to file down to the natural nail; only the topmost gel layer needs to be disrupted.
Step 2: Applying the Soaking Wraps
Soak a small piece of a lint-free cotton pad in your chosen cosmetic remover. Place the damp pad directly onto the nail plate, ensuring it covers the gel polish completely. Wrap the finger securely in a piece of aluminium foil. The foil should be tight enough to hold the pad in place and trap the natural warmth of your hand, which assists the active ingredients in breaking down the polish.
Step 3: Waiting and Monitoring
Allow the wraps to sit on your fingers for approximately ten to fifteen minutes. Avoid the temptation to remove the wraps early. If your fingers feel excessively cold, you can wrap your hands in a warm towel to help speed up the reaction safely.
Step 4: Gentle Removal
Remove the foil wrap from one finger at a time to check the progress. The gel polish should appear crumbled, lifted, or significantly softened. Use the flat, slanted end of a wooden stick to gently sweep the softened gel off the nail plate, starting from the cuticle area down to the free edge. If the polish does not slide off easily, re-wrap the nail for another few minutes rather than applying force.
Step 5: Buffing and Smoothing
After the gel has been completely cleared, you may notice small remnants of base coat left on the nail. Use a high-grit, soft buffer to gently smooth the surface of the nail. Avoid heavy pressure; a light touch is all that is required to restore a clean, even texture to the nail plate.
Crucial Safety Rules for Protecting Natural Nails
When removing gel manicures at home, safety should always be your top priority. One of the most common mistakes is peeling or scraping off gel polish that has not fully softened. When you forcibly peel gel polish, you strip away the microscopic top layers of your natural nail plate, leading to thinning, peeling, and increased sensitivity. If you encounter resistance, always re-apply the solvent and wait a little longer.
Additionally, pay close attention to the skin surrounding your nails. If you experience any redness, burning, or discomfort, remove the wraps immediately and wash your hands. Protecting the skin with a thin layer of petroleum jelly or a heavy barrier cream prior to wrapping can safeguard the delicate cuticles from the drying effects of the remover.
Post-Removal Care and Nail Preservation
Once all traces of gel polish are safely removed, your natural nails require some extra attention. The removal process, even when performed gently, can temporarily deplete the natural oils in the nail plate and surrounding skin. Wash your hands thoroughly with lukewarm water to remove any residual solvent, and immediately apply a rich, hydrating cuticle oil. Massaging the oil into the cuticles and the nail plate stimulates blood circulation and delivers essential nutrients. Follow with a barrier-restoring hand cream to lock in moisture and keep your hands feeling soft and rejuvenated.




